Topic: Building a Better Boba (action figure, that is)

Note: this topic was started 13 years ago.

28 posts

Sorted by oldest to newest

Add New Post

Topic #3826
January 9, 2011 9:13 pm (Edited January 10, 2011 04:23 am) #

Greetings gang!

I'm new to the Boba Fett Fan Club , and I wanted to say hi! 

I'm Roberto "Darklord" Williams, 43 year old STAR WARS toy / action figure customizer from Brooklyn, New York.

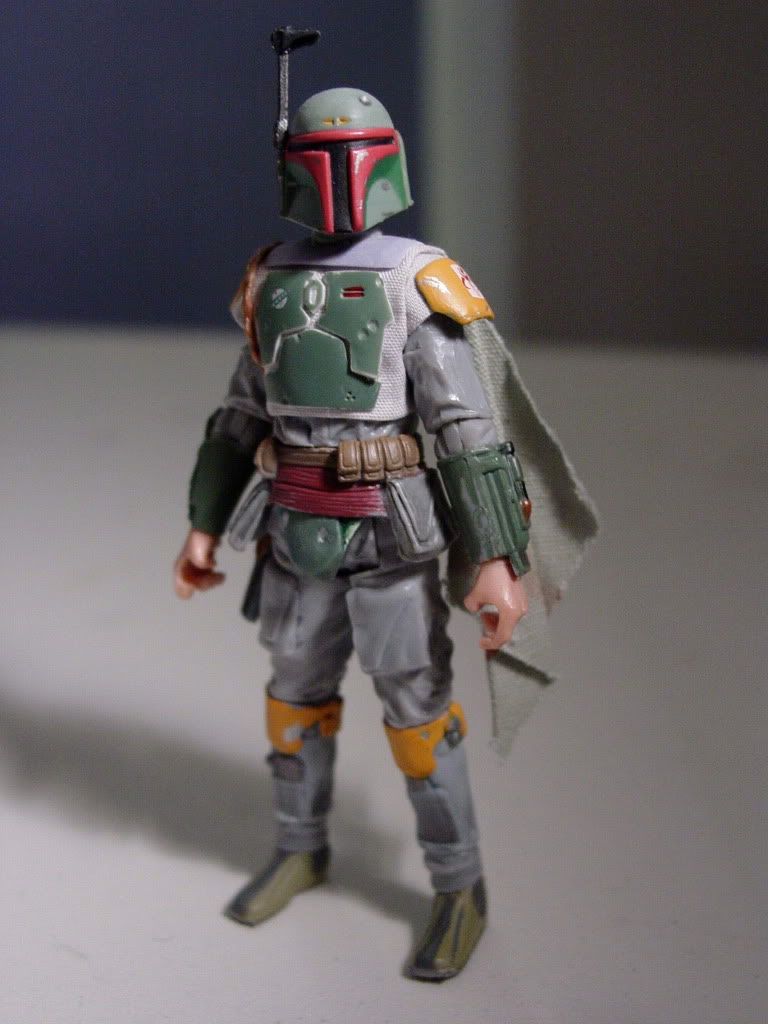
I thought I'd introduce myself with my latest project: A custom 3-3/4 " scale Boba Fett action figure that I've planned for about a year, and finally started working on last month.  The figure is nearing completetion, and I hope you like it.


    I’ve always  been fascinated with the mysterious STAR WARS character, The Bounty Hunter BOBA FETT.  His awesome outfit, and his mysterious ways have made him a legend and a favorite in STAR WARS fandom.

But it never fails to amaze me how even the tiniest detail on one of his  3-3/4 inch scale STAR WARS Action Figures can make all the difference as to whether or not it truly resembles him.

I must say in all honesty that I’m of the opinion that NONE of the previous action figure releases of Boba Fett  have completely captured the  full essence of the ornery, mysterious, gunslinger-hunter  that we first saw in THE EMPIRE STRIKES BACK

Not one.

What makes this particularly troubling to me is the fact that some truly excellent STAR WARS action figures have been made of some of the other Episode V bounty Hunters (Re: IG:88, Bossk, and the recent, outstanding, Vintage Collection Dengar release)… figures which have all boasted a level of detail and craftsmanship which were un-surpassed  anywhere in the Hasbro STAR WARS 3-3/4” scale action figure line.  Yet Boba Fett himself has not received this same level of careful attention nor execution.

Also, call me stubborn, but I am still resisting the continued scale shrinkage of these action figures. For my personal collection (including my custom figures), I therefore insist that (at least primary characters like) Boba Fett be represented in a scale that is consistent with 2001’s Power of the Jedi line.  This was the line which (hands down) represented STAR WARS action figure characters with the sharpest sculpts, the most accurate likenesses, the cleanest castings, and  the neatest paint decos… at least to my eyes.

With this series of posts, I’m going to take a brief (and very critical) look at the history of  3-3/4 inch Boba Fett  Action Figures. 

Then, at the end of my analysis, I’m going to present a step by step look into the creation of my own brand new customized Boba Fett action figure.  I believe I have developed an elegant solution to the problem of presenting this character properly as a custom  3-3/4 inch action figure. 

It is a solution which (after several weeks of intense trial and error and re-sculpting work) comes closest to my preferred version of Fett’s appearance, while still maintaining the super-articulation which we have come to expect from our modern figures.

So settle in and get comfortable, because this is gonna be very extensive...

January 9, 2011 9:15 pm #

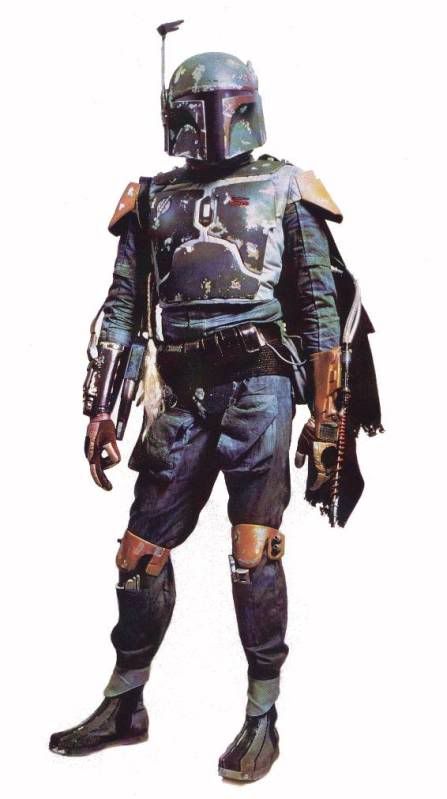
In order for you to properly understand my critiques of production Boba Fett figures (and the stylistic direction I chose when creating my own custom figure)  I think it might be helpful for me to establish how it is that I personally “see” the bounty hunter:

Well… to me,  Fett was  about average height (roughly 5 feet 11 inches tall), wiry… athletically built… very much like Bruce Lee was.  This was particularly evident in the prototype Fett outfit photos that ILM shot in 1978.

Later on, during the character’s first film appearance, the most notable thing to me about his look was how sleek and slender he still appeared even while wearing his armored outfit.  The costume was elaborate, yet it somehow did not look cumbersome or bulky in the way it sat upon his frame.  Also, there’s a reason why Boba is sometimes referred to as “ol’ bucket head”:  His helmet… It should look LARGE (even slightly over-sized) above that slender neck and shoulders. It’s the only way a human head could possibly fit in there.


Appearing as though he could move quickly if he needed to, Boba Fett was simply nasty-looking.  Whether pointing his gun at his quarry, or merely standing still cradling the weapon, Fett appeared ready to blast anything or anyone with little provocation.  Like a snake, he would move very slowly, and then suddenly STRIKE if he needed to.  He misleadingly appeared very relaxed, but he was always coiled and ready for action.  He was economical with his words, and economical with his body language (no elaborate posing or “showboating”).  And  for the sake of his dangerous, no-nonense vocation, his outfit’s color-pallate ideally leaned toward less-color and more stealth / camoflauge.  What little color existed in the uniform had been pitted, soiled, and muted over time. Virtually every aspect of Boba Fett’s  physical appearance reflected his rugged and violent past.

With that in mind, here is my analysis of all of the previous Boba Fett action figure offerings that we‘ve had over the years;

January 9, 2011 9:22 pm (Edited January 9, 2011 09:28 pm) #

Vintage Kenner  Boba Fett (1979) :
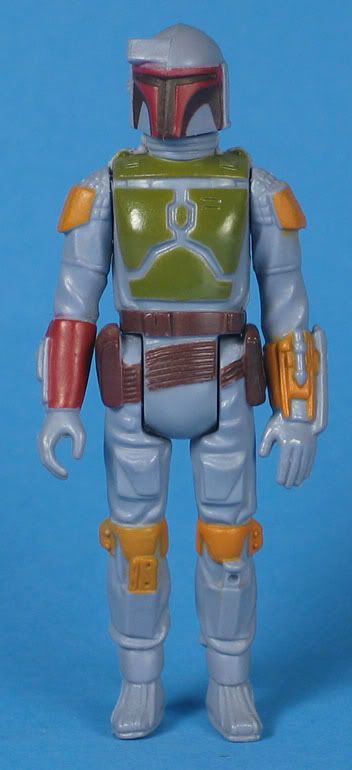

This figure featured a very nice sculpt  for its day.  However, it lacked the weathering, articulation, and fine costume details that we take for granted today.  It is nice to see the return of this sculpt as a special offer figure of the current 2010 Vintage collection line.


POTF 2 Boba Fett (1995 -various releases):
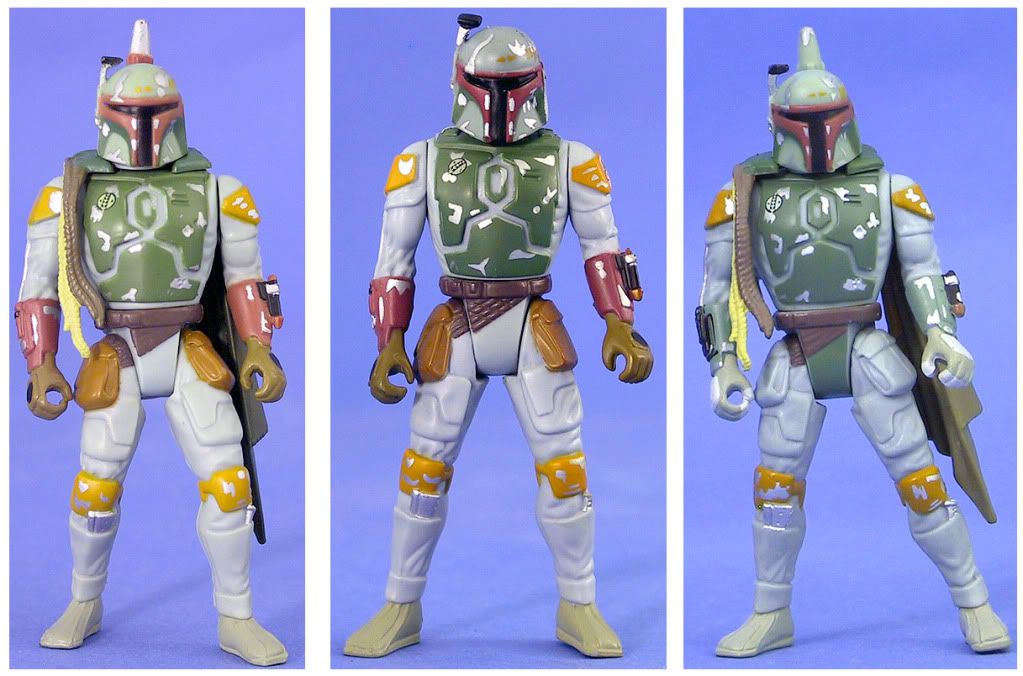

The Power of the Force 2 line launched a new line of STAR WARS action figures  after a re-newed interest in the saga during the mid- 1990’s.  This Boba Fett figure was one of the characters that everyone hailed as a “grand improvement” over the vintage Kenner version.  I respectfully disagreed.

Yes, there was added detailing and weathering to his costume which was missing before, but to my eyes, this figure was actually a considerable step backward from resembling the on-screen character.  At the time, I took to referring to him as “Bulky Fett” since the figure was far too barrel-chested and hulking to resemble the lithe and sleekly-built on-screen character .   The figure’s collar armor was so thick and bulky, that he suffered from a sort of “football shoulder pad / no-neck syndrome”

The overall body proportions of this figure were completely off.  And in one aspect or another, these mis-matched anatomical proportions have been a problem that have plagued Boba Fett figures right up until the most recent sculpts.


POTJ Boba Fett 300th Figure Special Edition :  (2001)
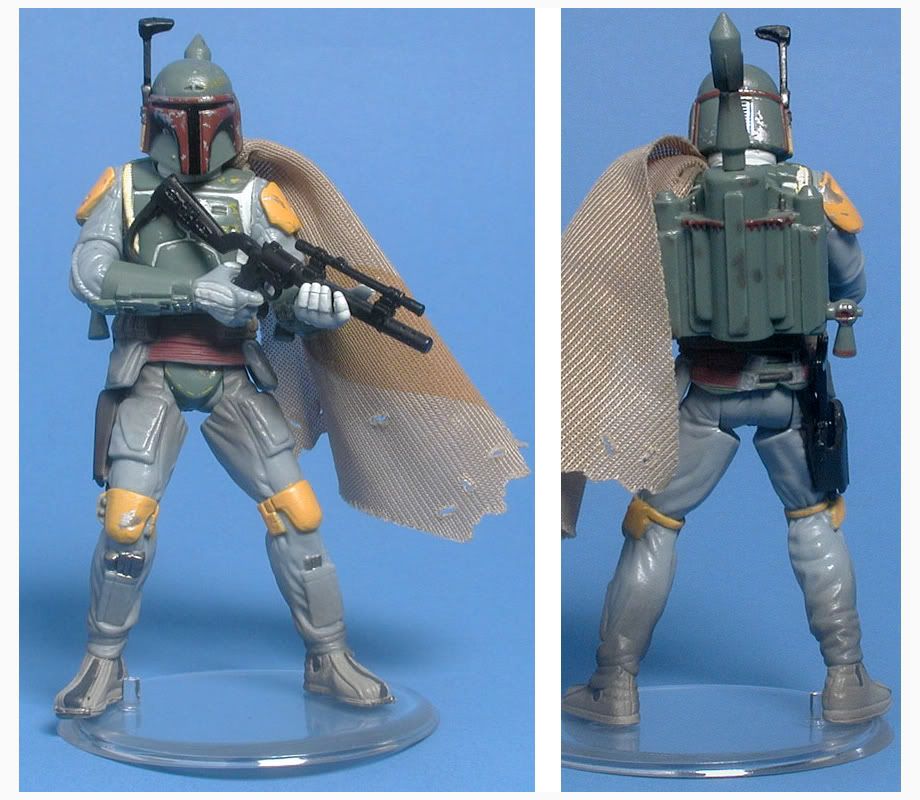
This figure moved a lot closer to Boba Fett’s proper on-screen Episode V appearance.  The trouble was, he was a pre-posed figure with a bare minimum amount articulation.  I DO have a lot of admiration for the EXCELLENT utility belt sculpt, and the  beautifully-detailed wrist gauntlet weapons (the BEST from any Boba Fett Figure) . The backpack was especially nice too (with adjustable rocket nozzels, and removable concussion rocket. Plus the backpack was made from sturdy ABS plastic (versus the soft rubbery PVC plastic of previous releases).  This allows the rocket pack’s sculpt details to be much sharper and for the accessory to maintain its shape.  I was also VERY happy to see the laser rifle that appeared in The Empire Strikes Back used as this figure’s pack-in (versus the different configuration from Jedi)

Aside from the pre-posing and lack of articulation, I do wish the paint had been more neatly applied in some areas.  Also, the basic size proportions and shape of Boba Fett’s helmet were not yet quite correct…


SAGA I Boba Fett  Pit of Carkoon (2003)
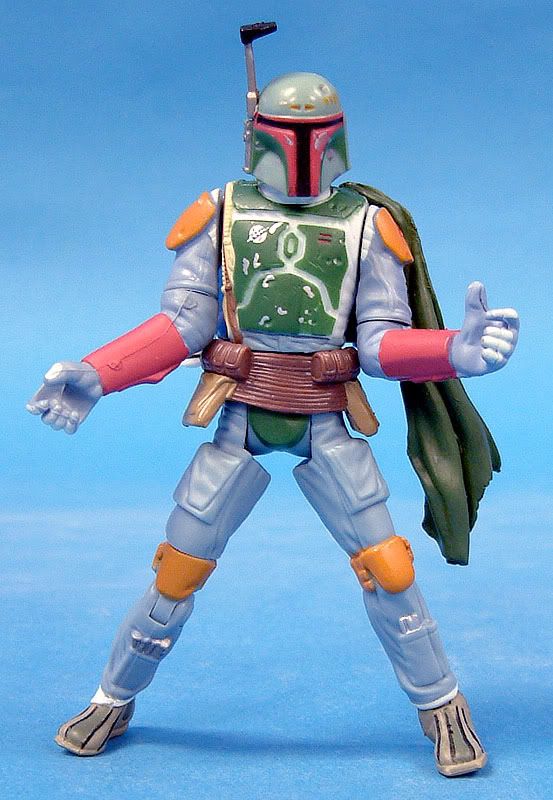
I thought this version of Fett was a bit too brightly colored in its paint deco… even if it was to represent  Fett’s more colorful outfit from Return of the Jedi.  The paint was much neater this time around So I really did appreciate that.  The figures pper body was still too bulky and the lower extremities were still too small.  There was an oddly articulated right knee that looked something like a cabinet hinge.  The sculpted plastic side-cape was somewhat inadequate.  And the (non-removable) backpack was painted  in rainbow colors. Once again, the backpack was molded in sturdy ABS plastic and held its shape nicely.

Overall, I thought this was probably the most  anatomically disproportioned Fett  since POTF 2!.

On the plus side,  (in my view) this figure boasted the neatest, cleanest, and sharpest sculpt of Fett’s helmet.  I loved the neatness and razor-sharpness of the clean t-visor.    I also thought this helmet was the nicest size we had seen from all previous Fetts .  The face of the helmet was virtually perfect, but the  shape of the helmet profile was The profile shape was still a bit off (overly narrow at the crown and wide at the base).  The flip-down rangefinder  was too soft and warped its shape too easily.


Vintage Original Trilogy Collection Boba Fett:  (2004)
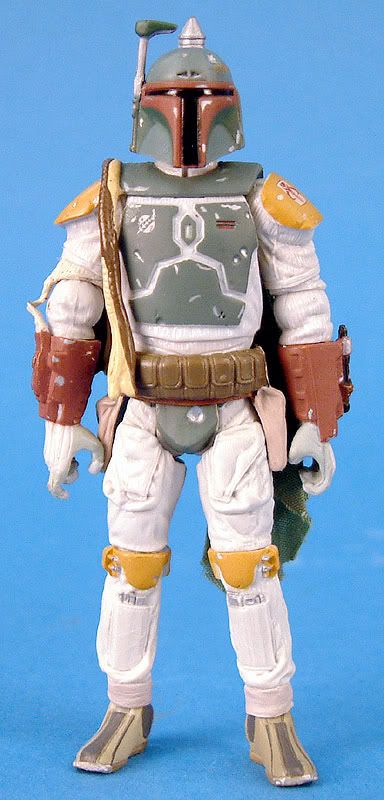
Kudos for first super-articulated Fett we have ever had.   Once again, this figure represented the more colorful Episode VI costume design.  I’m sorry to say the body proportions sculpt continued to suffer:  The upper body was still far too bulky… arms and hands were oversized !  Shoulder and elbow ball joints were bulbous.  Lower body (pelvis and legs) were proportionately very undersized, and the legs were proportionately too short.  The helmet sculpt took a step backward in terms of shape accuracy and sculpt sharpness (not nearly as sharp a sculpt as SAGA I helmet , and the helmet profile was even more incorrect than before).

Admittedly, the presentation of soft-goods cape was very nice this time around (beautifully deco’ed and cleanly folded for the perfect drape upon the figure). The backpack went back to being soft rubbery plastic, with no working/moving parts. This was a disappointment and a surprise, especially in lieu of the fact that Boba actually employed the use of his rocket pack in Episode VI: Return of the Jedi.

This figure featured some very nice, clean, smooth sculpts of the torso and crotch armor sections.


SAGA 2 Boba Fett  Battle of Carkoon: (2006)
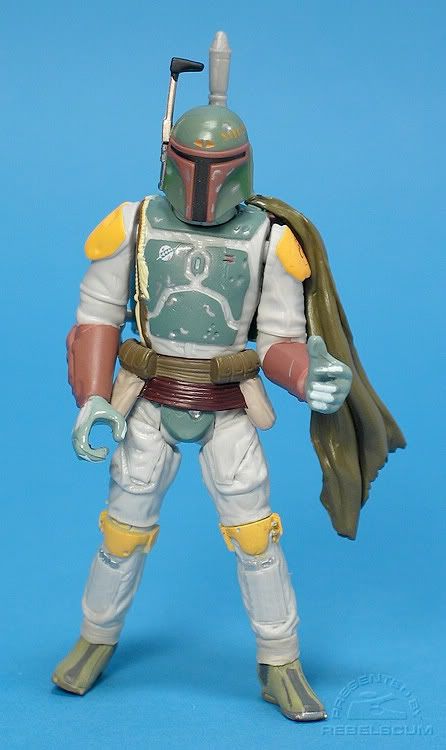
This Hasbro kit-bash combined the over-sized, awkwardly-posed upper body  of  the SAGA I  “Pit of Carkoon” figure with the under-sized, un-even, overly wide-stanced legs of  the VOTC Fett.

The result was a somewhat un-balanced (looking AND standing) figure.


Legacy Evolutions / 2010 Vintage Collection Boba Fett 
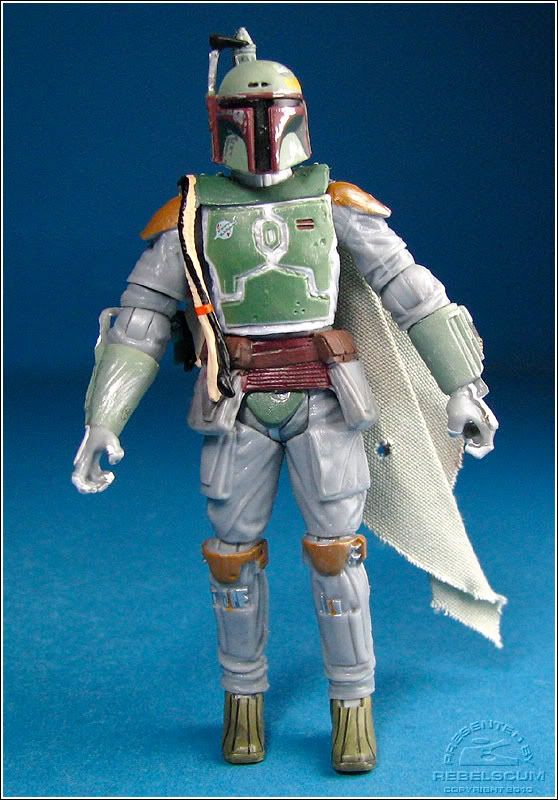
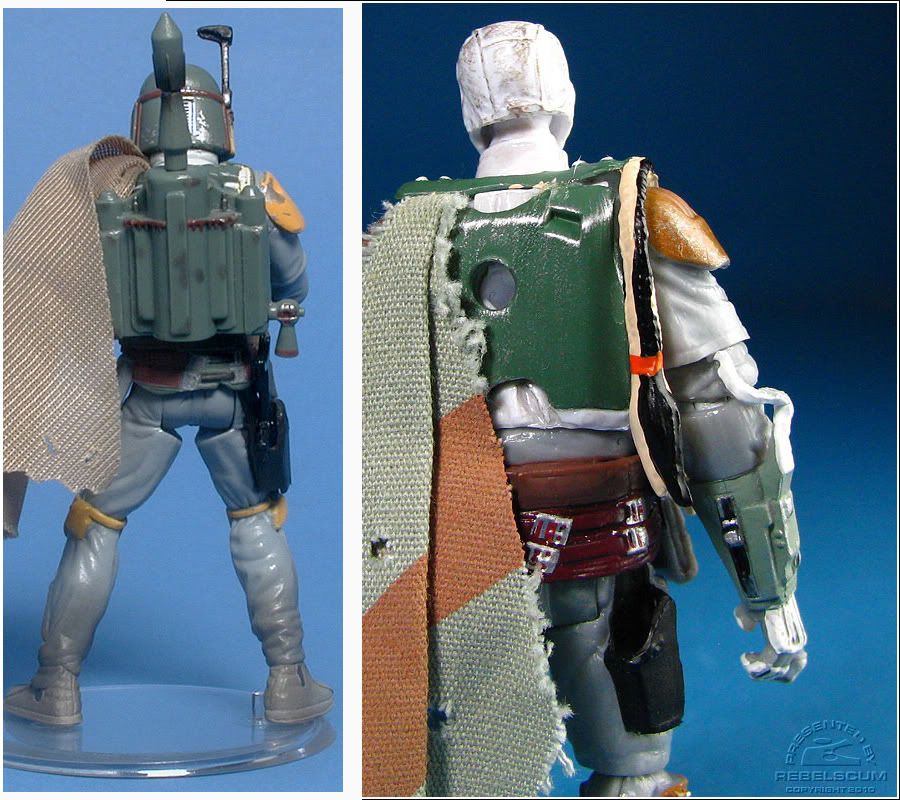
This most recent action figure of Boba Fett  presents the bounty hunter’s costume in the colors and details as they appeared in Episode V: The Empire Strikes Back.

While the big bulbous shoulders from the VOTC Fett have been reduced, the over-sized elbow joints are still a problem.  “Gorilla’ arms  and hands are still oversized.   Narrow stance of the figure is inappropriate, making the character seem even more top-heavy and awkwardly off balance (like if he could easily topple over). 

There is an undersized Boba head sculpt underneath a removable helmet.  The Ironic thing about this head sculpt is the fact that despite how anatomically under-sized it is, it still too large for the undersized helmet.  In fact, the nose of this head sculpt actually bulges through the soft helmet  when worn, warping its shape terribly. Rangefinder articulation offered in previous helmets has been taken away here.

The Rocketpack has lost all of the articulated parts from previous Fett backpack releases (like removable rocket cone, or adjustable rocket nozzels).

The paint and sculpt of this figure seem a bit sloppy to me (flash plastic and mold release evident on inner gauntlets and arms.   Shoulder armor is warped (giving this figure the football shoulder pad syndrome again.  The braided wookie scalps  molded to the shoulder armor is a feature left over from the POTF 2 days.  And it has GOT… TO… GO!!! The torso armor plates actually look roughly sculpted… not smooth at all.

The soft goods side cape is far too long and made of a fabric that is heavier than it should be.

On the plus side:  This figure offers a decent sculpt of the utility belt side pouches, and the pants pockets . The Laser rifle pack-in (re-used sculpt from POTJ Fett ) is a welcome return. It is now detailed with more paint AND it is actually molded to be sturdier than before.  With some minimal tweaks, it can be worked into an accurate representation of the rifle seen on screen.

January 9, 2011 9:28 pm #

Clearly, I’ve had issues with virtually every single Boba Fett figure ever produced. There have been pros and cons to each, and certainly no “out-of the park” home runs on any version as far as I am concerned.

But with the pending release of the beautiful new BIG Slave I Spaceship, I was inspired to stop waiting for the perfect Boba Fett figure and to create it as a custom for myself (before the in-evitable ESB paint deco’ed Slave I debuts).


January 9, 2011 9:29 pm #

In Hasbro’s defense, I quickly realized that Fett’s uniform is so complex and so elaborate, that a 3-3/4 inch action figure along the magnitude of what I was looking for was only ever going to be possible as a “dress up” custom… unlikely ever to be mass-produced by a toy company.  This would be a figure where virtually every detail would have to be treated as a separate garment!

GETTING STARTED

I wanted to begin my custom figure with a Super-Articulated base figure body that would serve as a nice, clean, starting point for the ornery bounty hunter… a blank slate, if you will.

The trouble was, NONE of the existing Fett figures fit that bill. In addition to the issues I outlined previously,  NONE of them had the anatomical proportions, attitude, nor the neutral stance that I felt was suitable for Fett.


LEGACY OF A NEW HOPE

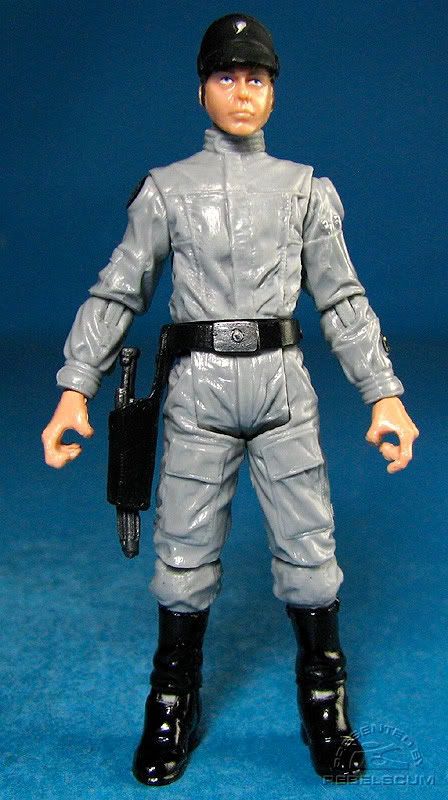
With the release of Hasbro’s 2009 Legacy Collection,  I finally found an action figure that I considered to be an excellent candidate  for a Boba Fett base figure body:  Imperial Scanning Crewman


Here we had an excellent Super-Articulated body, with a really nice balanced anatomical proportion and stance… and a basic STAR WARS jumpsuit sculpt who’s color was a PERFECT match for Fett’s dingy flight suit.  There was undoubtedly going to be some serious surgery required to pull this figure off, but at least Boba now had a basic body.

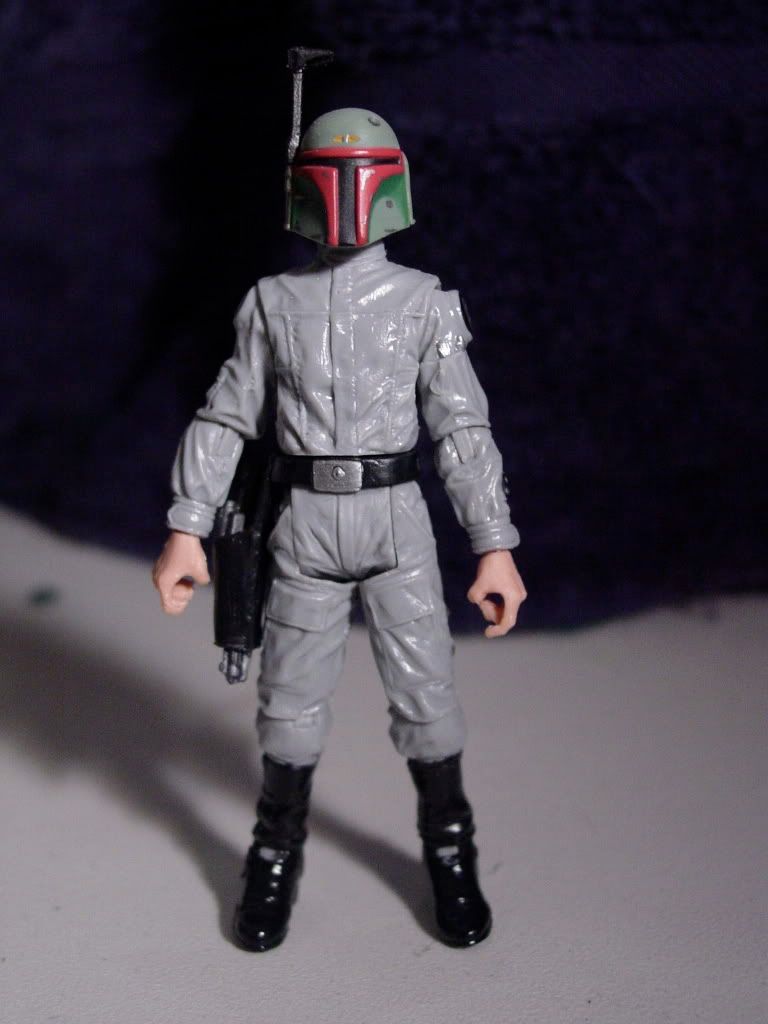
I gave myself a preview of the overall visual aesthetic of the final custom figure by placing a Boba Fett helmet on the Imperial Scanning Crewman. I must say that even at that earliest of stages, what I saw pleased me greatly.

January 9, 2011 9:30 pm #

LEGS DON’T FAIL ME NOW 

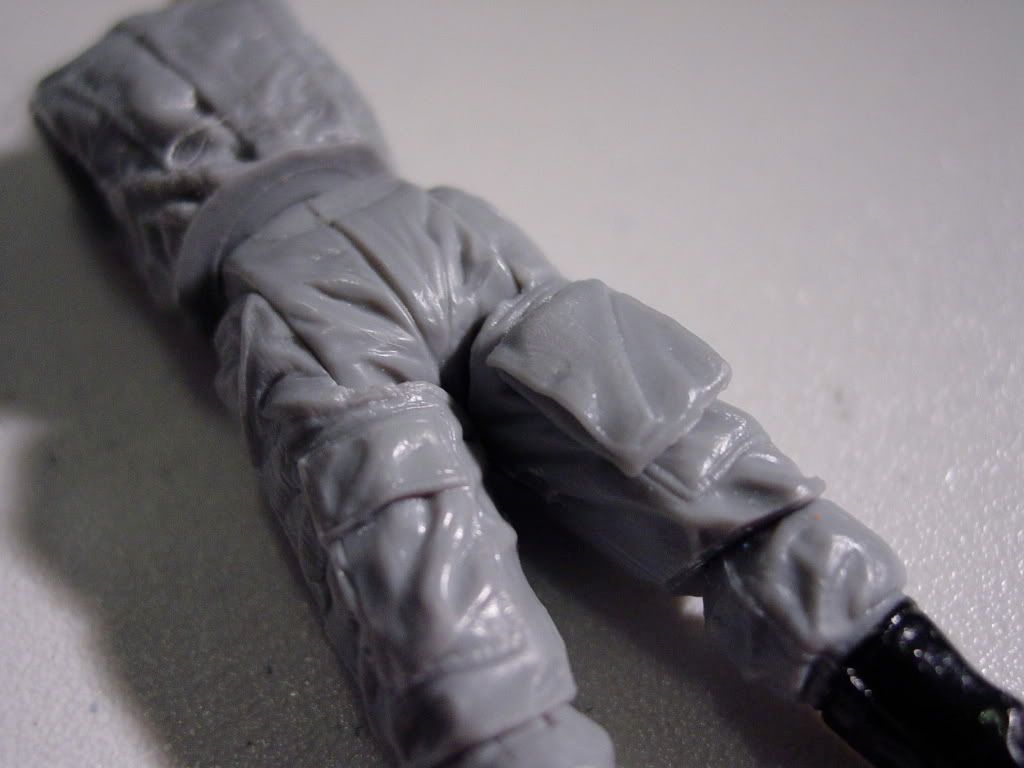
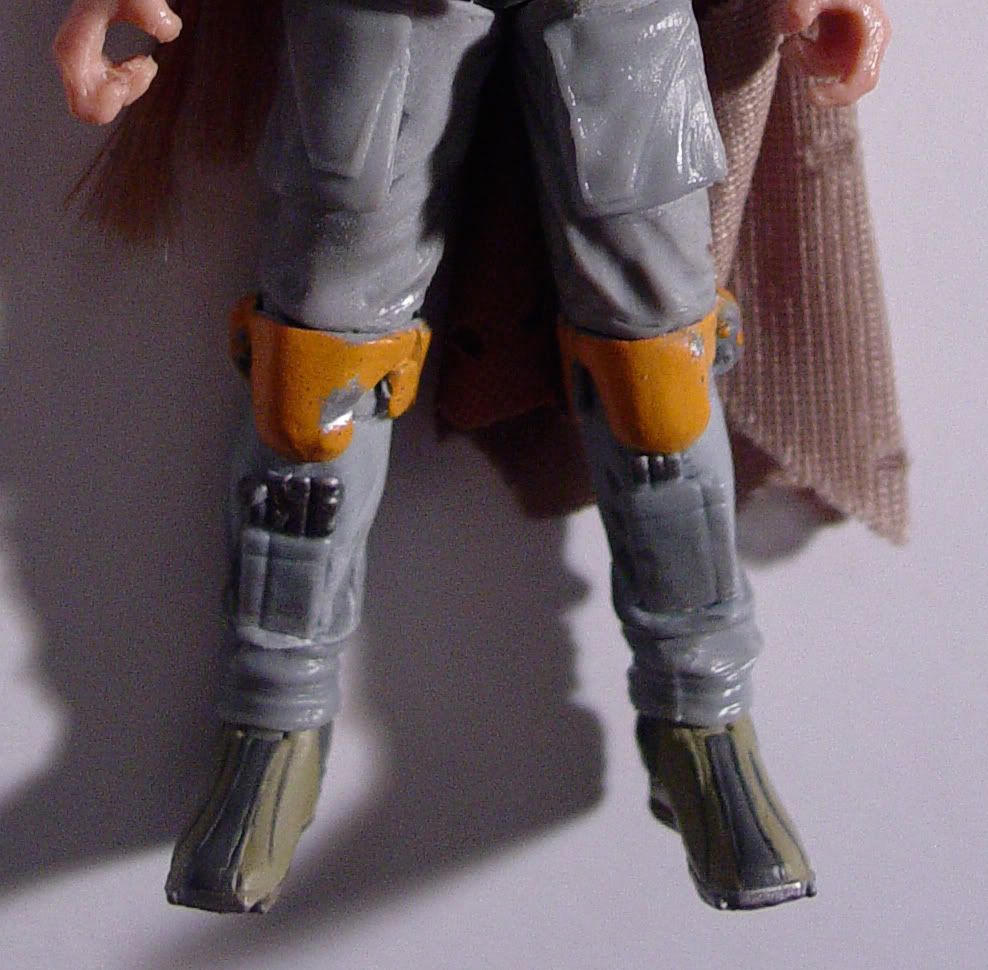
Although, the Imperial Scanning Crewman Base figure had a stance that I thought was great for Boba Fett, the details of his legs were, of course, completely wrong. The pants pockets needed to be replaced with the correct ones from Boba Fett’s jumpsuit (taken from 2010 Vintage Collection Fett).


Every once in a while, the customizing Gods smile upon me and offer me a gift.  This was one such occasion.  To my surprise and delight, 2010 Boba's pants pockets were PERFECTLY compatible with the color of the Scanning Crewman’s jumpsuit since Hasbro molded the uniforms of both figures in the exact same color!!!  WOOT!!!!


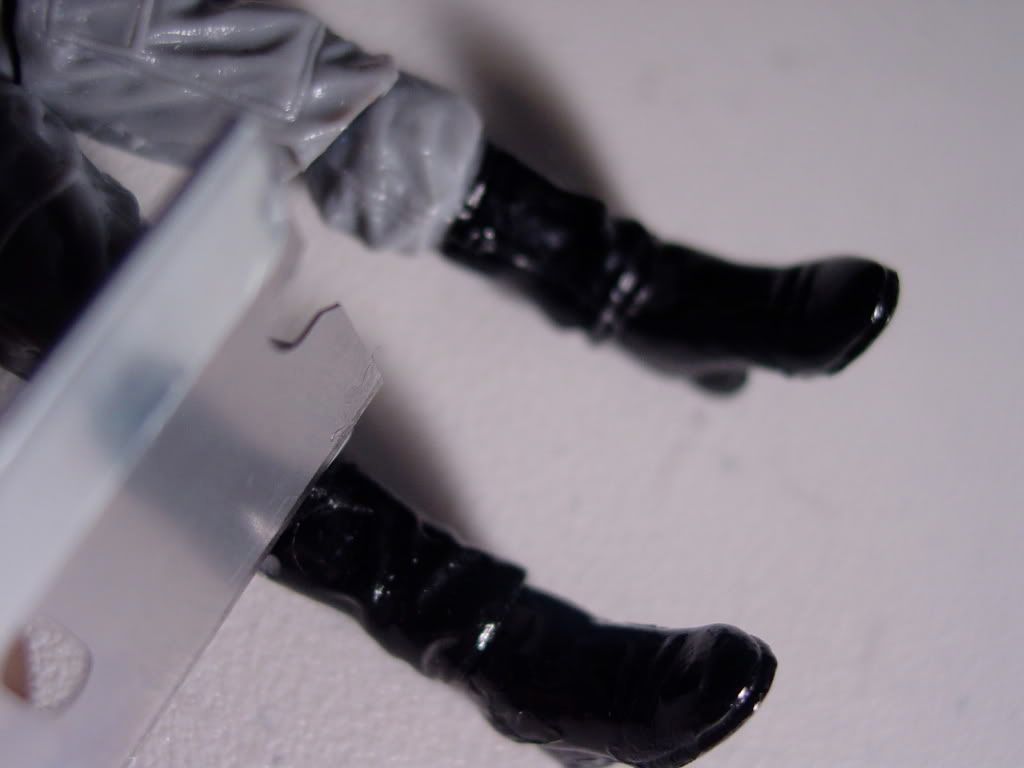
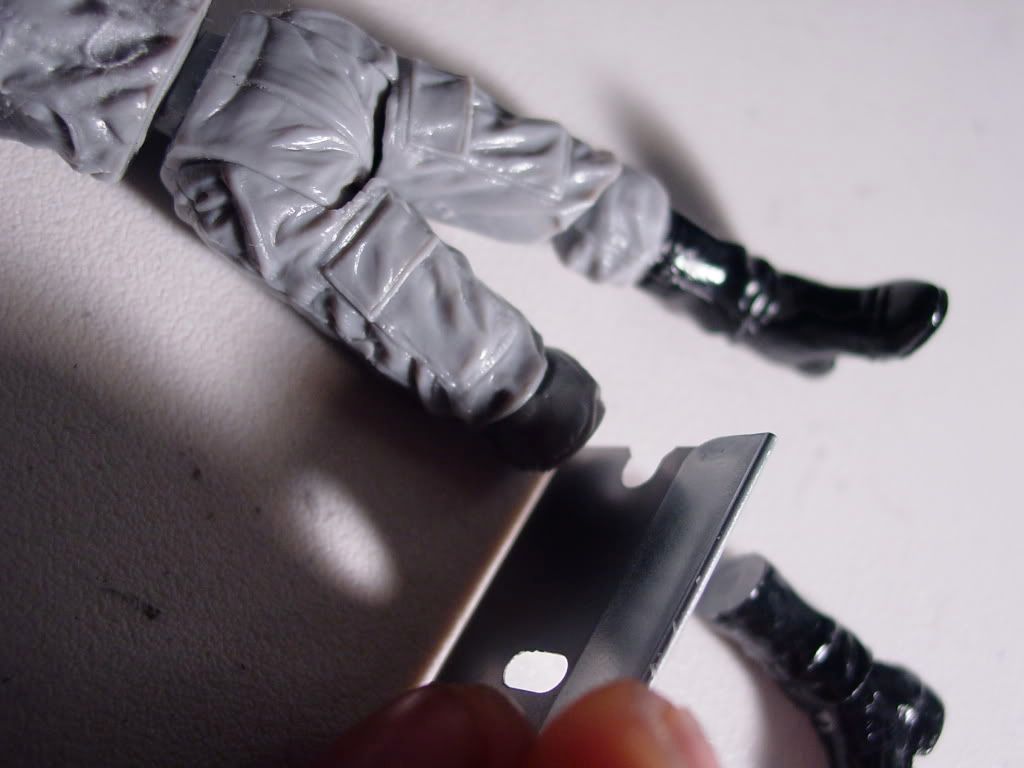
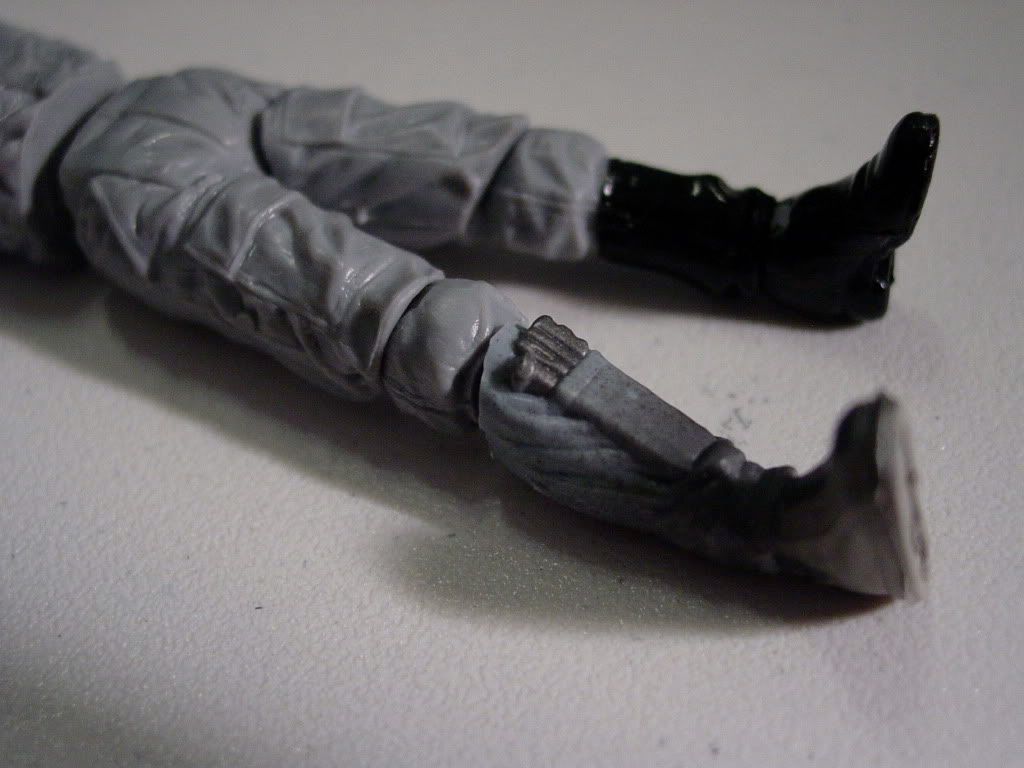
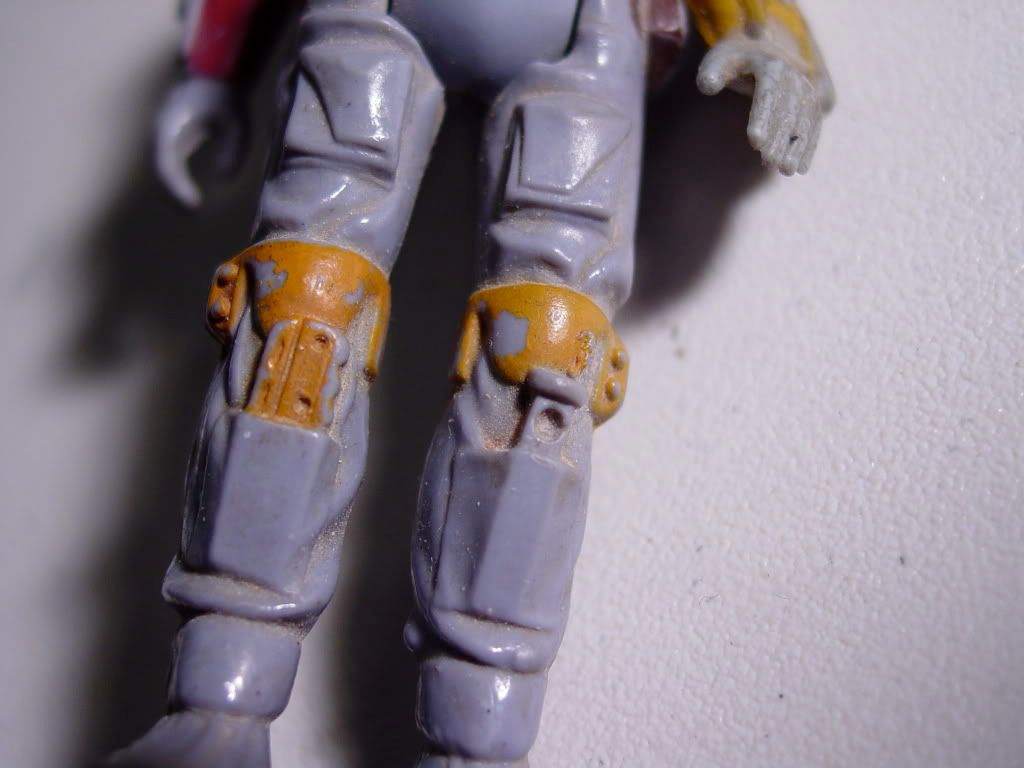
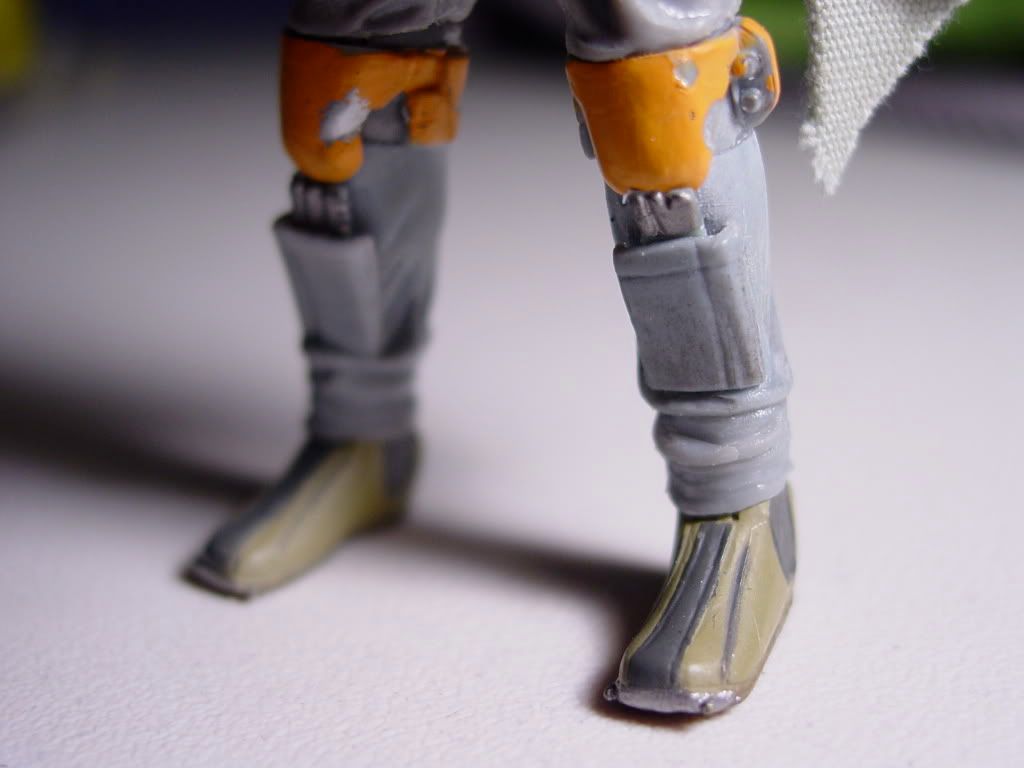
Then, the lower legs had to be replaced altogether since Fett does not wear tall black boots.  That was when I recieved another customizing "GIFT" from the gods.  I did not like the lower legs from the Legacy / 2010 Vintage Collection Fett for use on my figure because I found them to be far too frail and thin to be appropriate for Fett’s baggy pants (there's that annoying shrinking scale thing again!).


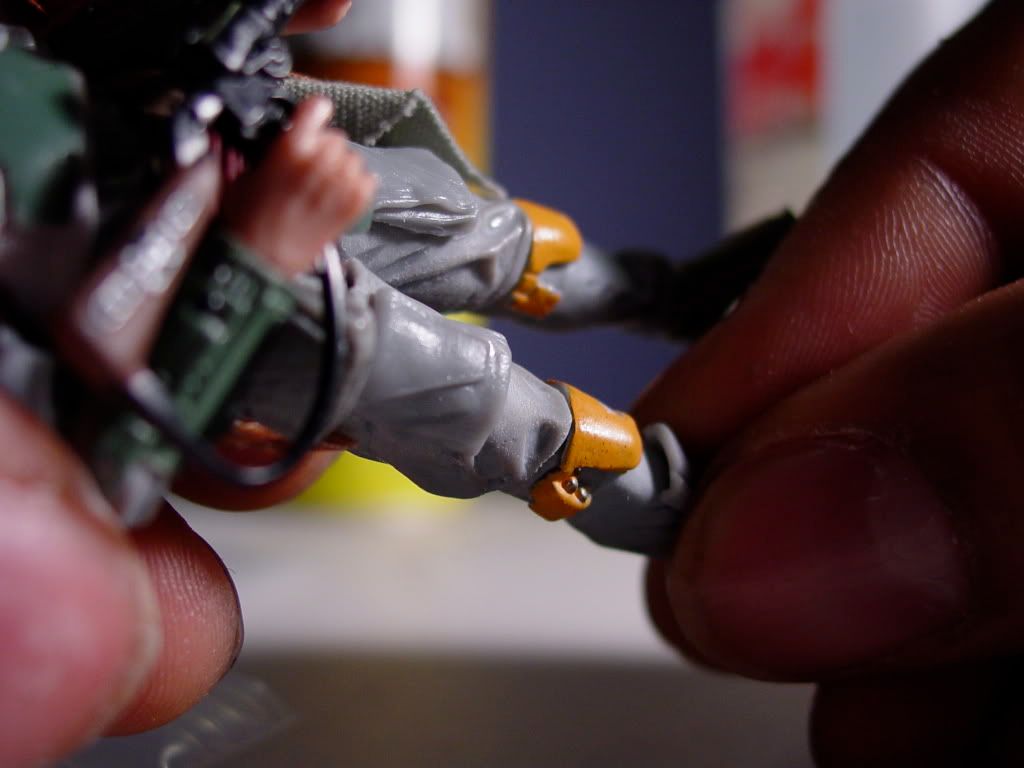
But the lower legs of POTJ 300th figure Boba Fett came to my rescue here.  And although they were not a 100% color match for the  ISC uniform, they were certainly awfully, awfully close!  Close enough that no re-painting would be required since the two leg sections would be separated by the yellow knee pads!  Once again… WOOT!!


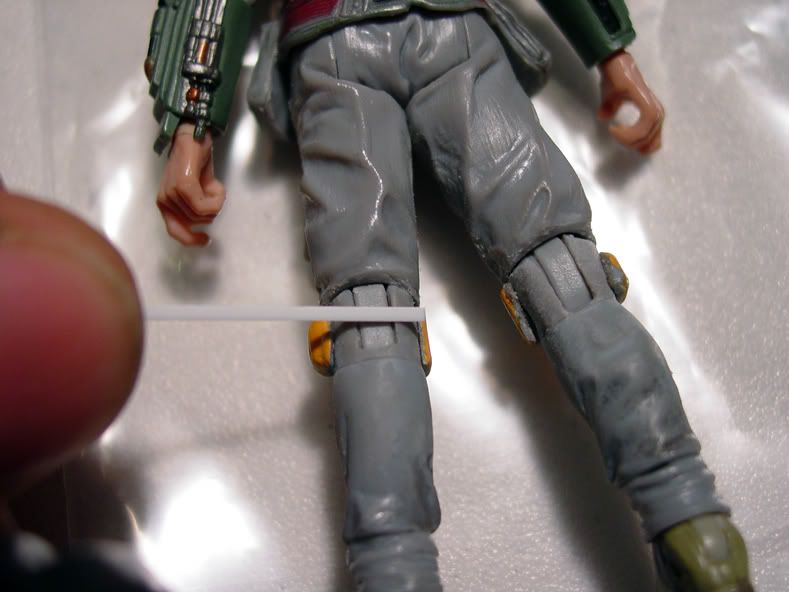
If you place your thumb between the upper and lower legs sections in this photo (like Boba's knee pad), you can see how greatly REDUCED the color difference becomes in the two shades of grey pants.


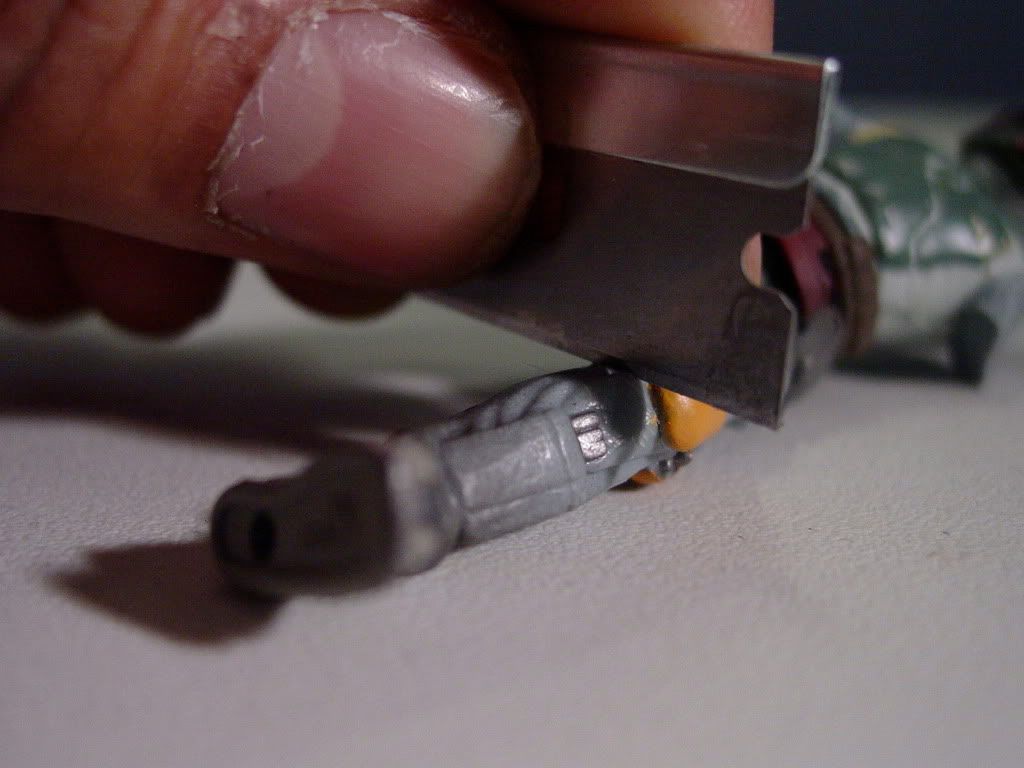
I was forced to re-position the shin pockets that contained  Fett’s cutting tools a bit lower to accommodate the yellow knee pads (cut off of POTJ 300th Boba Fett and Dremmeled out to be wearable).  But the final look is just dandy!

Each leg is bottomed off with the ankle cuffs from  Legacy / 2010 Vintage Collection Boba.  And the boot  feet (with correct color, center stripe, and steel toe spikes) were donated by SAGA 2 Fett.  Ball articulation of the ankles / feet is fully preserved.

The original ISC figure’s (below average) height was brought up to a full 3-3/4” inches with this operation.


When the lower leg section was shaved down a bit to anatomically match the Imperial Scanning Crewman’s upper legs, the result was an absolutely PERFECT pair of legs that did NOT look anorexic, and were still fully articulate!

January 9, 2011 9:31 pm #

OUTFITTING A BOUNTY HUNTER

Putting together the articles of Boba Fett’s costume was going to be VERY time-consuming, VERY delicate,  and VERY intricate work…  a supreme challenge, but ultimately VERY important to me.  I really wanted the outfit on my figure to have that “assembled” look that is so identifiable to me as Boba Fett’s signature look. 

I find that when Fett’s various armor sections, garments, and weapons are all molded and / or painted onto the figure (as they are on production figures),  much of that “sectioned” look is lost, in my opinion.

Interestingly enough, virtually EVERY figure that I critiqued before would provide me with vital parts for creating my final custom Boba Fett.

Here is the rundown:

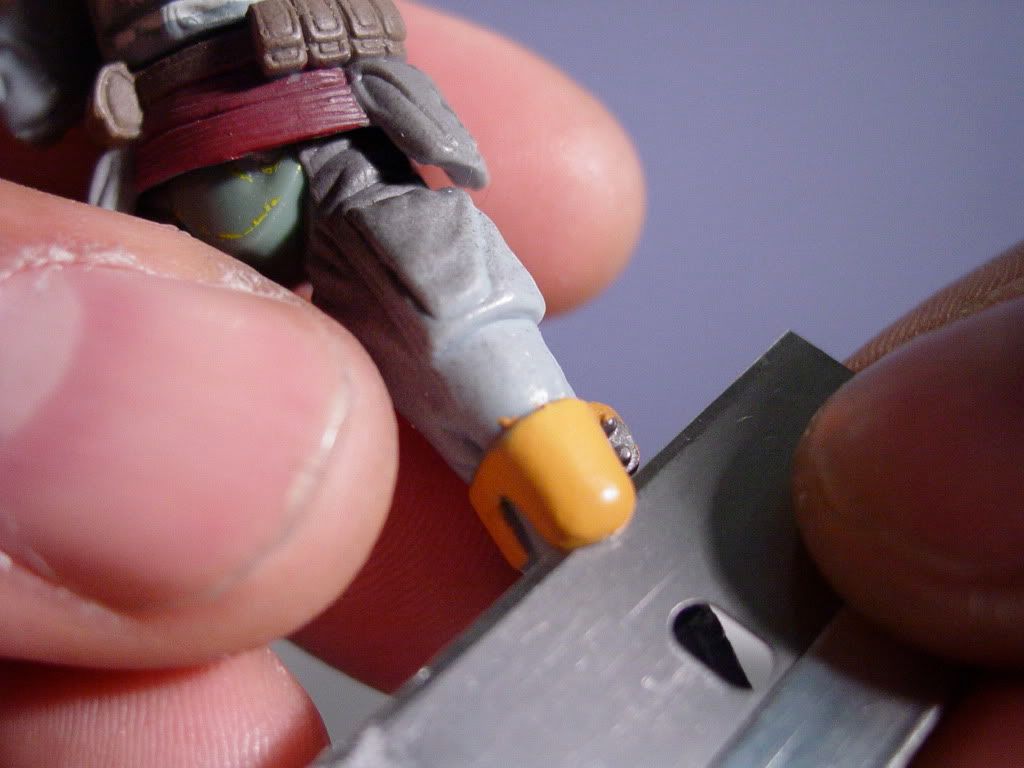
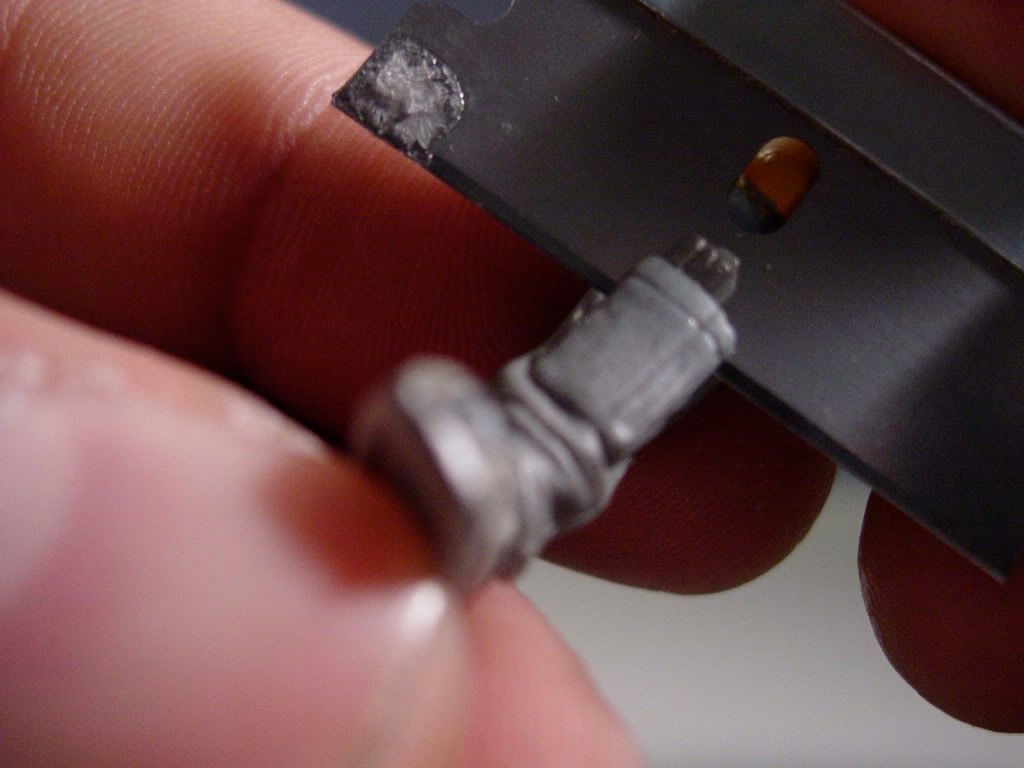
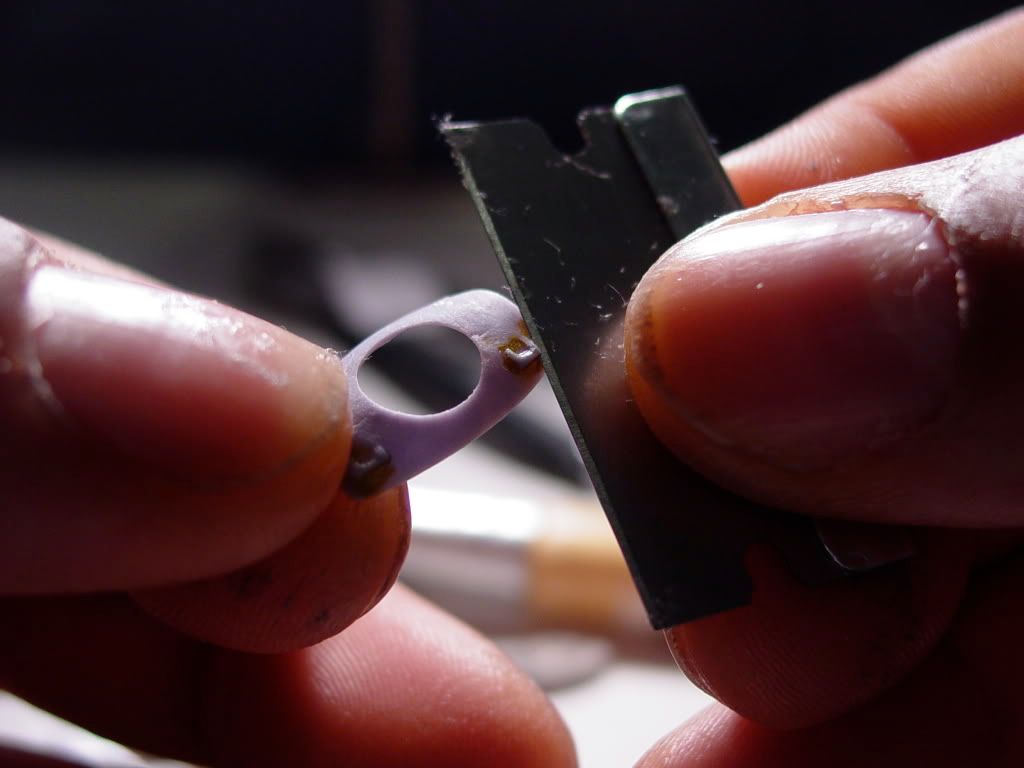
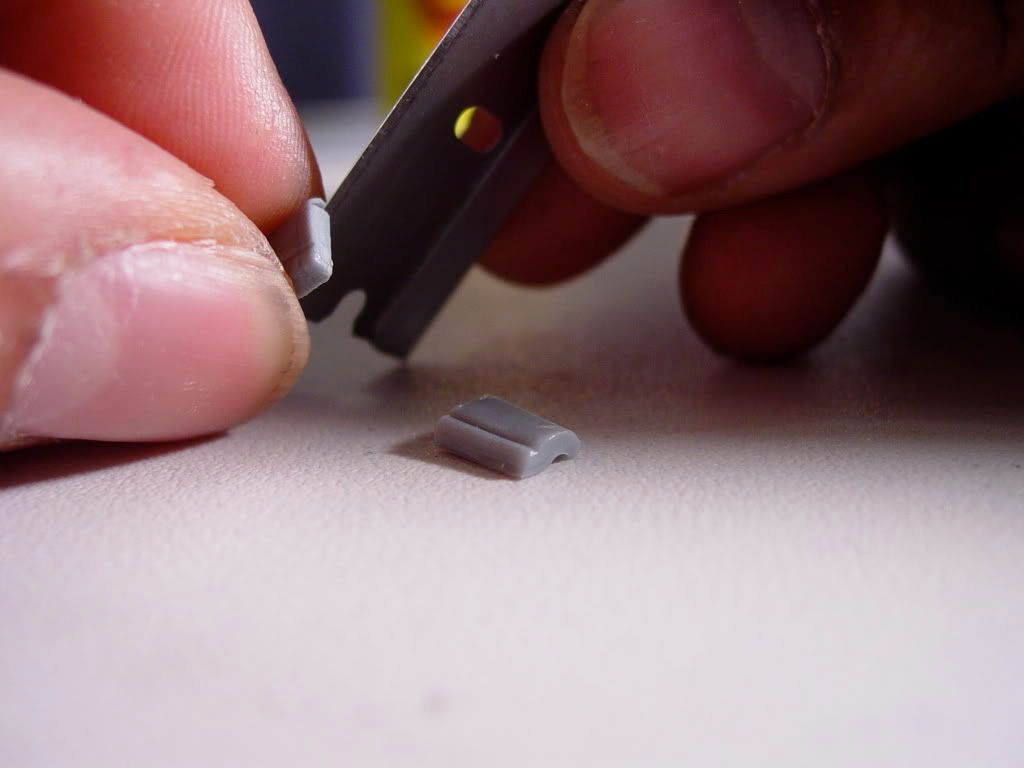
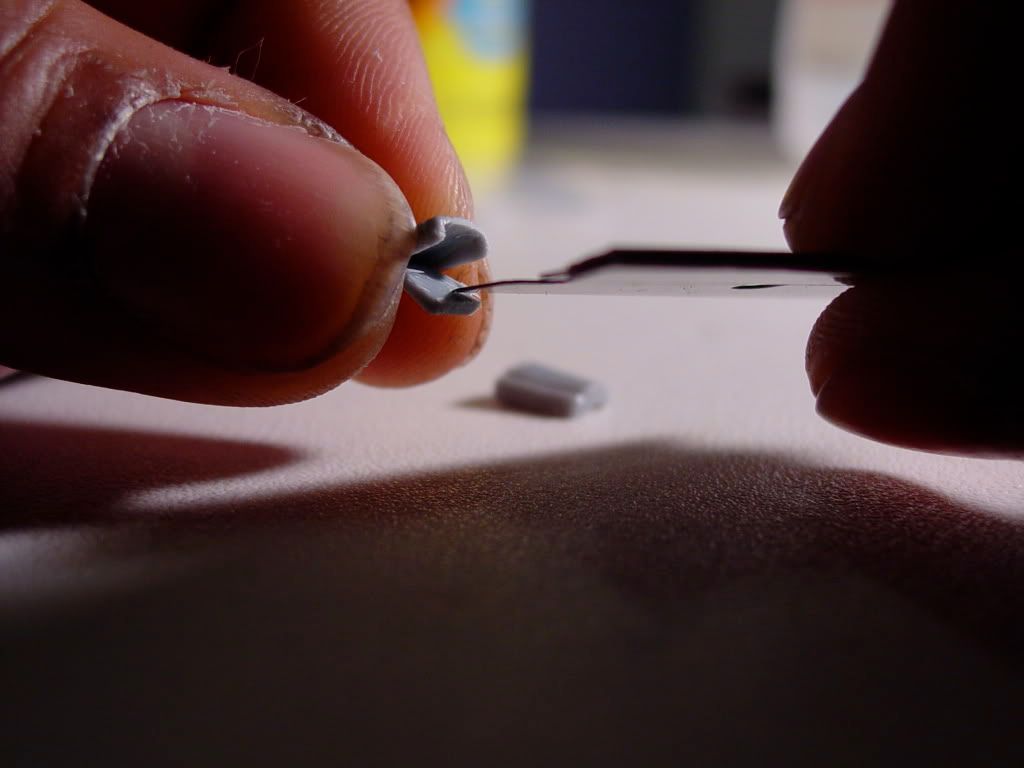
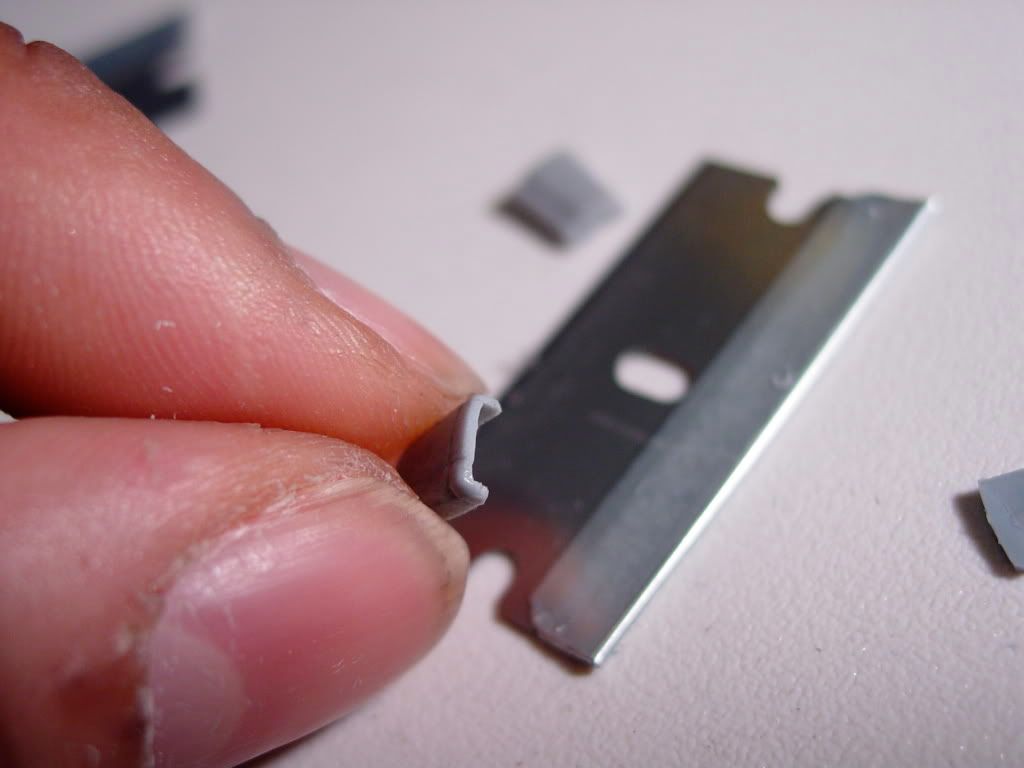
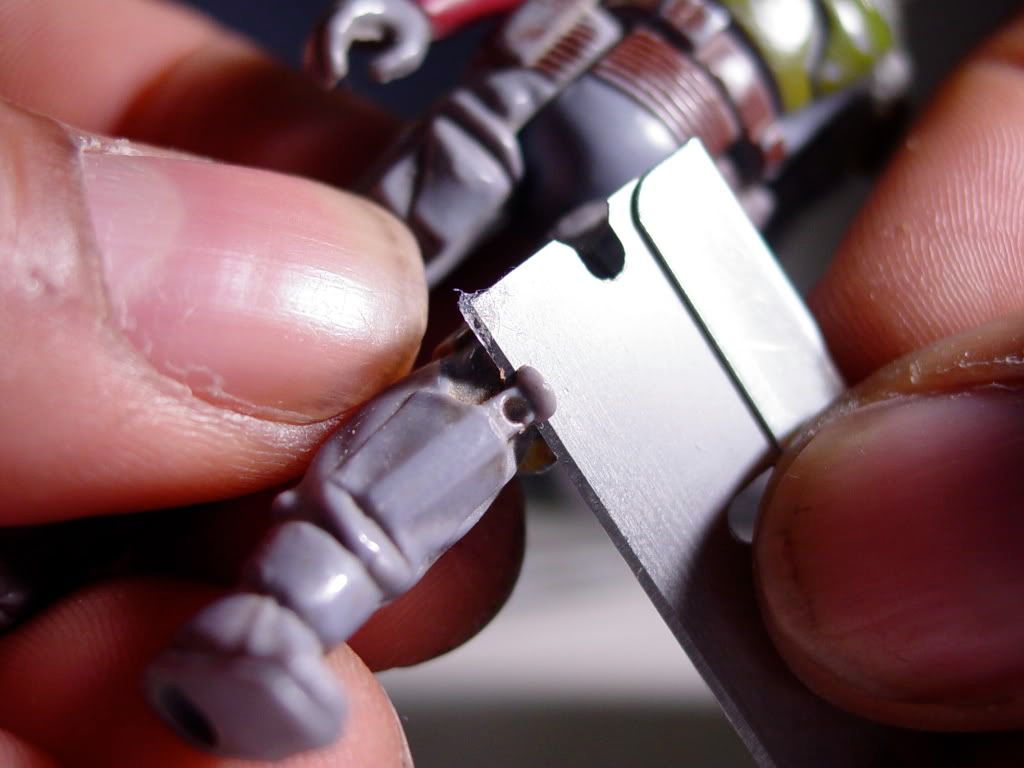
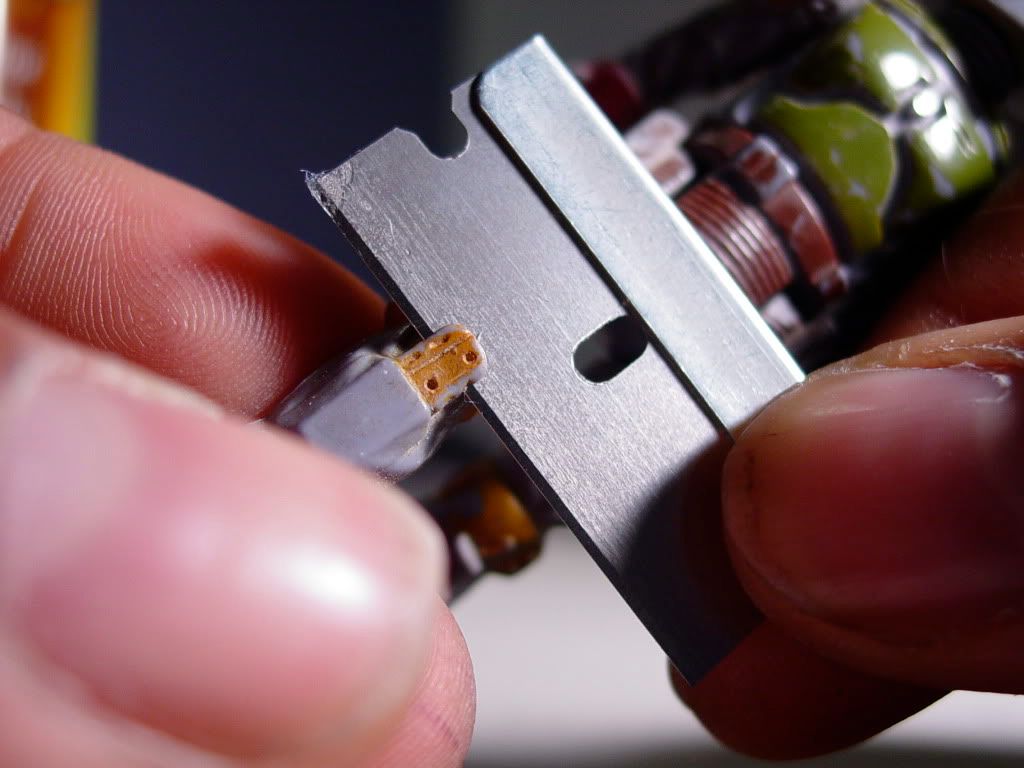
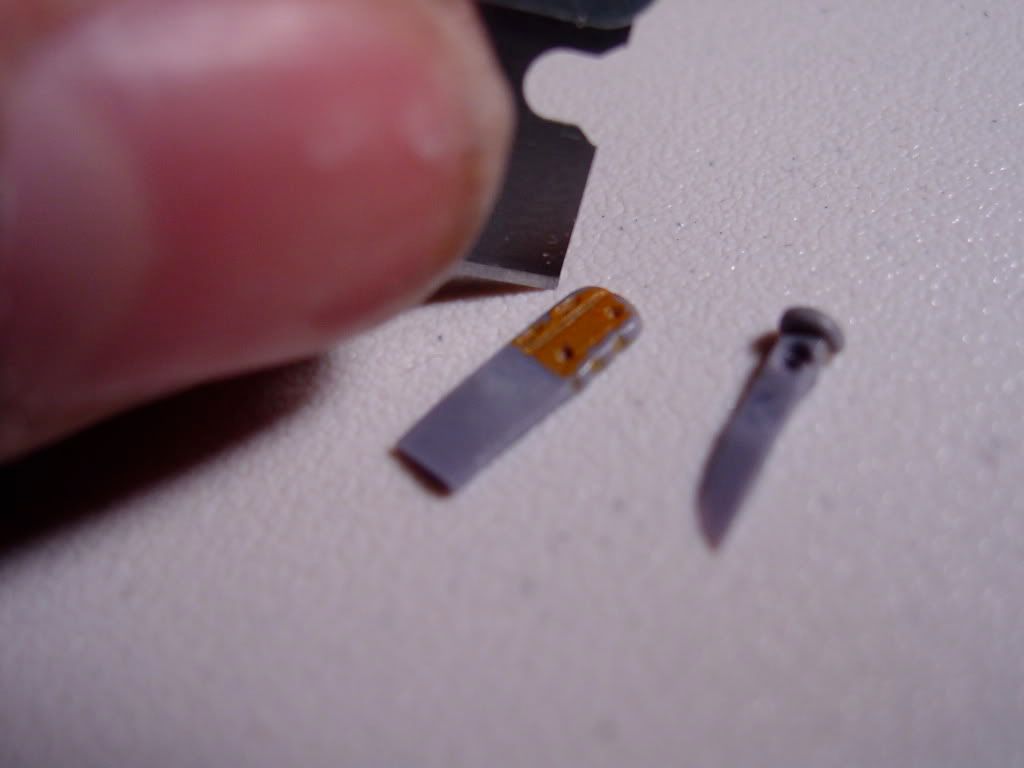
I turned to the POTJ 300th figure Boba Fett for his yellow armored knee pads and shoulder armor bell pieces.  It was a tricky matter of using a single edge razor to cut these sections out, and then Dremeling them into hollow wearable articles.

[PHOTOS NO LONGER ONLINE]

I discovered that when the shoulder bells are molded onto the figure’s upper arms (as they are on production Hasbro figures), there are always going to be three (3) major compromises to the integrity of the overall figure (which I was NOT going to accept on my custom):

1) The ball-jointed arms range of motion becomes partially impaired.

2) Un-due bulk  is sculpted onto the figure’s shoulders,  adversely affecting the slender aesthetic of the character.

3)  The collar armor design is altered so that the outer ends curl upward where they meet the shoulder / arm socket.  This is done to create clearance for the bulked-up ball-jointed arm (with the armored shoulder bells molded on).

The curled-up collar armor (in turn) only contributes to “football shoulder pad  and no-neck syndrome”… which significantly reduces the slim, sleek aesthetic that this character is supposed to have.

By creating the shoulder bells as separate appliances, and then attaching them to the sleeve of a separate soft-goods flack vest garment (as they are meant to be), it was my hope to leave the figure’s shoulder articulation un-obstructed and maintain a slender build to Fett’s upper body.


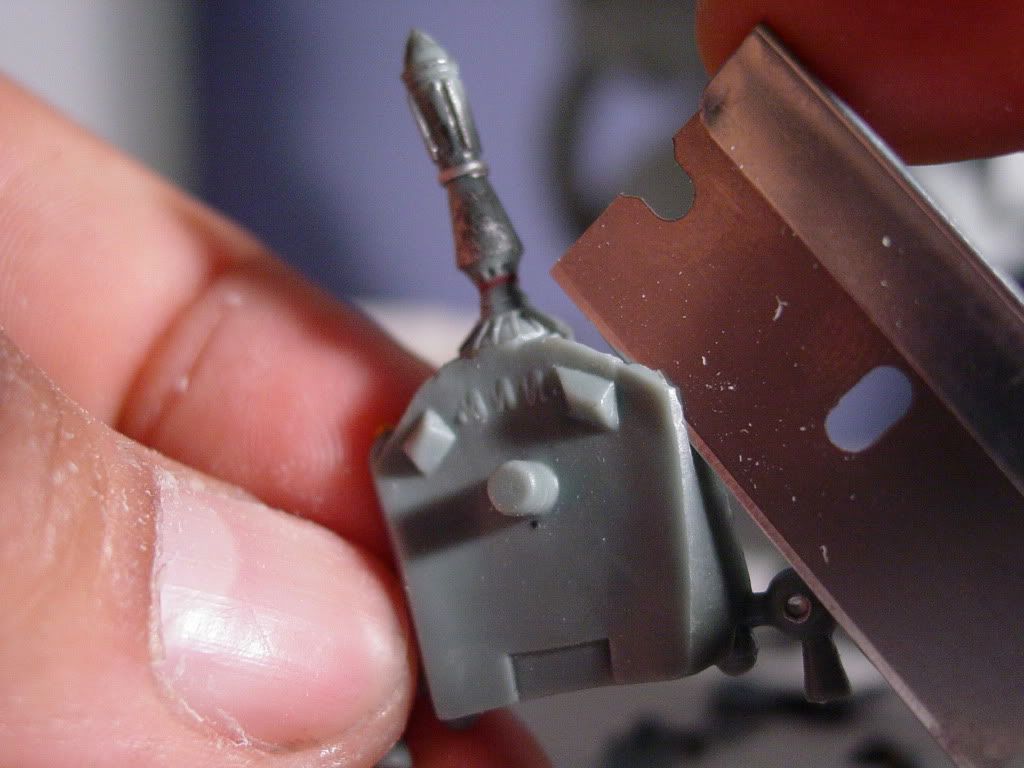
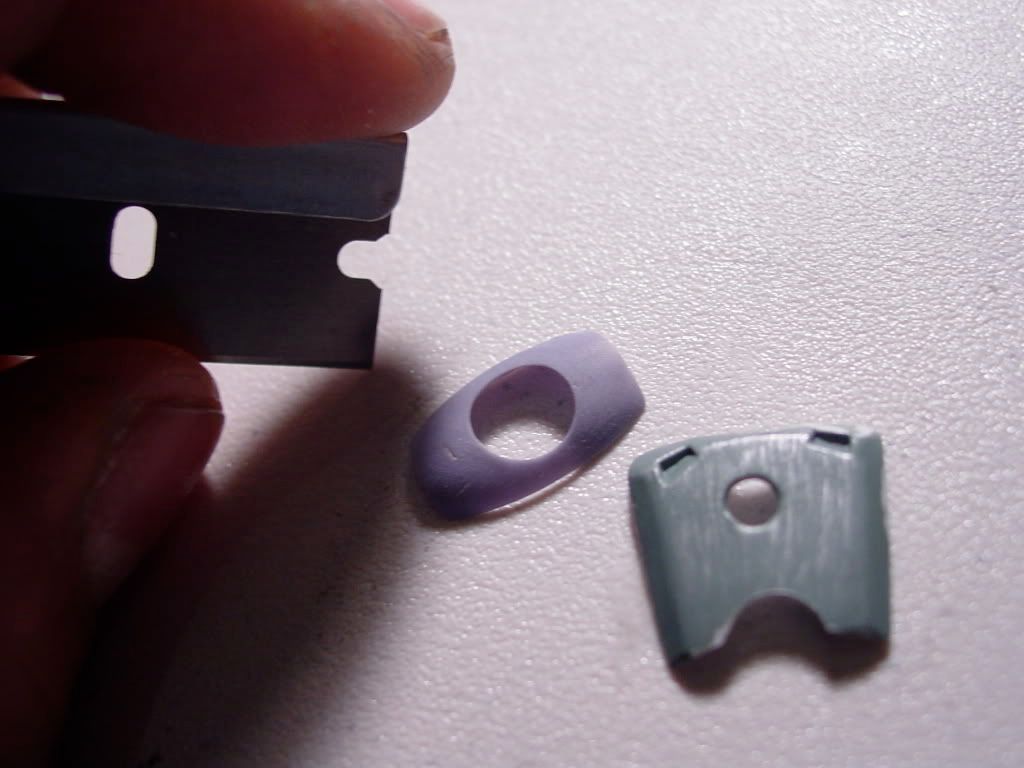
VOTC  Boba Fett provided the armored torso plates of the bounty hunter’s flack vest, and the armored cod piece came from POTJ 300th Figure Fett. Once again, each section was carefully cut out of the molded action figure and Dremelled down into separate plates of an appropriate thinness for a figure of this scale.  The crotch armor actually needed to be completed with sheet styrene since the figure only provided the raised center section of the cod-piece.

[PHOTOS NO LONGER ONLINE]

After looking at every single Boba Fett figure ever released, I came to the conclusion that vintage Kenner Fett had the best, cleanest detailed, and most solid collar armor.  After cutting the armor off of a spare Kenner Fett body, I Dremelled it down to an appropriate thinness and cleaned the edges up into a really nice wearable plate.

[NO LONGER ONLINE]

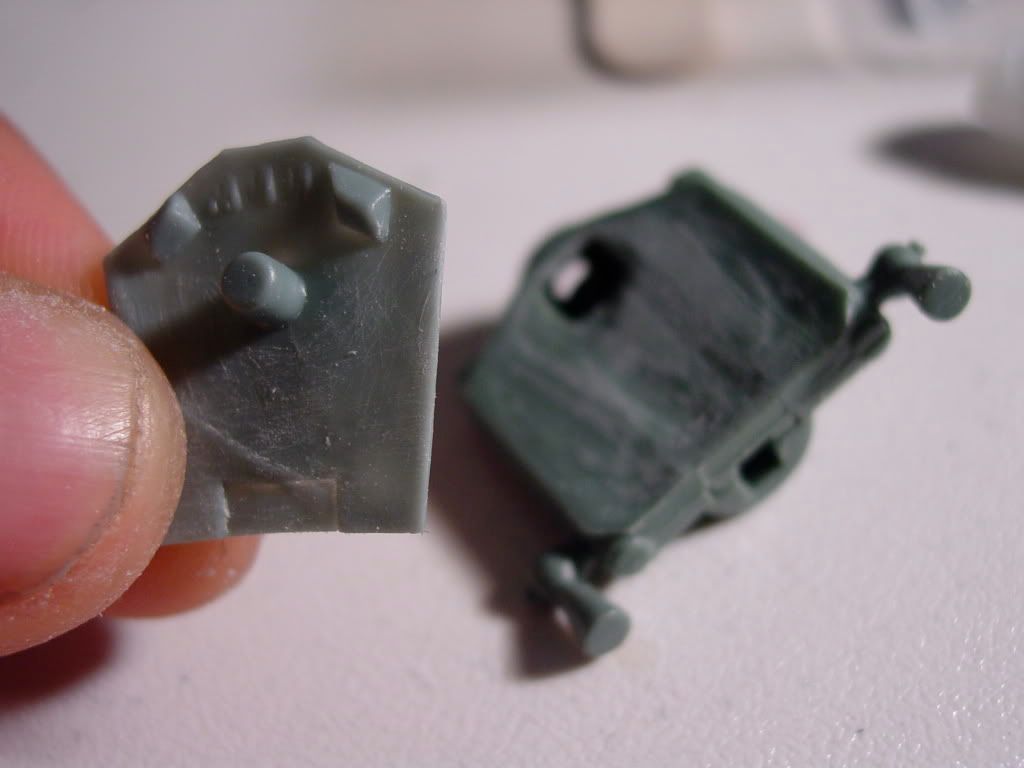
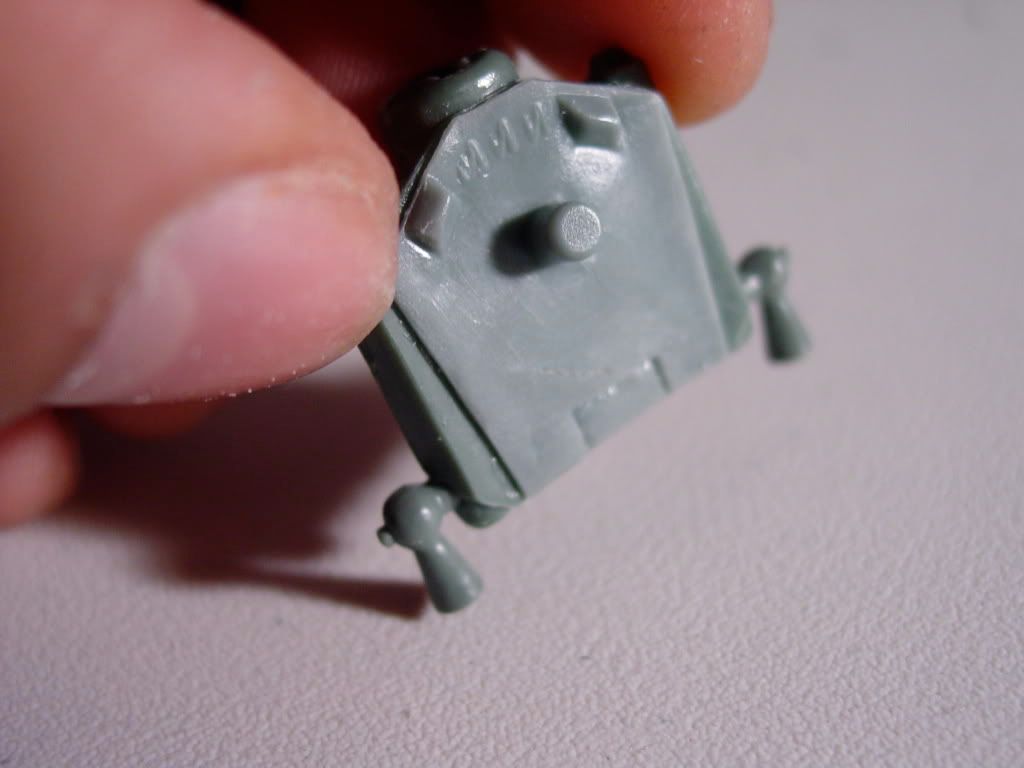
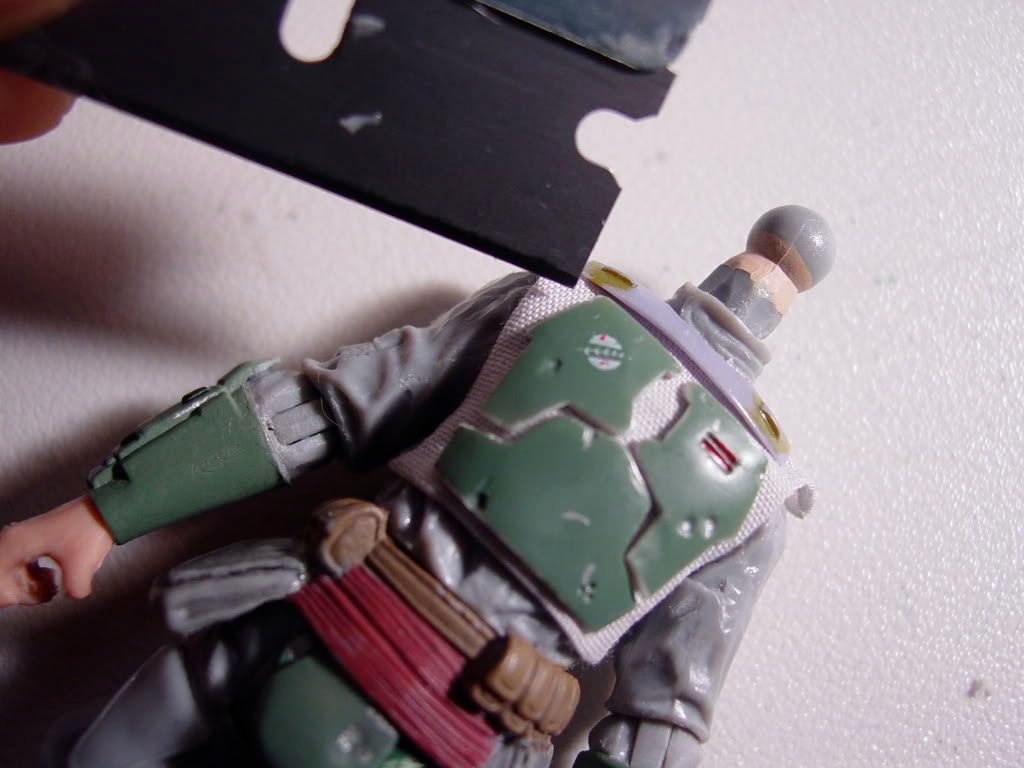
The back armor plate (rocket pack mount) was carefully cut off the Legacy collection Fett figure, and trimmed to an appropriate size to fit an Imperial Scanning Crewman’s back.

[NO LONGER ONLINE]

Once I created all of these appliances, I did a quick test-fit on the Imperial Scanning Trooper Body (With the helmet) to check on the overall proportions, stance, and aesthetic attitude of the figure.

[NO LONGER ONLINE]

January 9, 2011 9:32 pm #

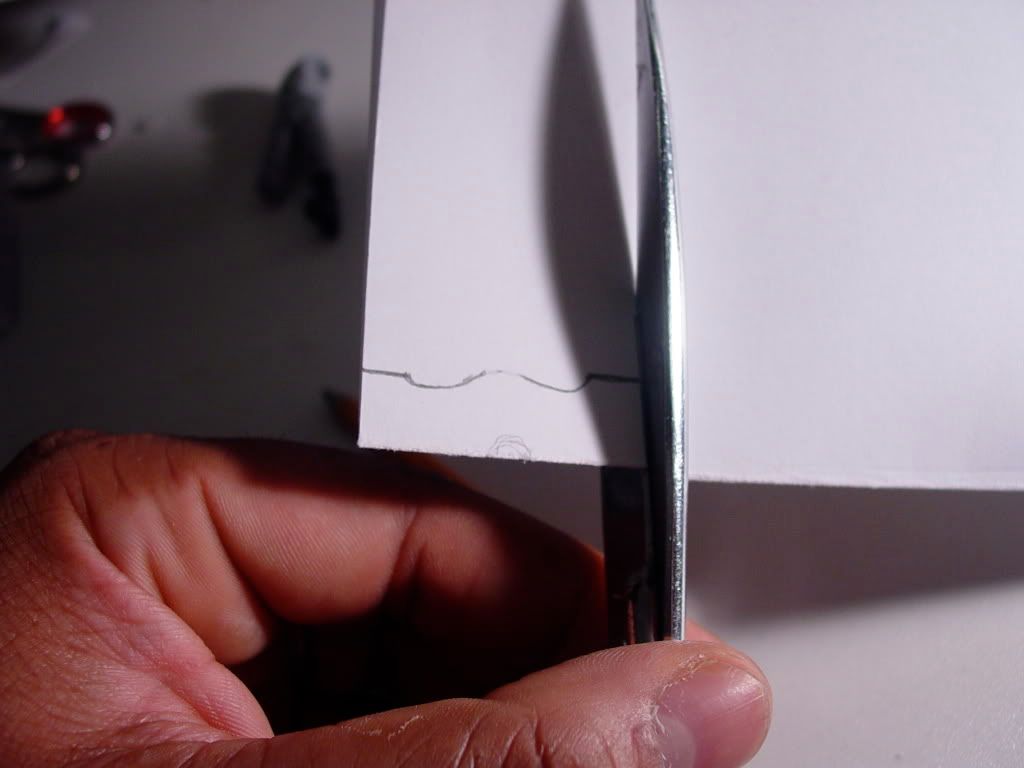
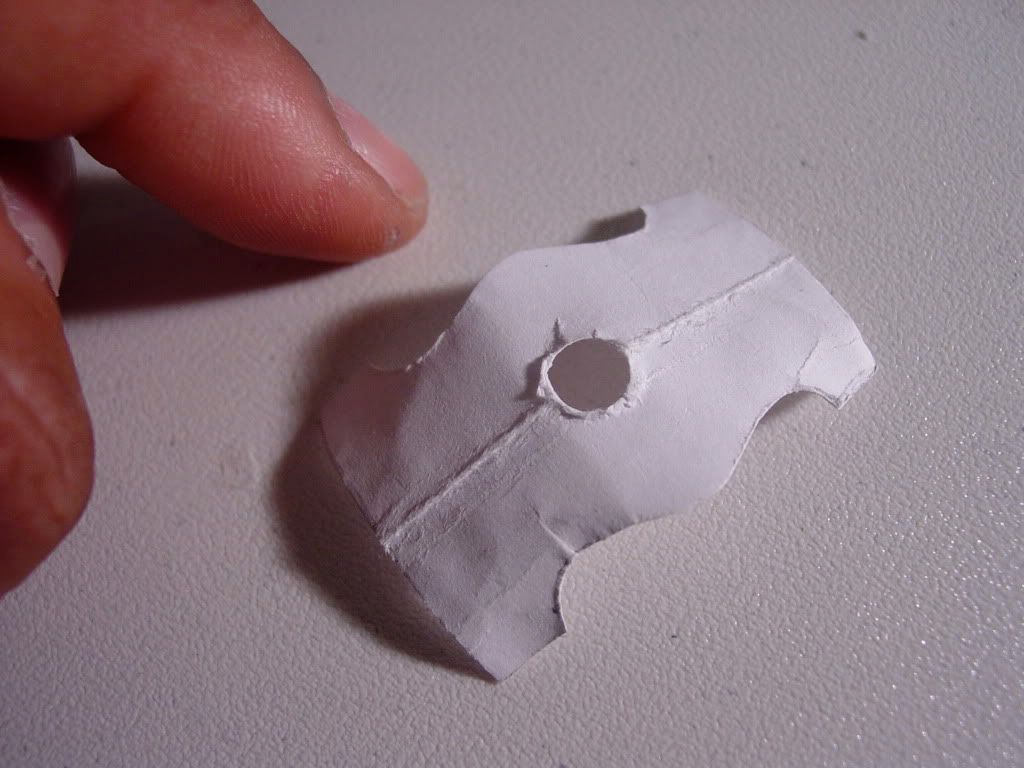
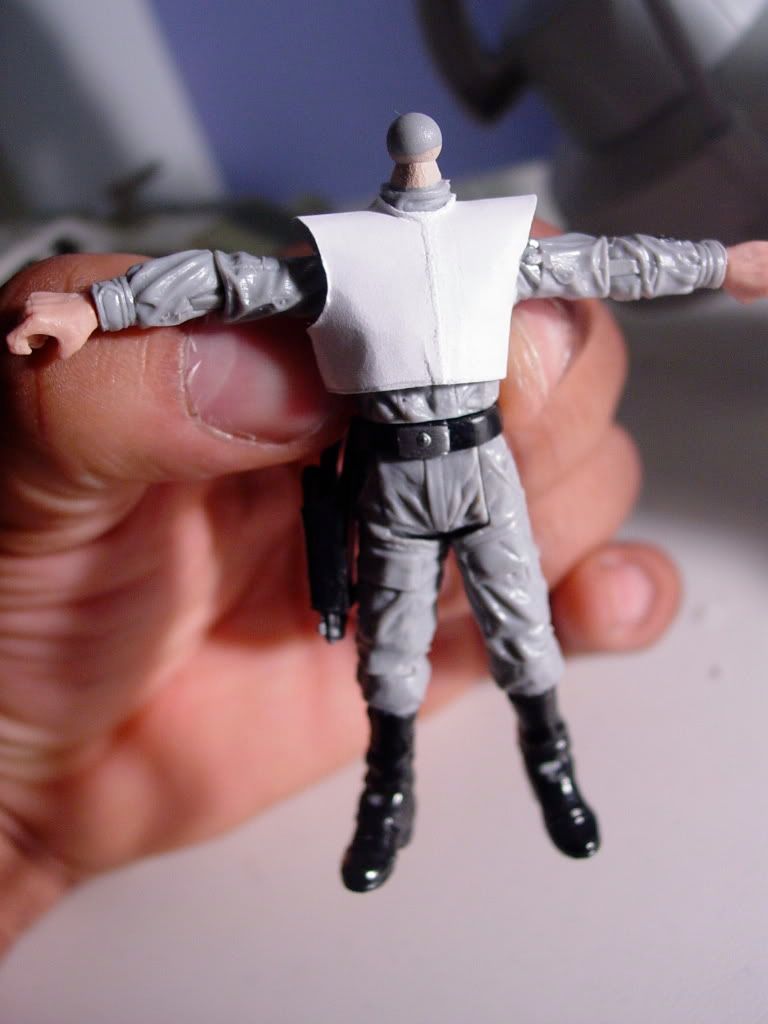
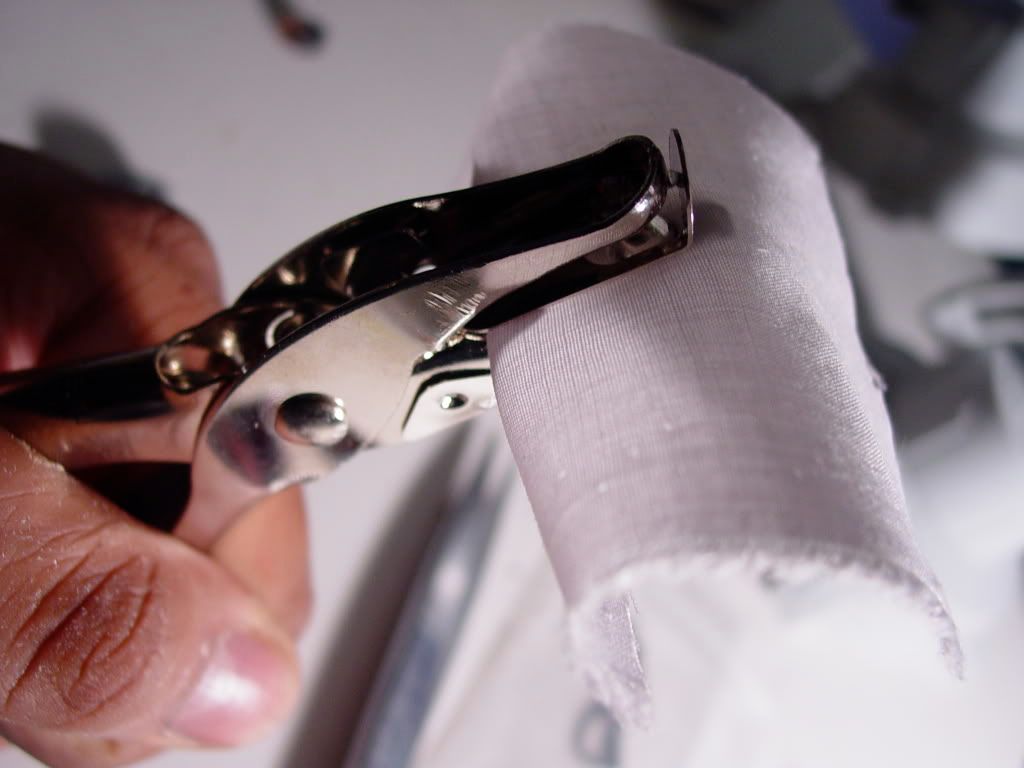
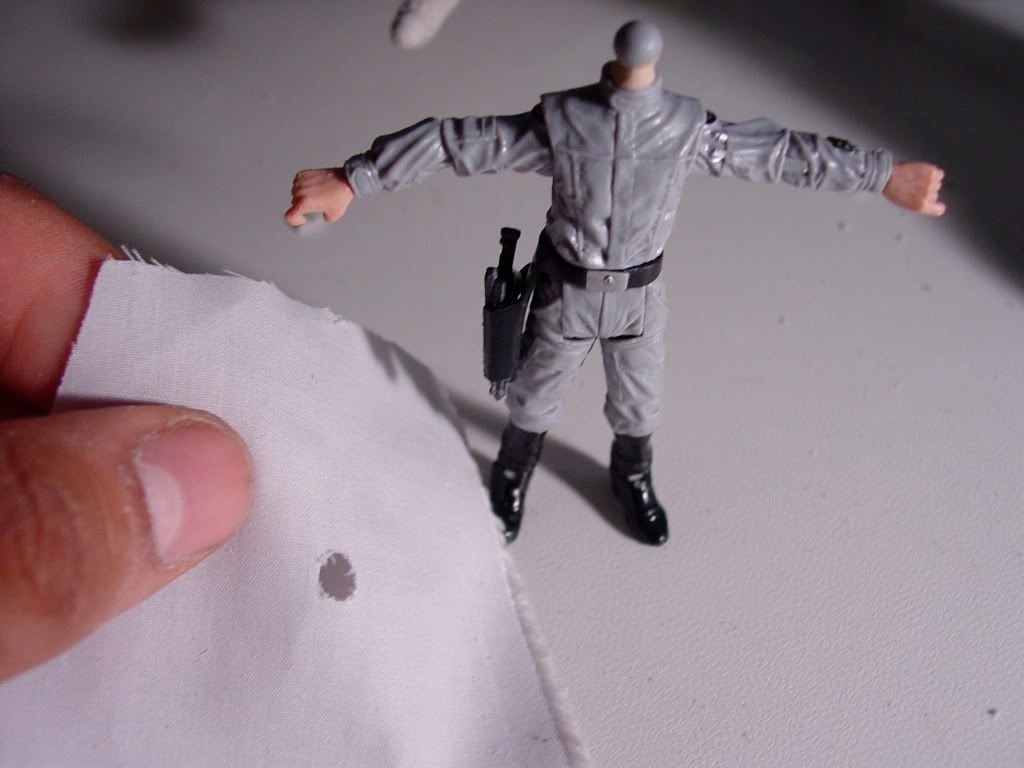
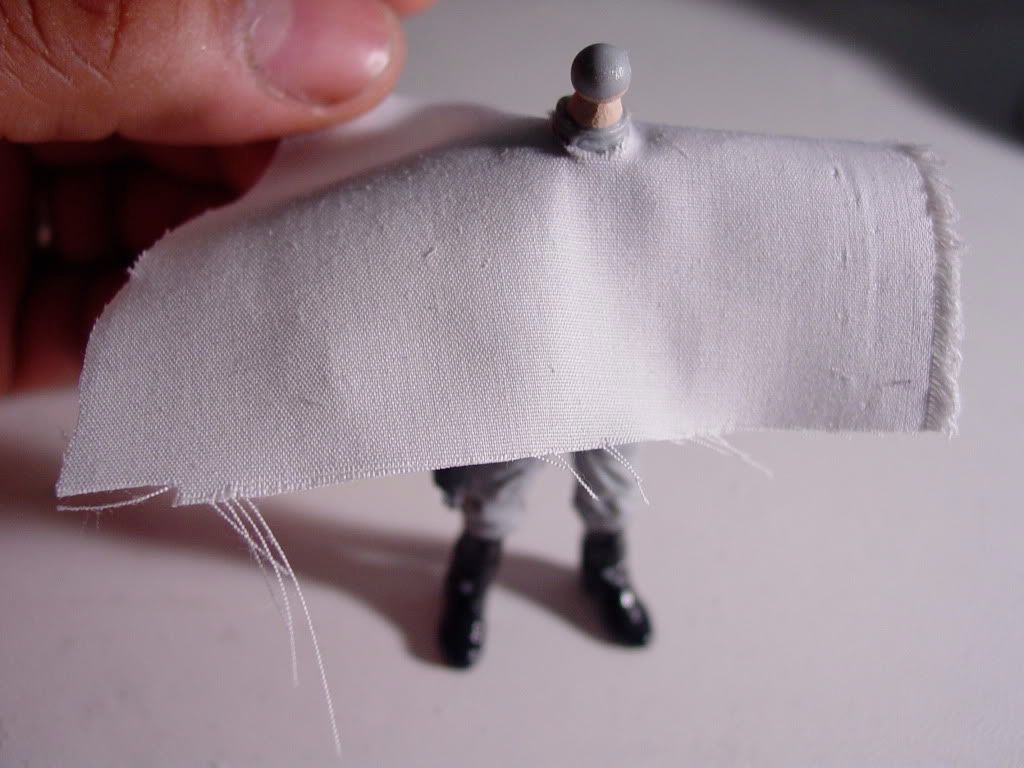
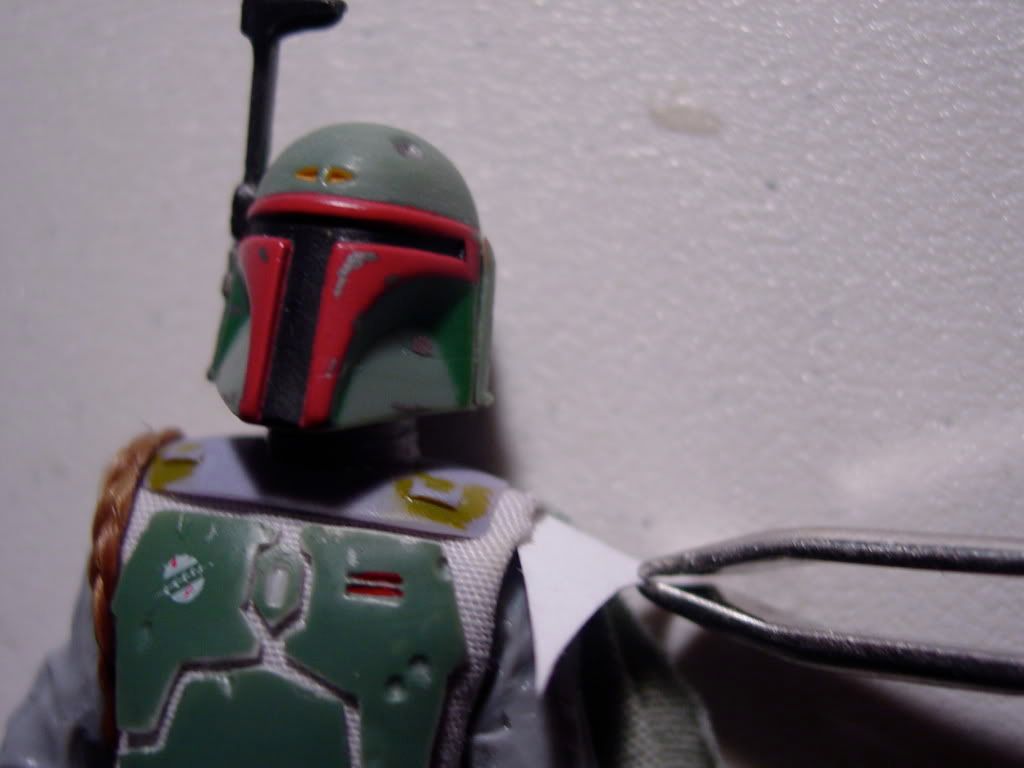
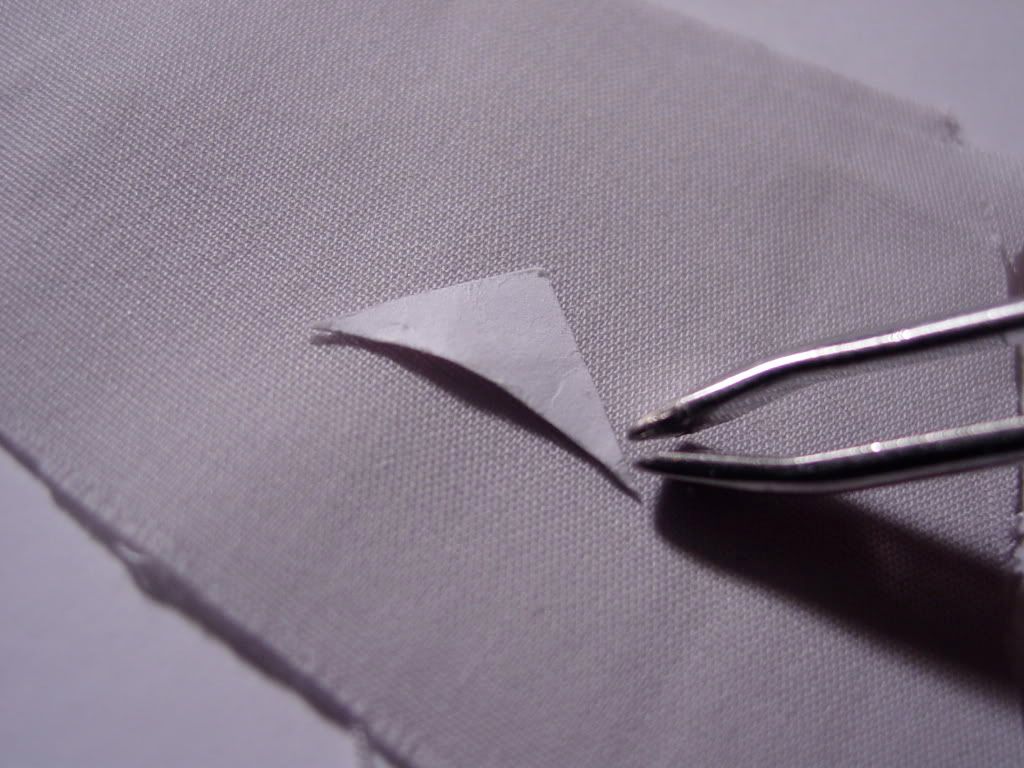
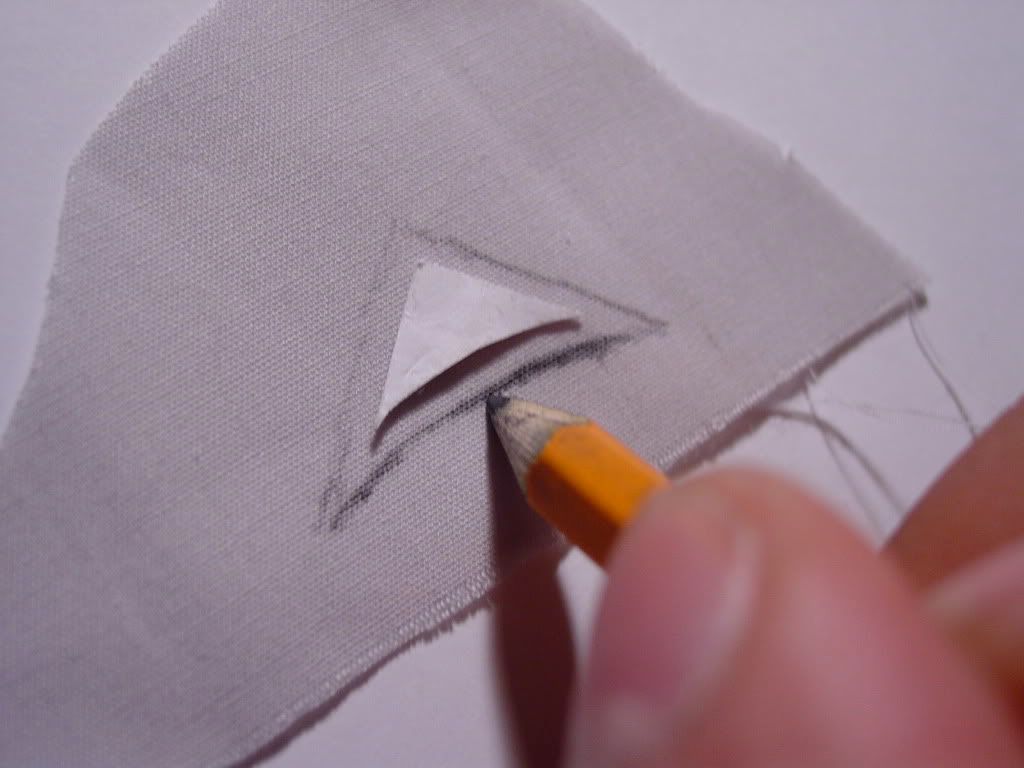
Creating the pattern for Boba Fett’s flack vest was a matter of trial and error.  But, I produced a paper template quickly enough, and used it to cut out a basic cloth vest. I added small upper sleeve extensions (for the armored shoulder bells to be attached to) and I made a neck hole in the vest with a paper hole-punch.


Prior to the soft-goods flack vest being permanently glued to the Imperial Scanning Crewman body, I performed a test fit of the armored torso plates onto the vest to check the overall color layout and texture contrasts on the figure.


January 9, 2011 9:33 pm #

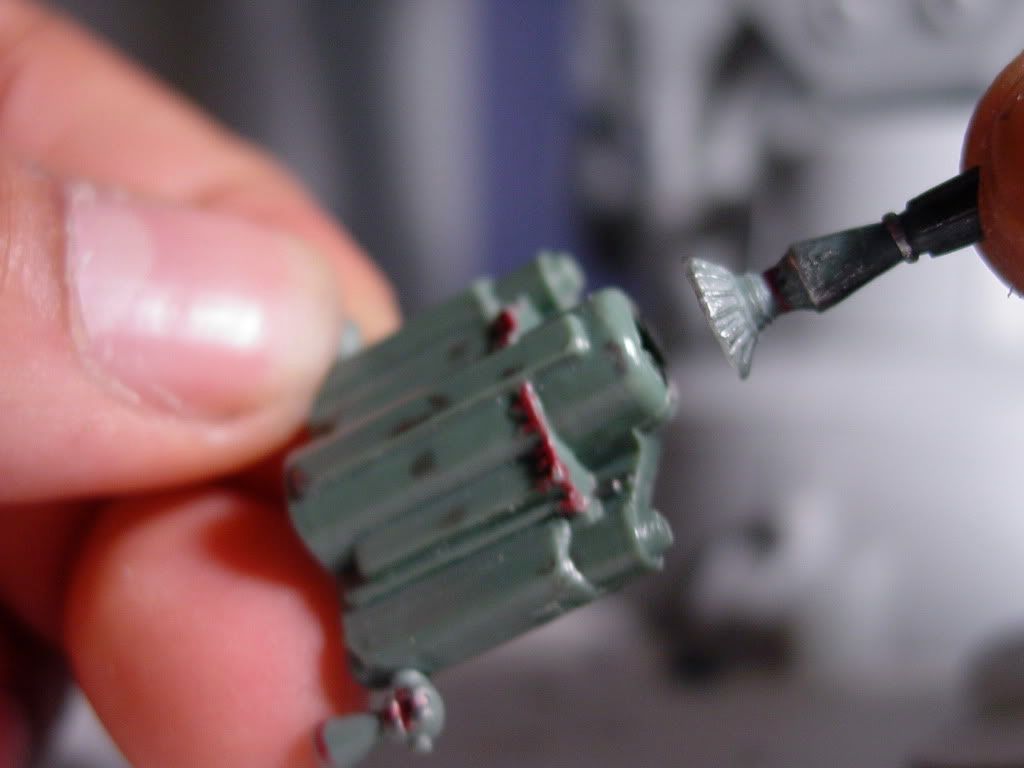
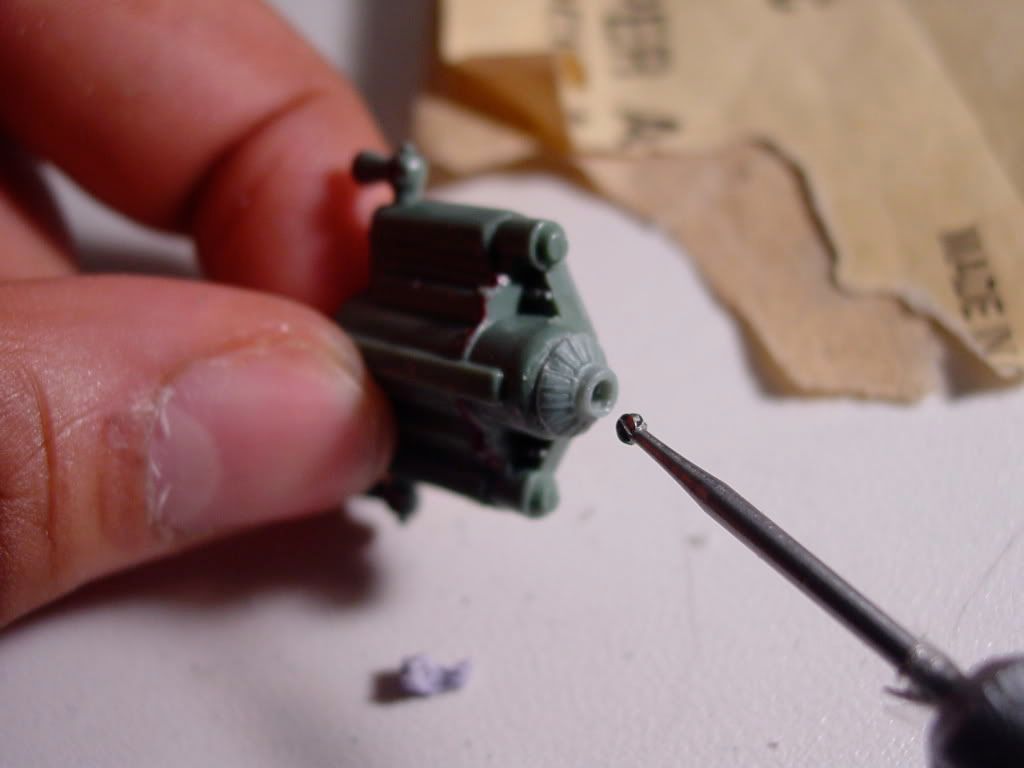
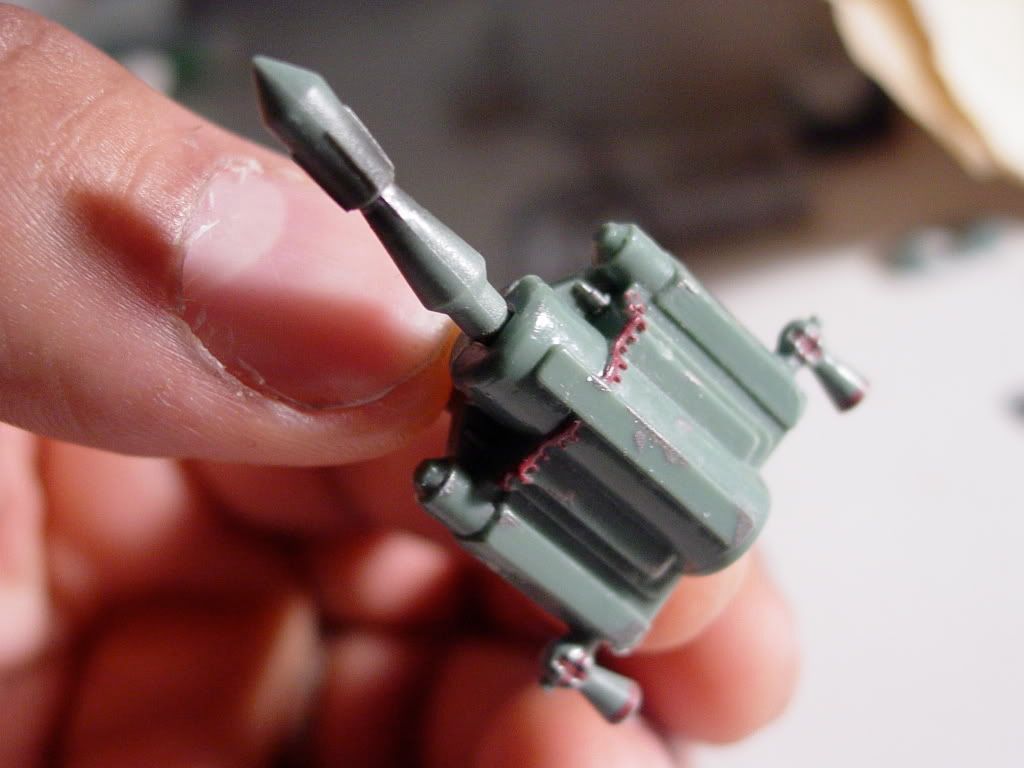
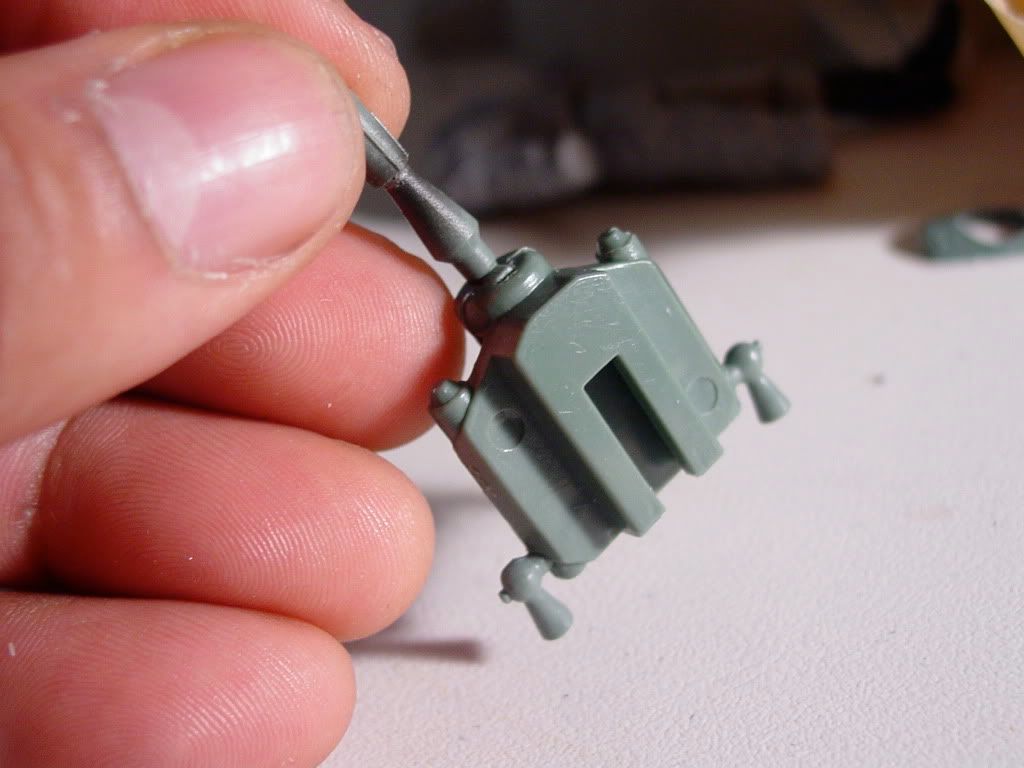
I next decided to give Boba Fett's backpack some attention.

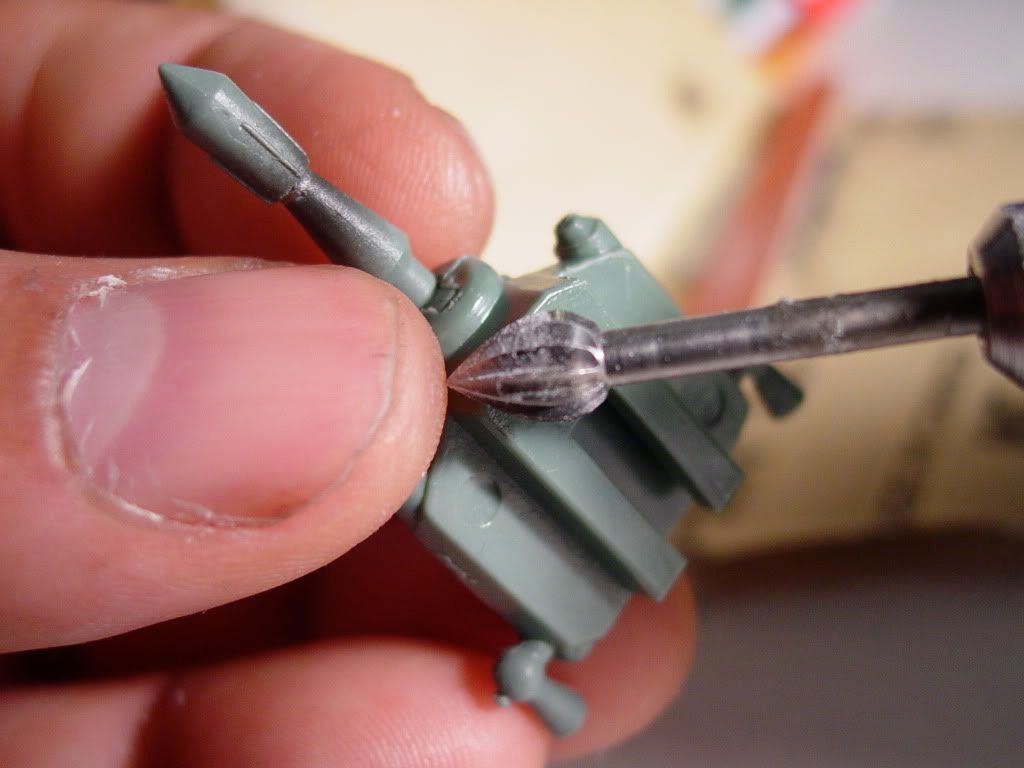
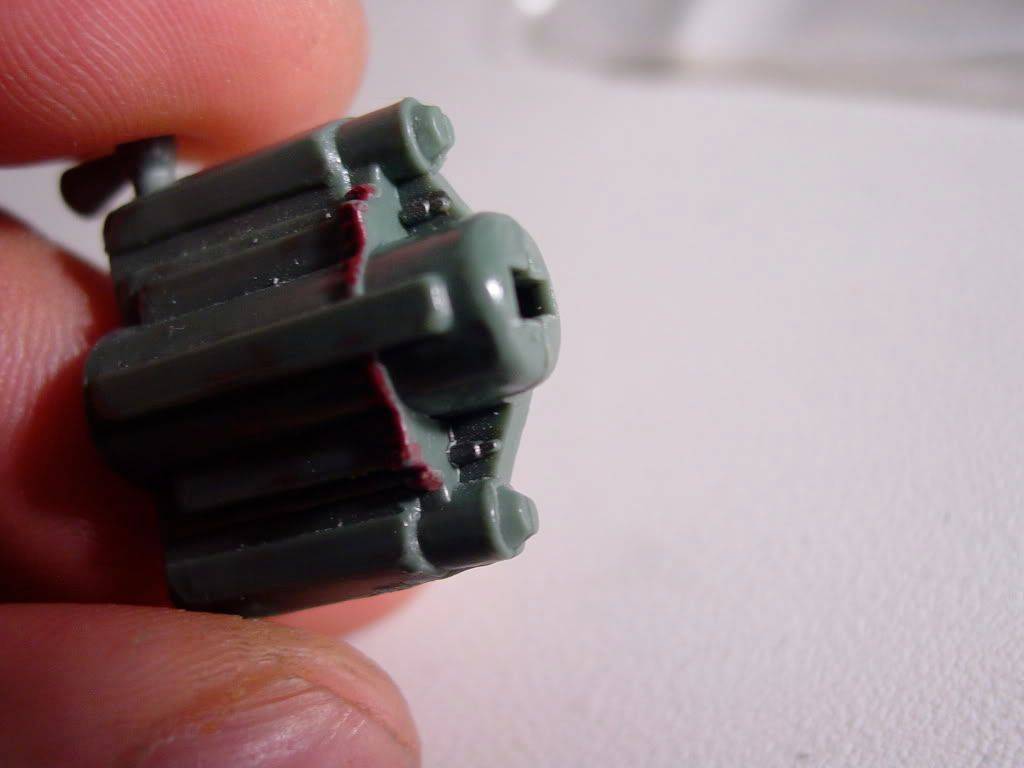
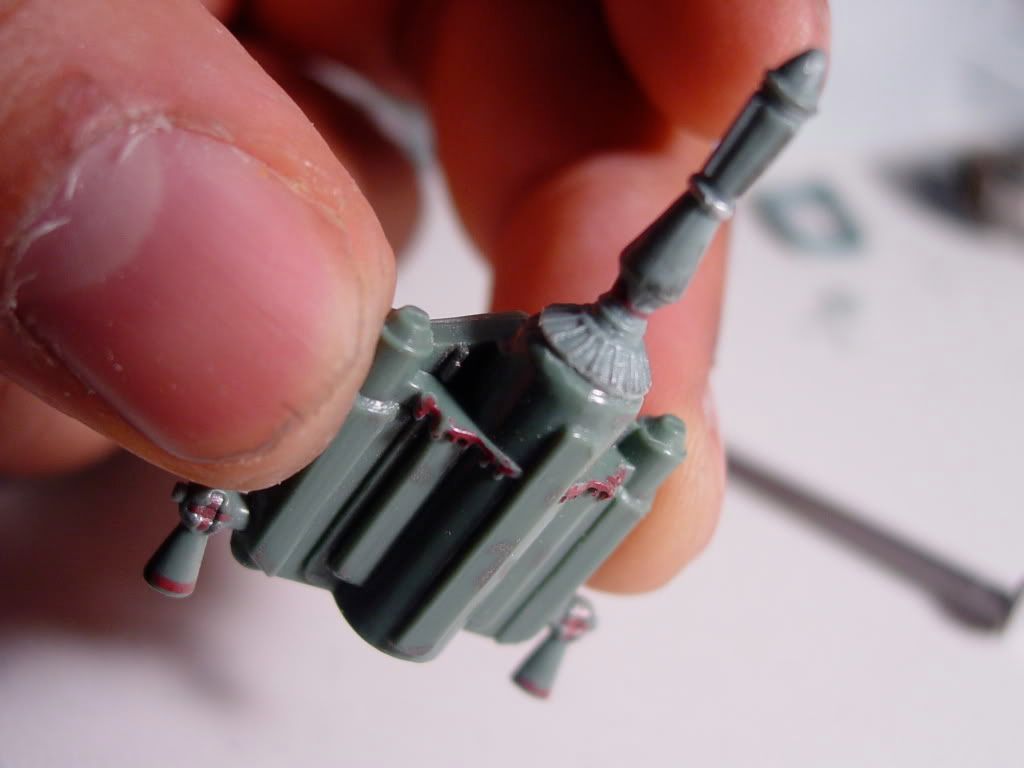
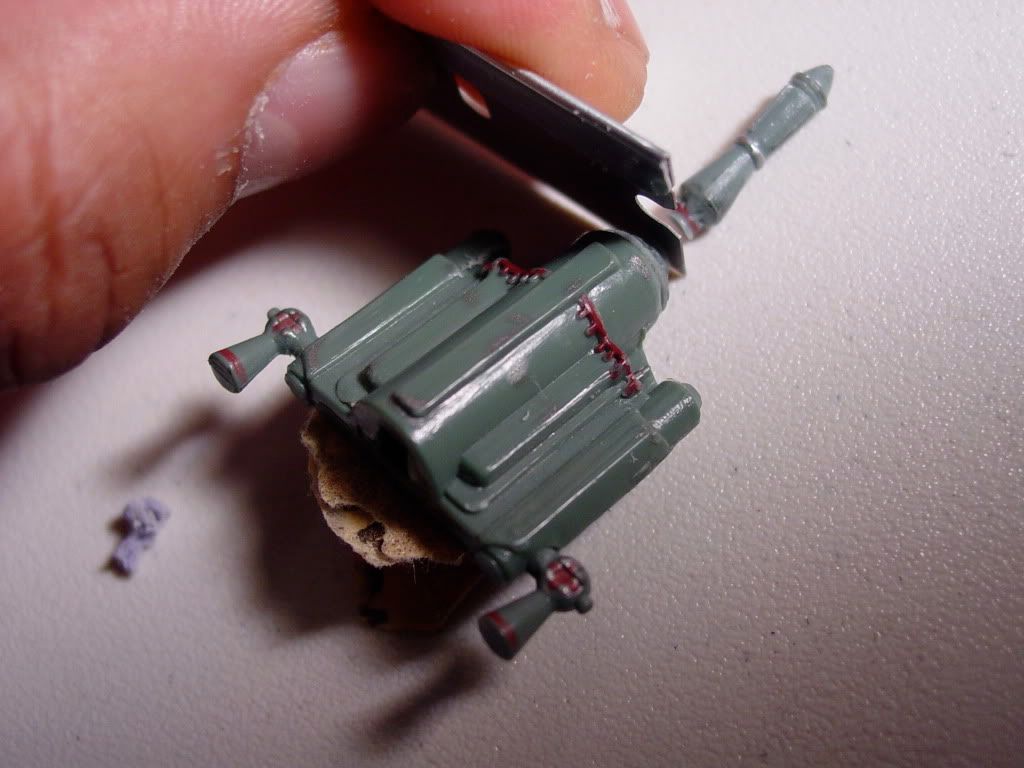
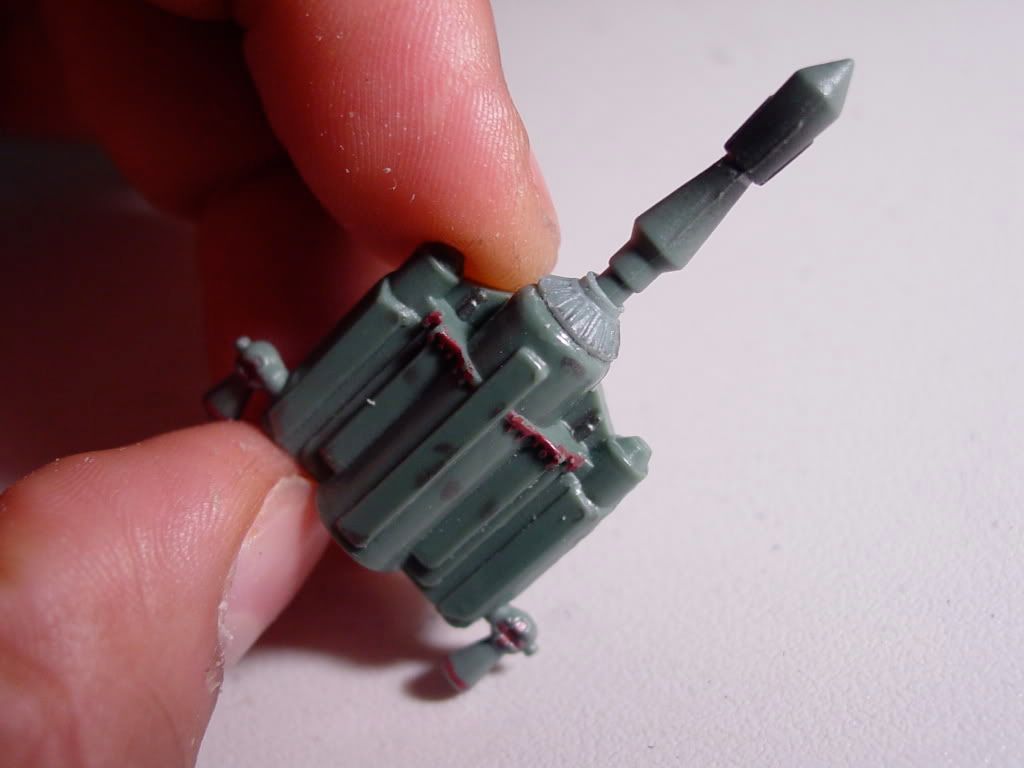
For this figure I always knew that I wanted to use the excellent backpack from the POTJ 300th figure Boba Fett.

Molded in solid ABS plastic, this backpack had superior detail in the casting to the softer PVC rubbery backpacks used by many Boba Fett figures.  It also boasted adjustable rocket nozzels and a removable top concussion missile rocket (none of which are offered by Hasbro's latest Vintage Collection Fett)


There were, however, three (3) issues with this backpack that needed to be addressed:

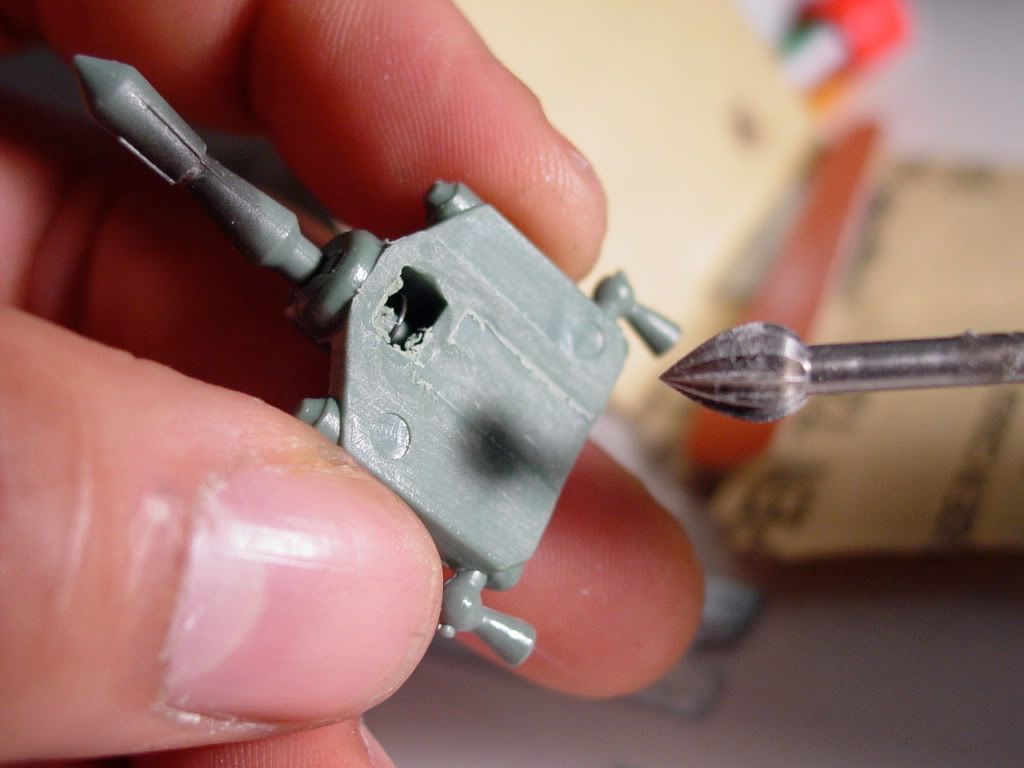
1) The mounting system for the backpack is completely inconsistent with the custom figure I am creating.  This system features a bulky mounting box molded to the inside of the backpack (which would create an unnatural space away from the figure's back when worn).

This backpack would have to be converted to the simpler peg mounting system utilized on today's figures.


2)  The sculpted ribs around the neck base of the removable concussion missile rocket were NOT included with this backpack.  They would have to be transferred over from another backpack that had them available.

I cut off the rubbery (non-removable) concussion missile rocket, and drilled a new hole into the ribbed neck to accommodate the removable POTJ 300th figure Boba Fett concussion rocket.


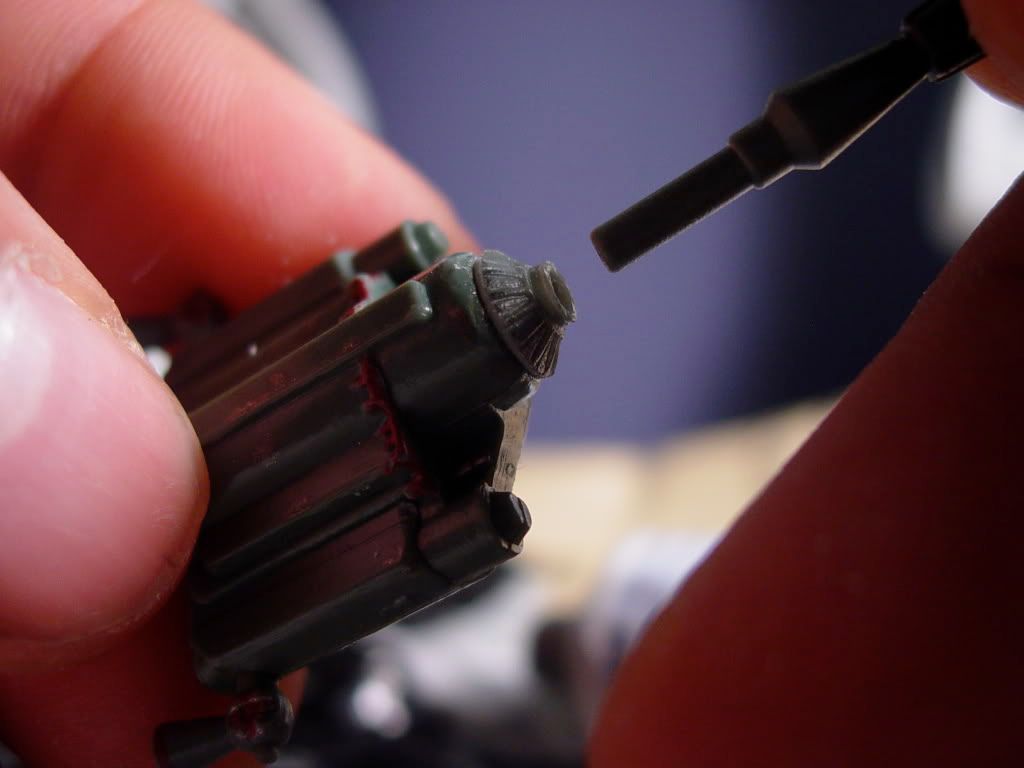
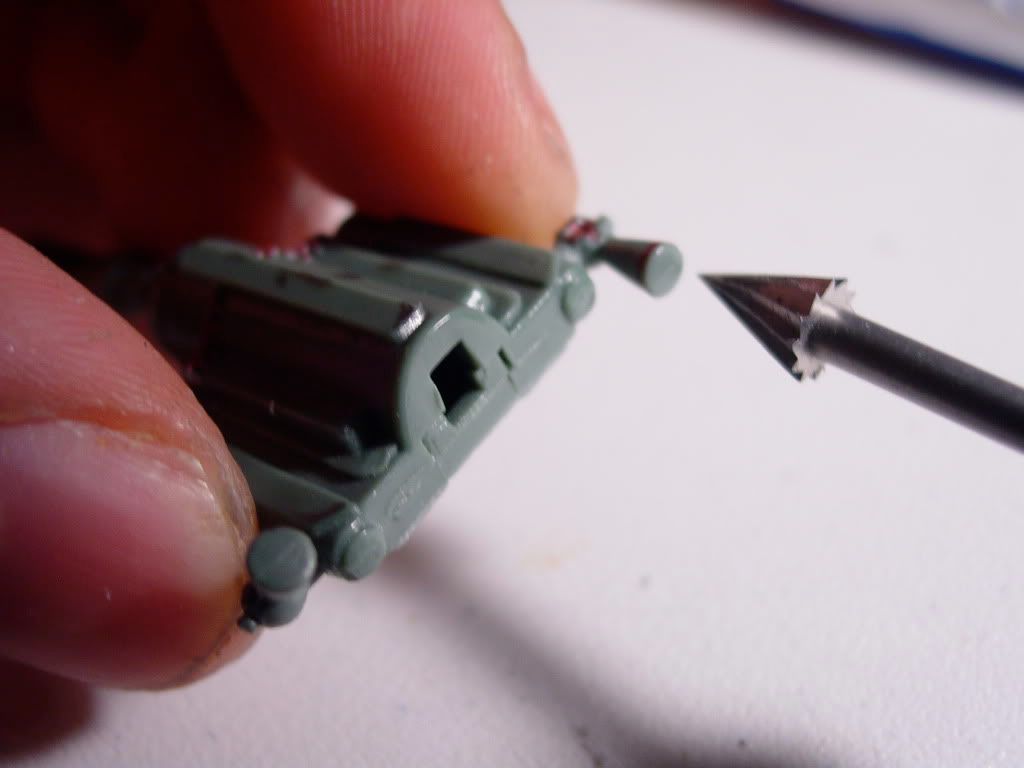
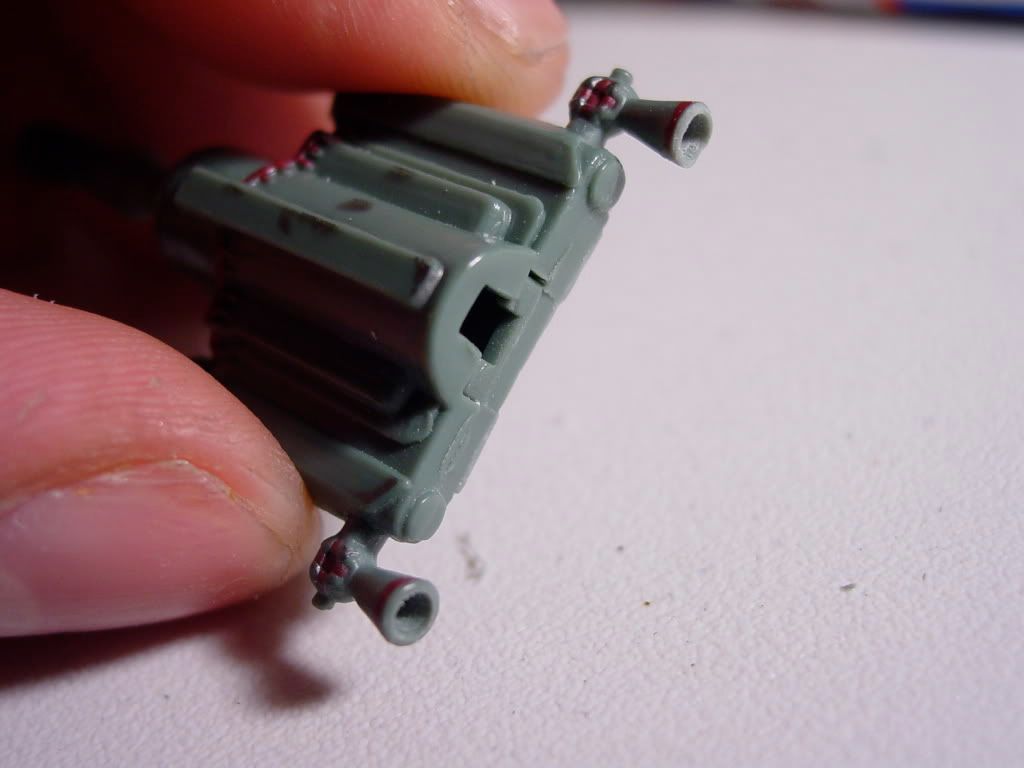
3)  The adjustable rocket nozzels at the bottom of the backpack would have to be drilled open.
January 9, 2011 9:33 pm #

TO CLONE, OR NOT TO CLONE. THAT IS THE QUESTION

I’ve said this before and I’ll say it again. I am a huge fan of the STAR WARS movie Saga… all 6 films.   But I am strictly an Original Trilogy Collector. 
Although I gave considerable thought to having a clone / Jango-esque head sculpt on my custom Fett figure, with a helmet engineered to be removable, I decided against proceeding in this direction.
There are two reasons for this:

1)  I wanted to look upon my Boba Fett figure as faceless and anonymous… just as the character was in the OT.
2)  Although I was confident that I could successfully increase the size of the helmet to be wearable by a clone head sculpt, I realized there was NOTHING I was going to be able to do about the resulting chewing gum helmet syndrome.  This is the condition that exists with the current Vintage Collection Boba Fett figure helmet, where it is too soft to hold its shape since it is fashioned out of soft, rubbery PVC plastic.

The same thing would happen with any available helmet sculpt if I Dremelled it into a wearable helmet.  The walls of the helmet would become too thin, and it would warp terribly when worn by the figure.

Unacceptable.

I also considered making a mold and hard resin casting of a Boba helmet knowing that a hollowed-out resin helmet would will hold its shape fine because it would be solid and NOT be rubbery.

This idea was rejected because during the inevitable shrinkage of the molding and casting process, I would lose 1% - 2% of my original helmet’s overall size.

Again, unacceptable.

January 9, 2011 9:35 pm #

PROFILING A HELMET

I selected (what I considered to be) the best Boba Fett helmet sculpt of all the available production figures released by Hasbro: SAGA 2 Boba Fett  Battle of Carkoon: (2006)

To my eyes, this was the sharpest, straightest, cleanest  (and certainly largest) sculpt we had gotten out of Hasbro from all the Fett figures they’d ever produced.

Was it PERFECT

No. Not by a long shot.  But I did consider it reasonably workable into a helmet that I would accept for my custom figure. 

However… More surgery required.

I liked the face of the helmet very much (although it was NOT 100% accurate to the film prop.

It was the profile that I had major problems with.

Putting it simply, the crown of the helmet was far too narrow to adequately and realistically accommodate an average human male head.  And with the base of the helmet being as wide as it is, the overly narrow crown is only augmented visually.

In THE EMPIRE STRIKES BACK Fett is mostly seen frontally.  But we do get a few brief glimpses at the shape of the profile of his helmet. These are probably best seen during his conversation with Darth Vader (immediately after Han Solo’s torture). You’ll note the size of the helmet’s crown in relation to the base.  Not nearly as narrow as Hasbro has presented.

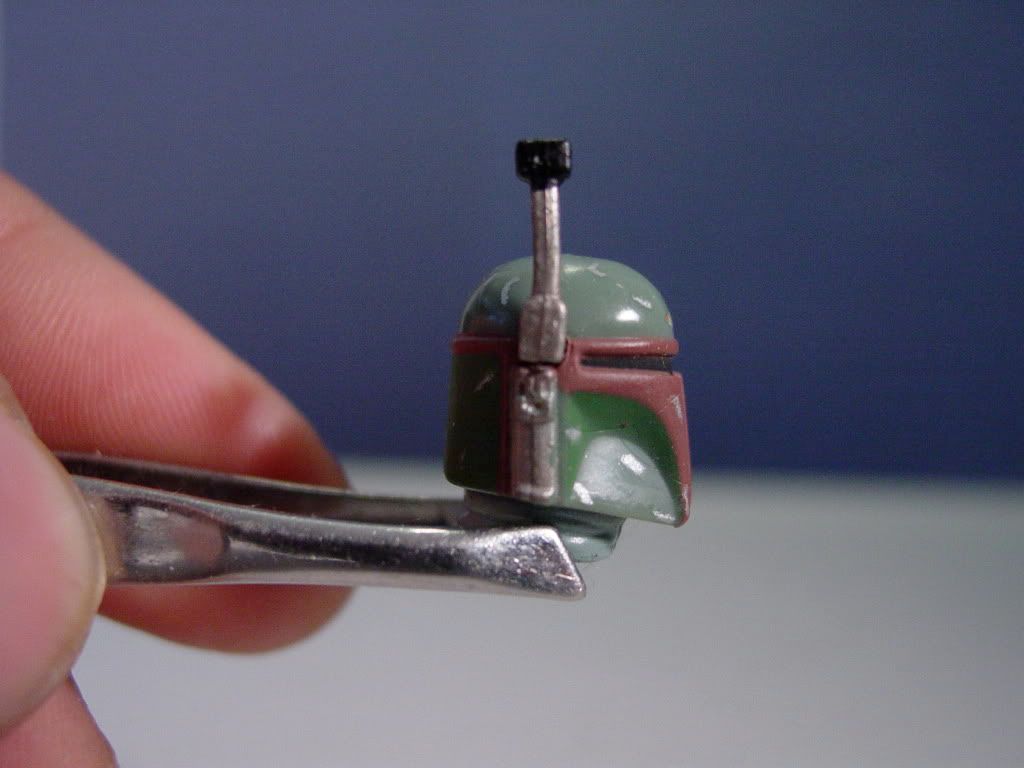
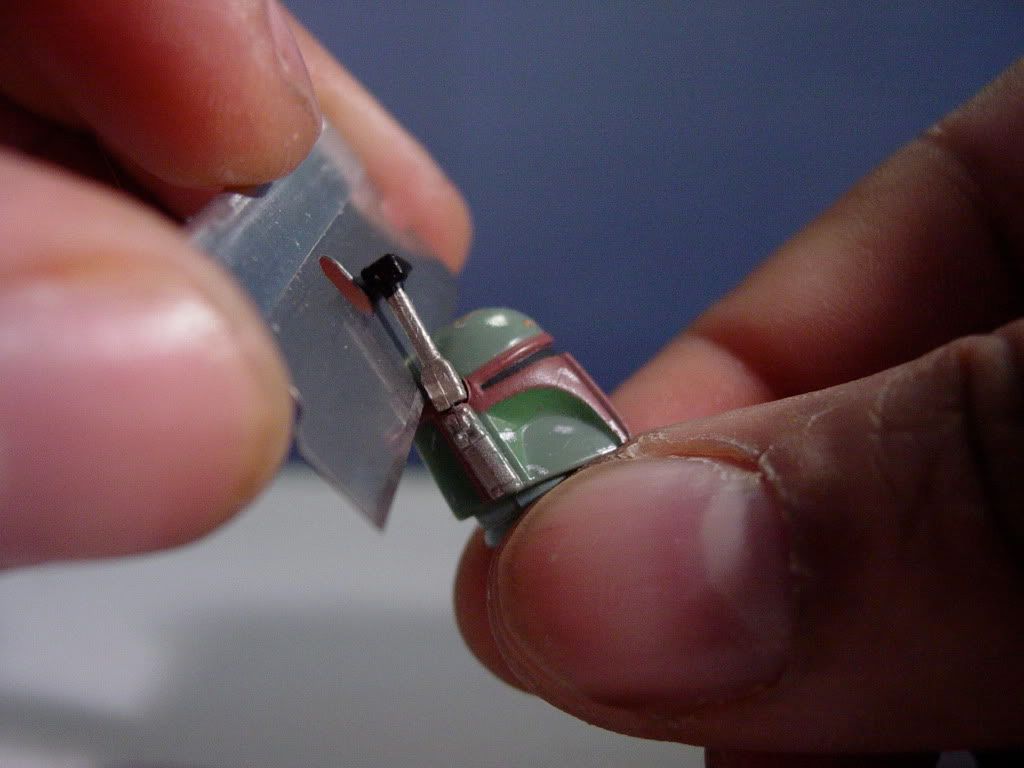
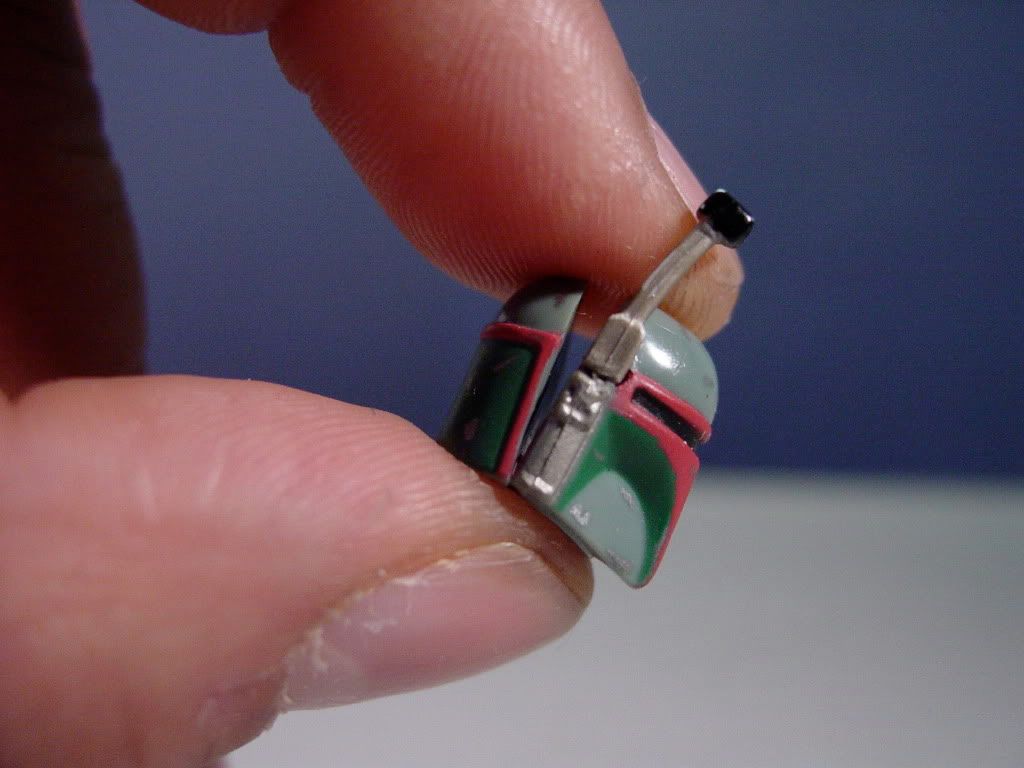
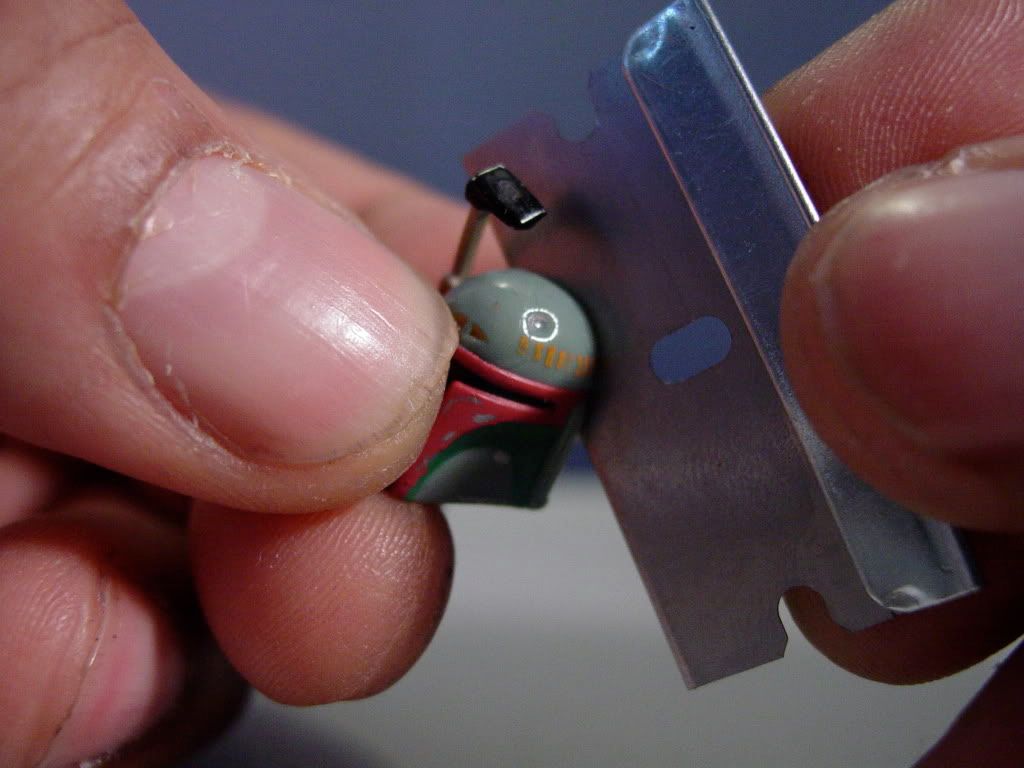
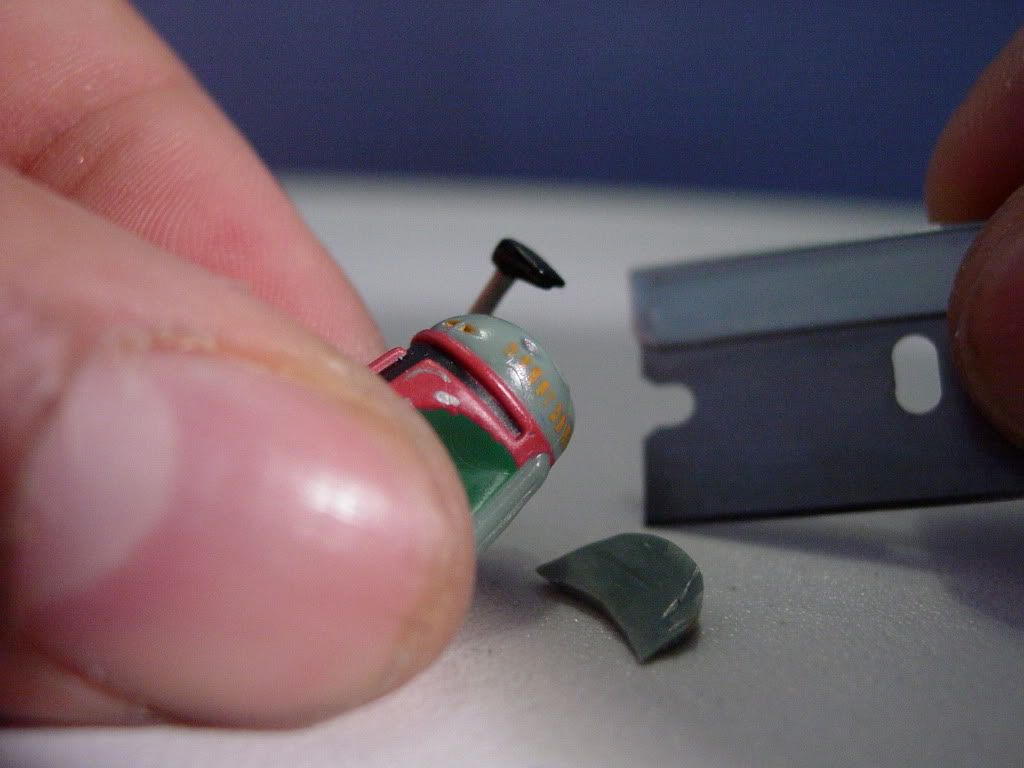
I fixed the helmet’s profile by slicing  it in half  horizontally along the top of the head (ear to ear).  I sliced clear down to the helmet base, but I DID NOT cut all the way through.


I pried the two helmet halves apart (while they were still attached at the helmet base.


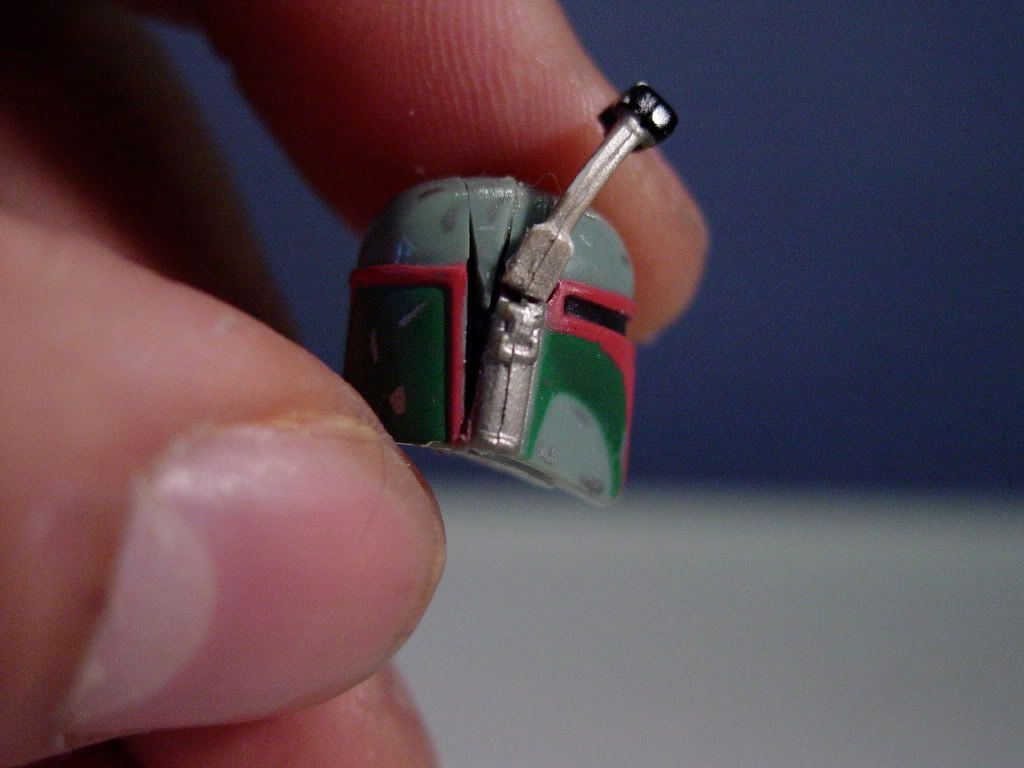
Using an additional Battle of Carkoon helmet, I sliced a tiny wedge spacer, and glued it into my  opened helmet (increasing the width of the crown dramatically).


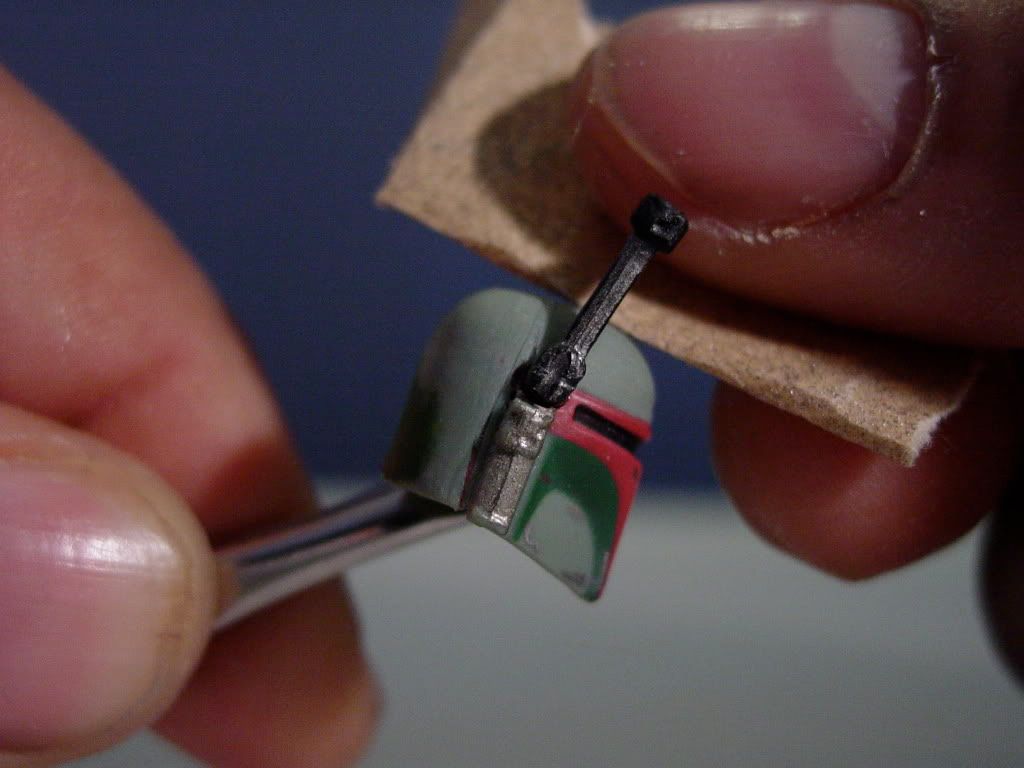
After carefully filling in all of the gaps around the helmet with spare helmet shavings,  I trimmed and sanded the newly created seam until it was smooth.

I was reasonably pleased with the helmet’s new profile when compared to the original.


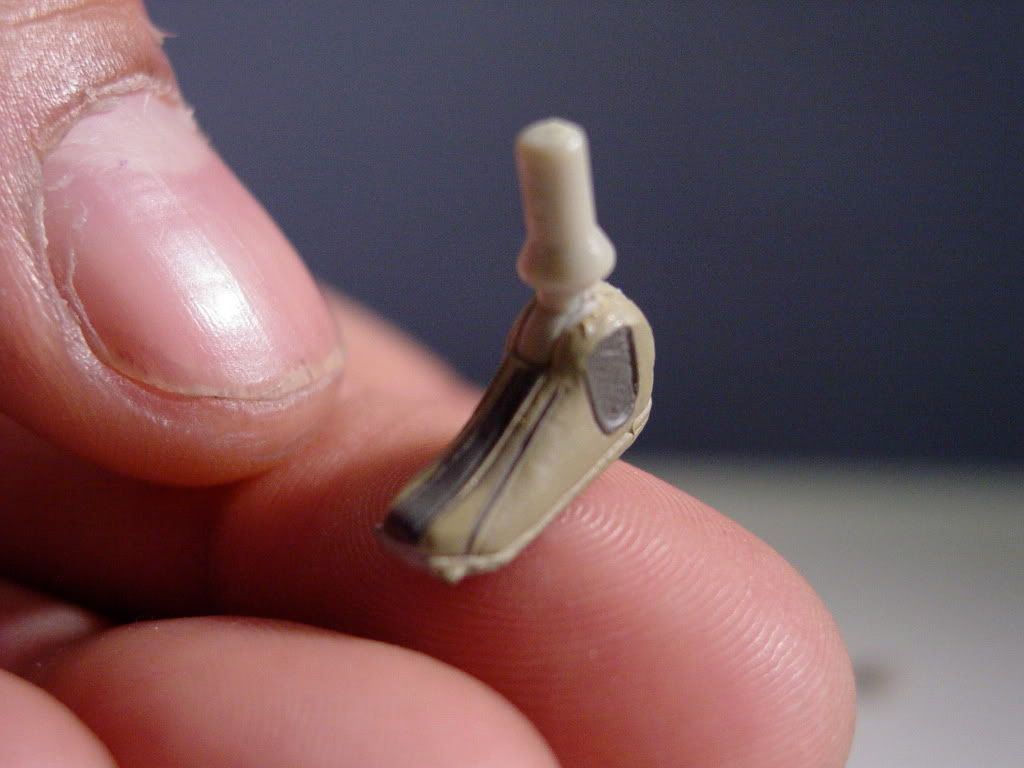
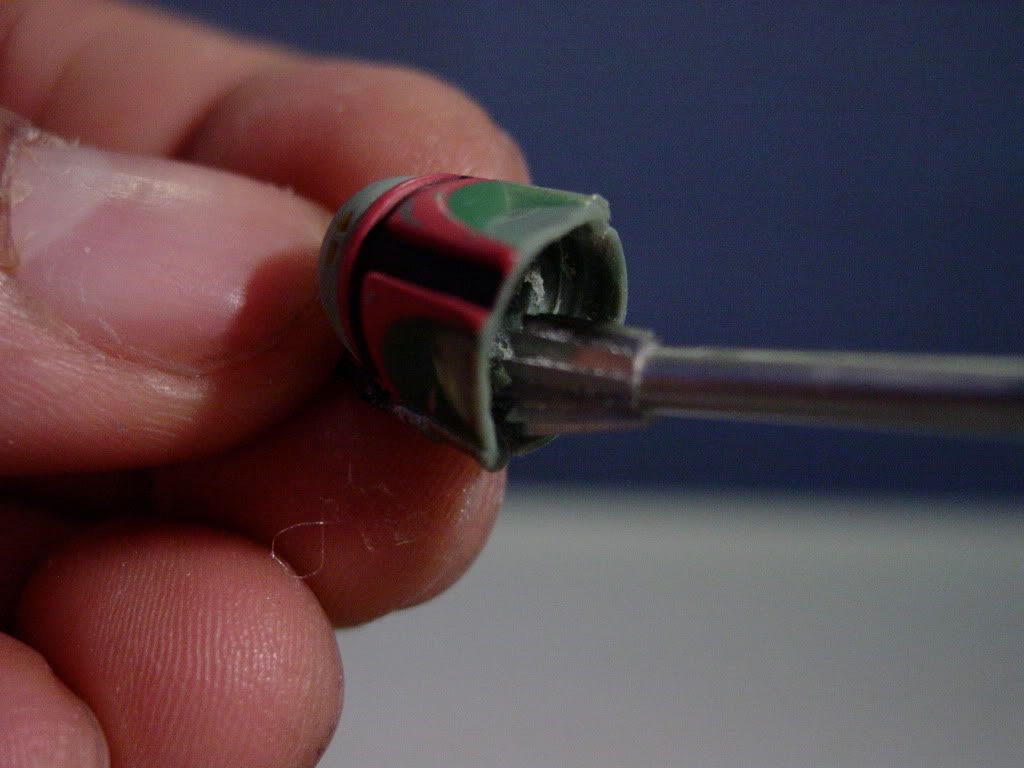
Next, I knew that in order for the helmet to look like wearable head gear, I was going to have to create a bit of a recess in the helmet’s underside to visually establish the helmet’s (supposed) wall thickness.  I Dremmelled a full recess of about 1/8 of an inch up into the helmet’s base.  I then Dremmelled a ball joint socket that I could pop into the figure’s neck post.

This entire operation forced the loss of raised ridge details around the rear of the helmet’s crown and at the sides.  These ridges will now have to be restored to the helmet.  Also, an all-new flip-down target sight will have to be made for the helmet due to the current sight being too thick and about 1/32 of an inch too tall.
The final planned modification to this helmet will be the addition of a gloss coat to the black T-visor to give it a tinted glassy look.

January 9, 2011 9:36 pm #

HANDS AND A HOLSTER

This custom figure is now in the final anatomical phase of construction, and is entering the fine detail phase (which is really my favorite phase).

Tonight I worked to select a suitable set of hands for custom Boba Fett that would hold his laser rifle well, and would fit anatomically with the Imperial Scanning Crewman basic body.

I did not bother to look to any of the previous Hasbro Boba Fett figures for help since I consider virtually all of them either gorilla handed, or hook clawed.

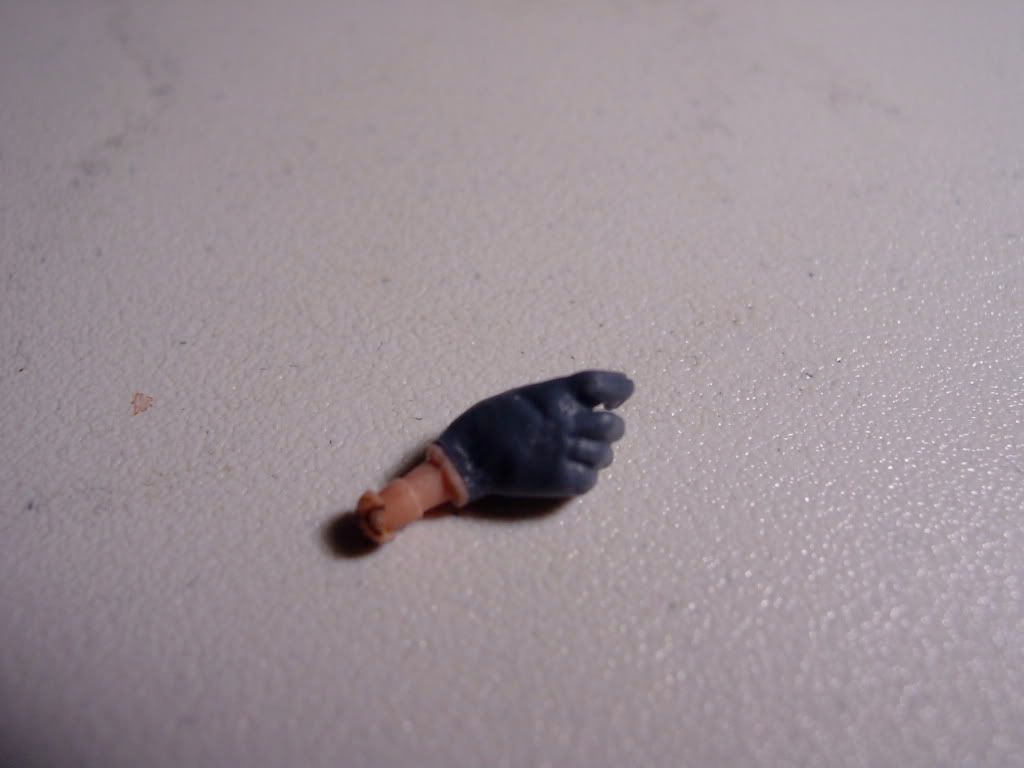
But in my parts bin, I found a figure that I thought might be a very good hands / gloves candidate.  None other than Jango Fett himself. 

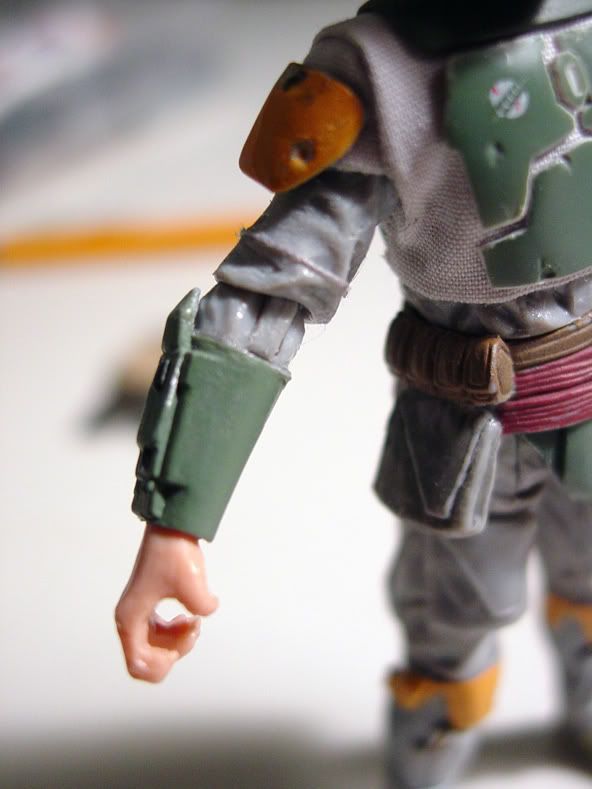
I believe this is a SAGA 1 Jango, and what I really liked about his gloved hands sculpt (besides their suitable size) is the fact that they included the folds of the fabric to really complete the look.  They will have to be painted the correct color for Boba’s gloves, of course, but I think they have very nice detail.

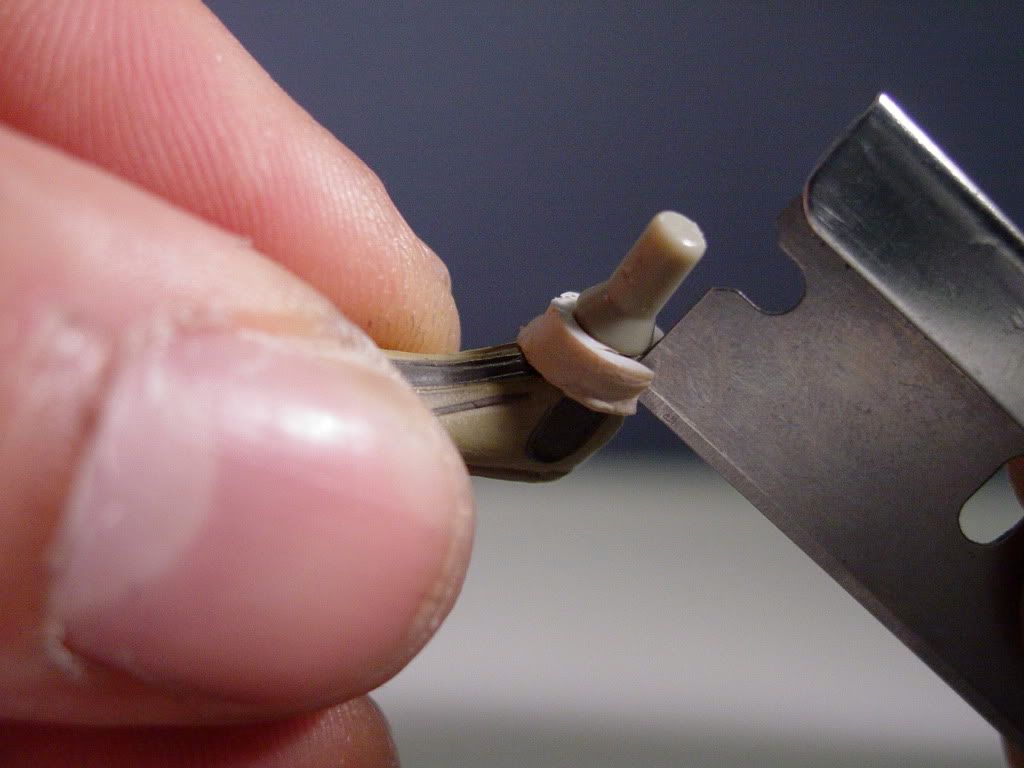
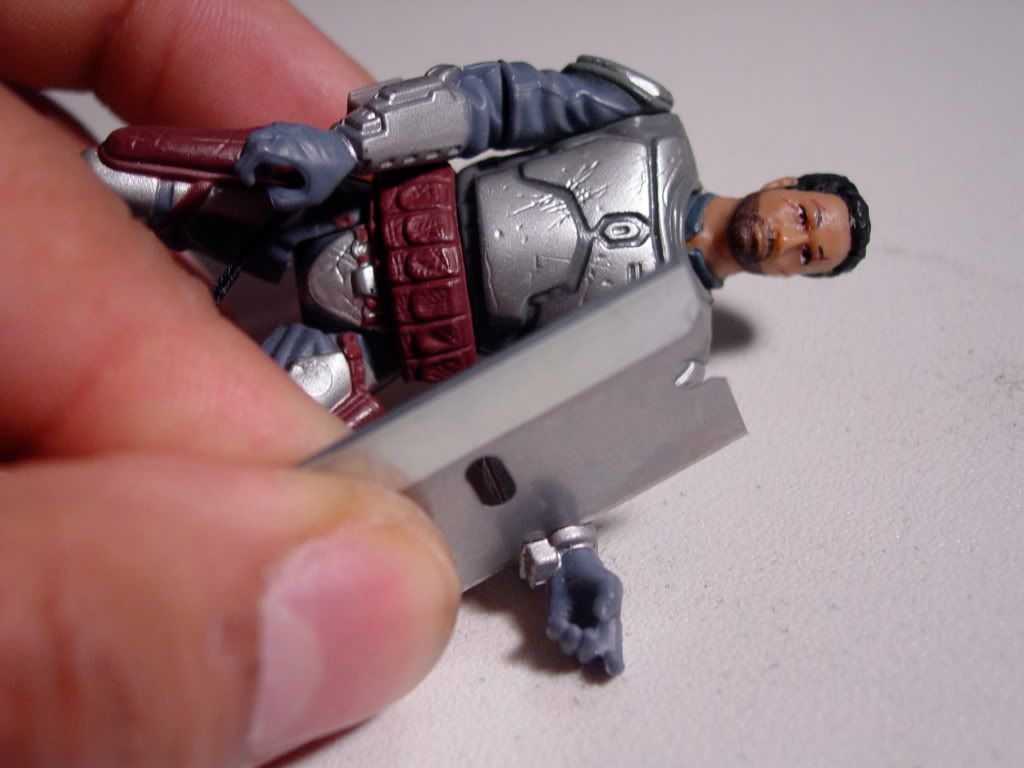
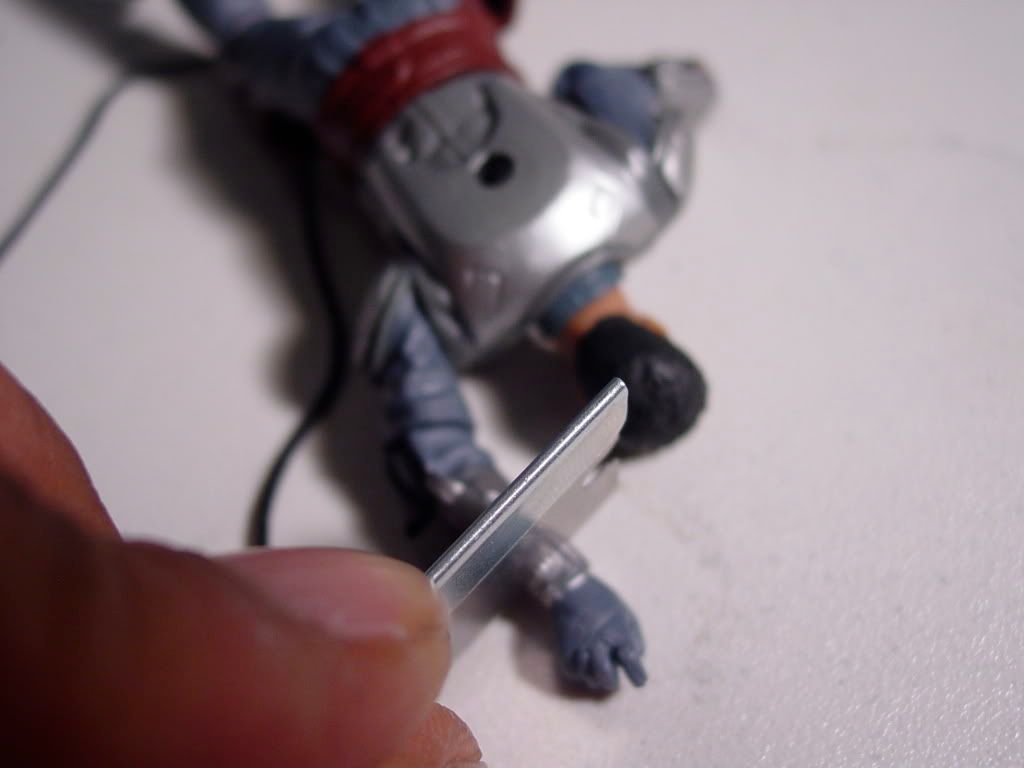
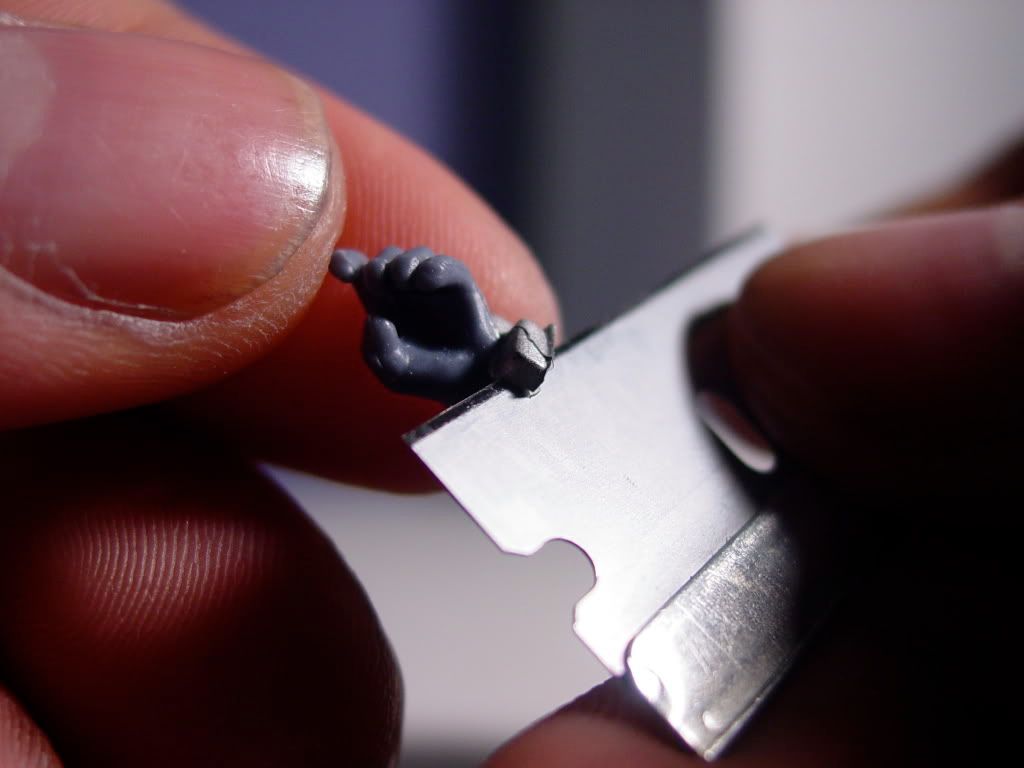
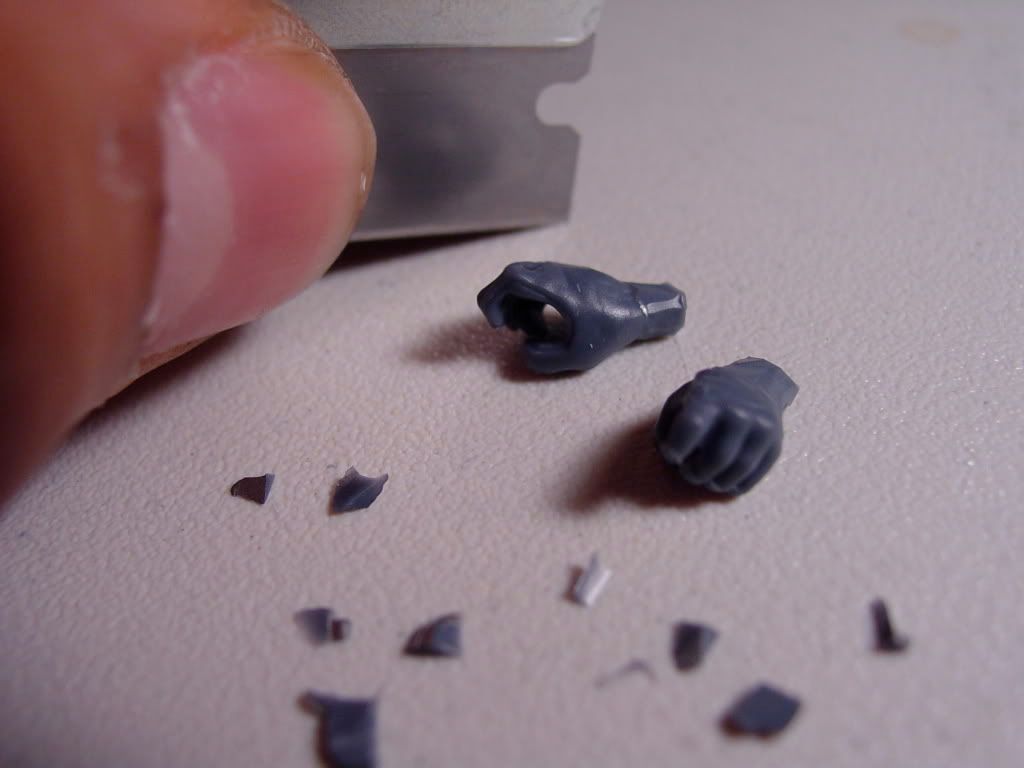
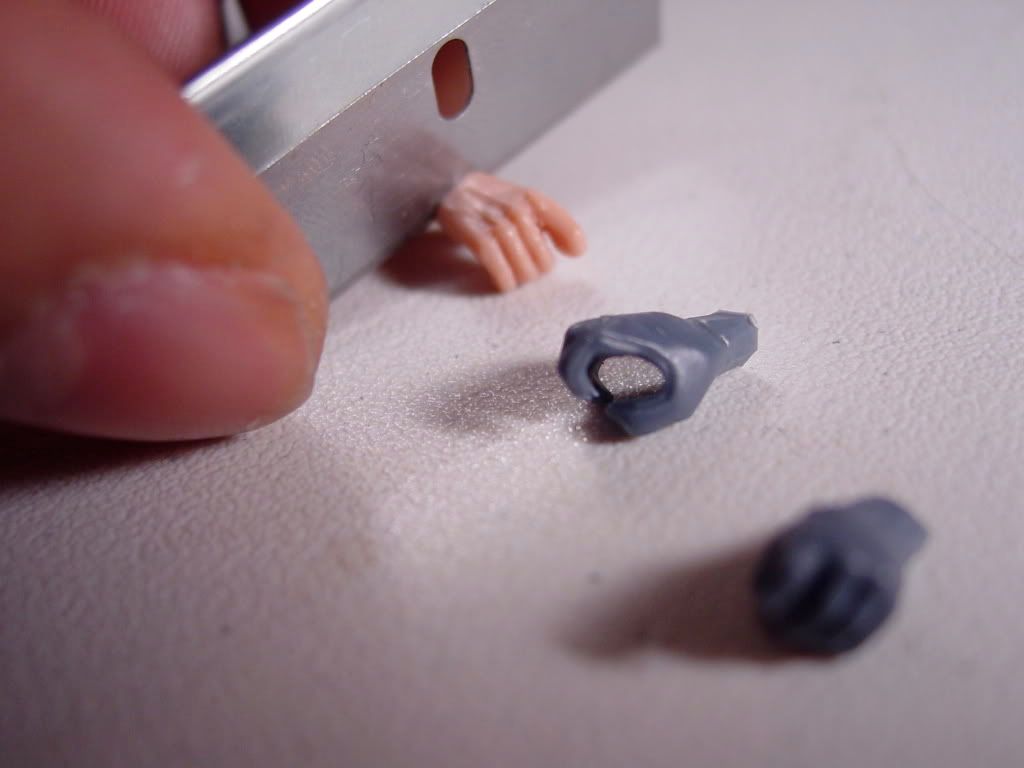
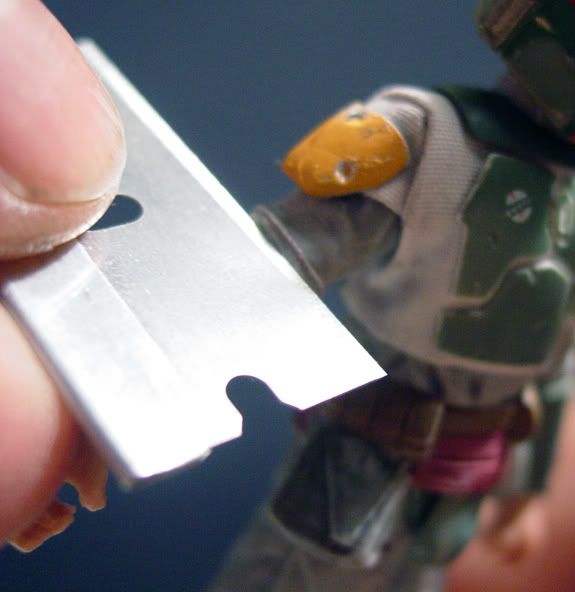
I took a razor to Jango’s hands and then  gradually shaved off the silver gauntlet remnants that remained on his wrist stumps.


Once the Jango hands were cleaned and prepped, I carefully sliced away the mounting pin from the Imperial Scanning Troopers hands and transferred them over to Jango’s severed mitts.


After these hands set, they will pop right into the Custom Boba’s gauntlet cuffs, and remain fully swivel articulated.


While the hands were drying, I officially turned my attention to this figure’s final fine detail phase.

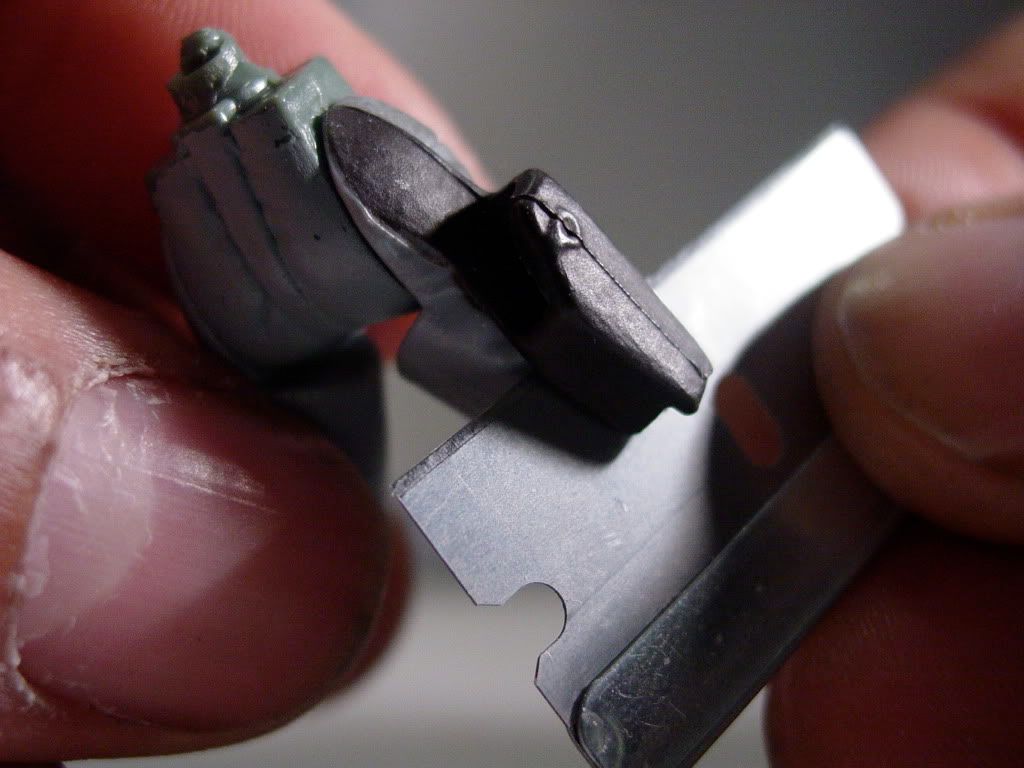
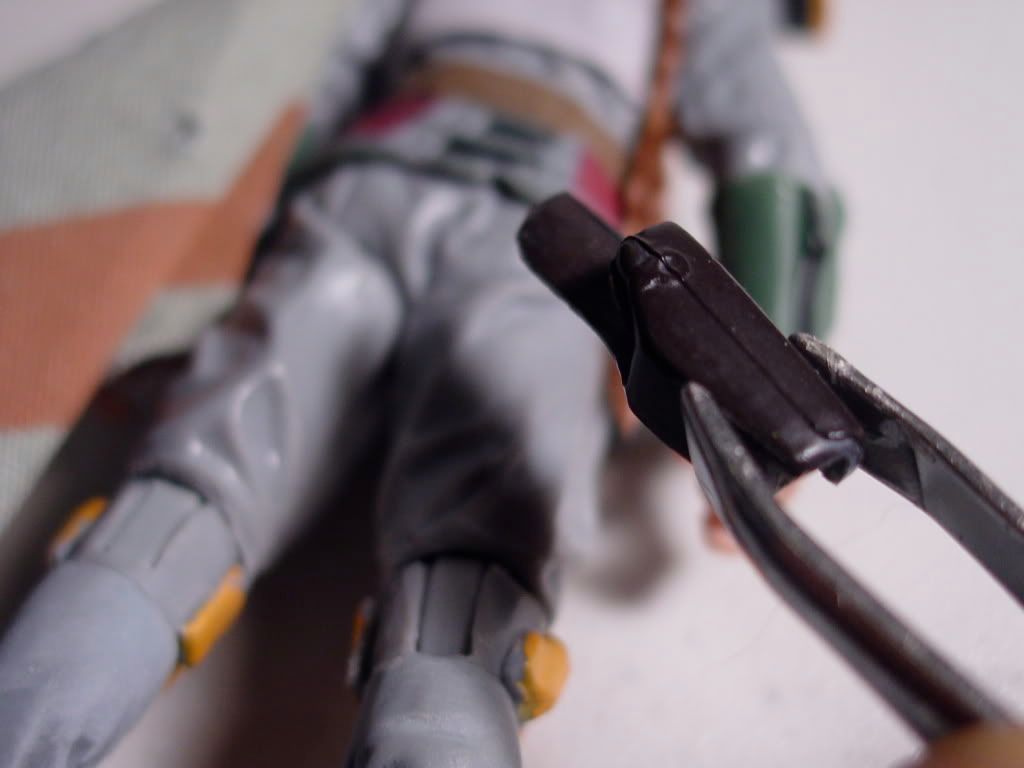
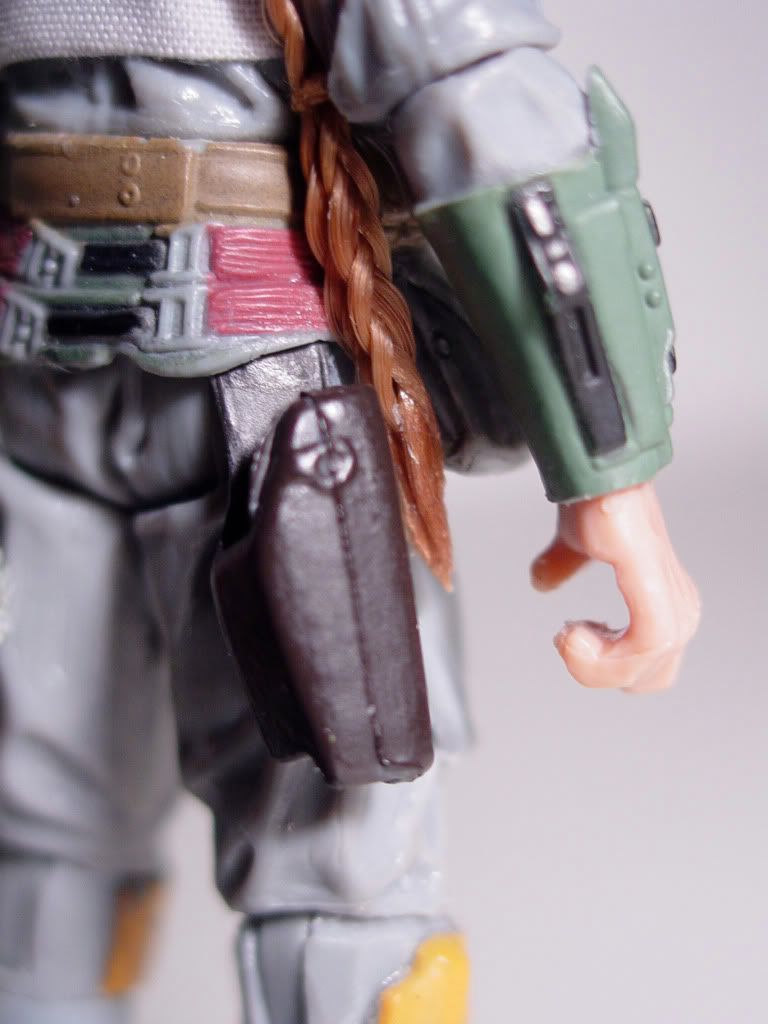
I needed to outfit custom Boba with a holster for his side arm blaster.  Only 2 Hasbro Boba Fetts that have  included this side holster (POTJ 300th Fett, and the most recent Legacy Collection / 2010 Vintage Collection sculpt). Both figures included the holster as a permanently molded part of the right thigh.

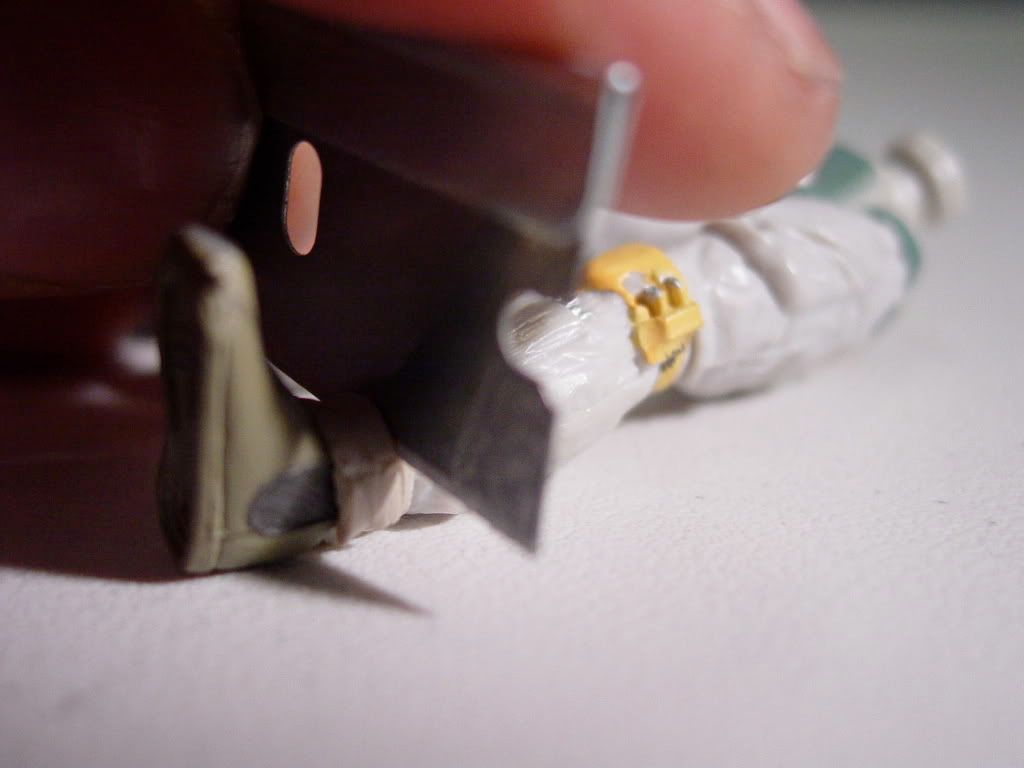
Once again, I let my razor do the talking.  I chose the POTJ holster for my project (because of its superior sharpness and detail )  Sliced it right off of the fodder figure, and then transferred it over (as a separate wearable accessory) to my  custom Boba Fett.

January 9, 2011 9:37 pm #

COLLARS AND SLEEVES

Hoo-boy!  Tonight was about some serious, finger-aching, detail work on ol’ Custom Boba Fett.

I decided to add the correct short sleeves to Boba’s flack vest so that his shoulder bells could be placed in their final positions (attached to the sleeves).

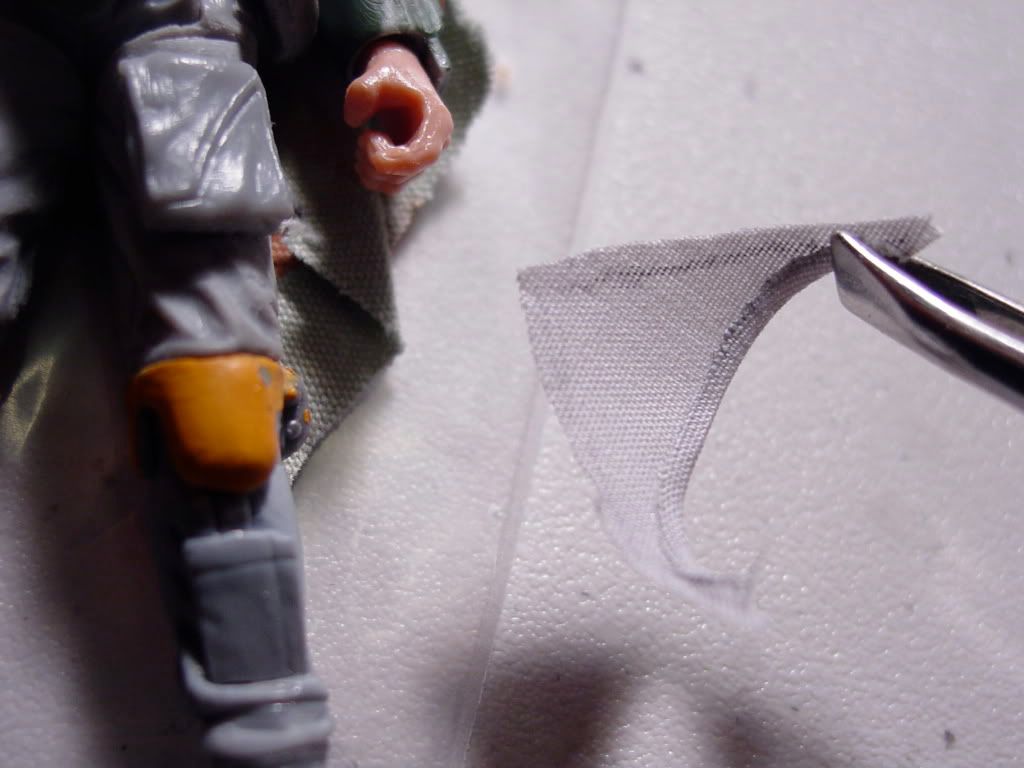
As per my usual procedure, I began by making a paper template of the basic shape  of the sleeve, and test-fit the pattern against the shoulder of the figure.


I then used the pattern to cut the basic shape in fabric,  and then I created a fold-over finish seam on the sleeve’s edge.  Each sleeve was very carefully glued into the arm holes of the flack vest and checked for final symmetry.


I know they were not accurate, but I really liked those two little raised details on the front of the collar armor which I fashioned from a vintage Kenner Boba Fett figure. Consequently, I was pretty sad to have to shave them off,  and sand the area smooth.


I replaced all of the armor back onto the figure, and once again checked the overall stance and attitude of ol’Boba… now with his new flack vest sleeves!

January 9, 2011 9:38 pm #

GET ‘IM ON THE SHINS!!

There has always been a detail on all Boba Fett action figures that I really wish had been treated like any of his loose weapon accessories: The shin pocket tools .  I’ve honestly never really liked how the tools (and the pockets they were stored in), were always treated as a solid molded part of his lower leg sculpts.

Now when I embarked upon this project, I fully intended to include working shin pockets and separate tools details for my custom figure.  But I had no idea what I was in for.  I only partially succeeded in my effort  since it wasn’t really possible for me to create accurate versions of the tools in this scale, AND to have them all fit into working shin pockets that were not actually made of cloth.

In the end, I made a compromise between  screen accuracy and functionality that nevertheless preserved the established aesthetic of the figure.


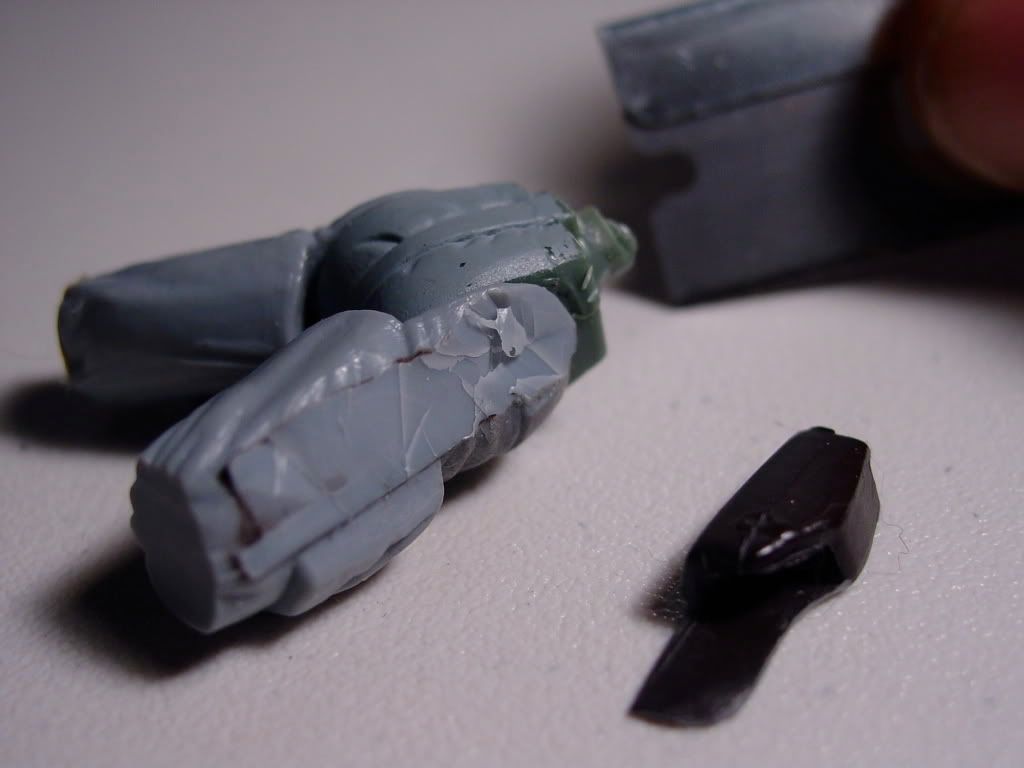
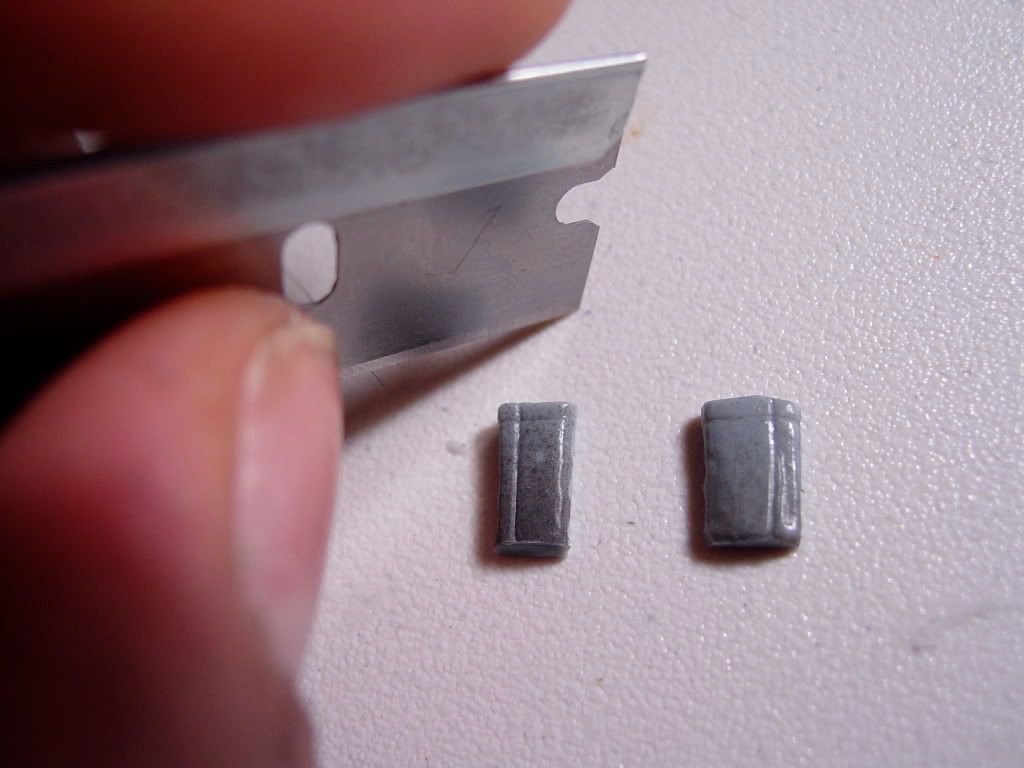
I began by razoring out the two shin pockets that I intended to use on this figure.  Although the two pockets came from two different figures, I selected them because they were size-compatible with one another, and because they matched the main Imperial Scanning Crewman jumpsuit color.

POTJ 300th figure Boba Fett provided the left shin pocket, while Legacy Evolutions Fett provided the right one.

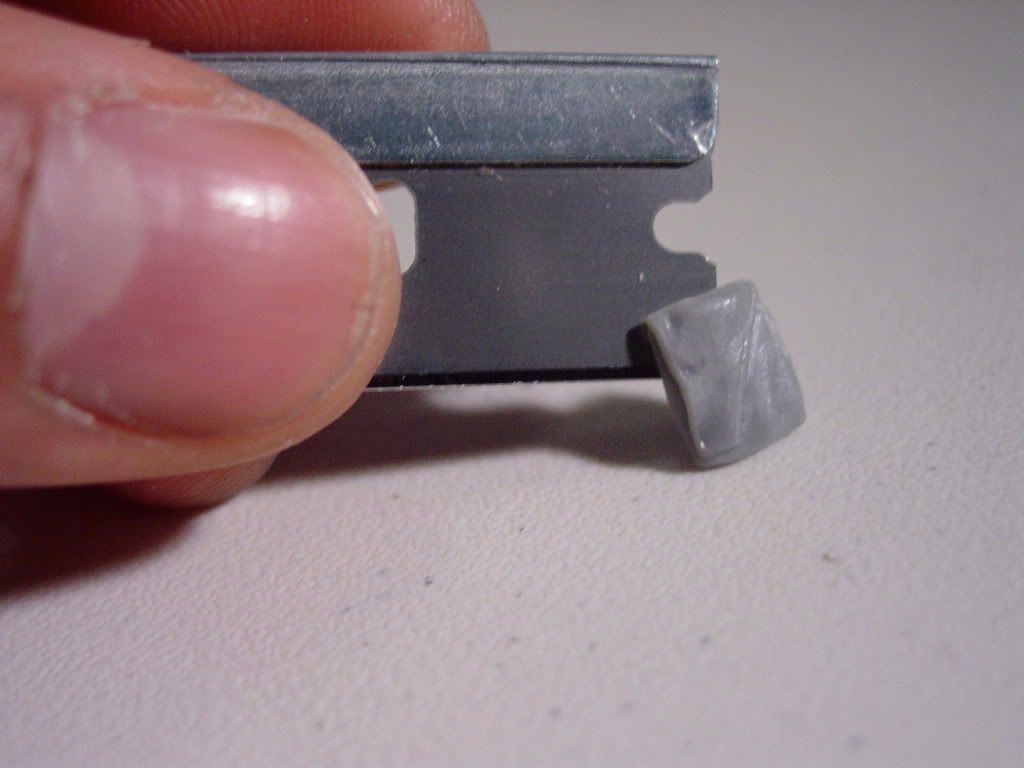
I carefully used my trusty razor to cut out the two solid shin pocket “blocks” into actual open pockets.  The pockets, in turn, were trimmed and glued to the figure’s shins.


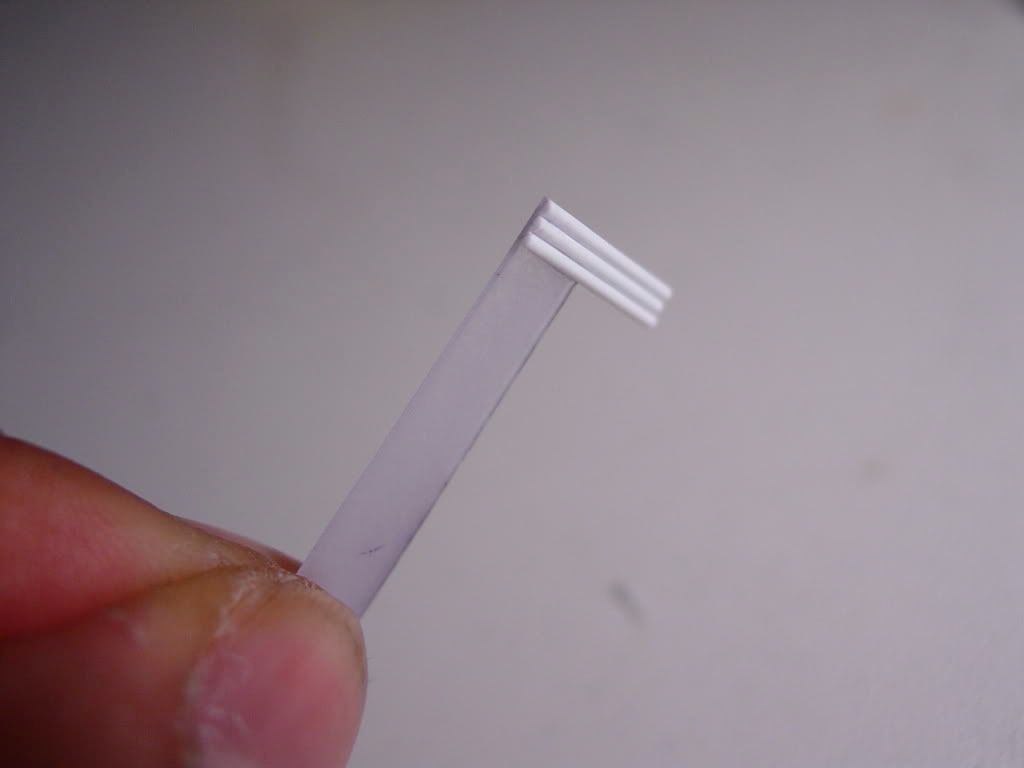
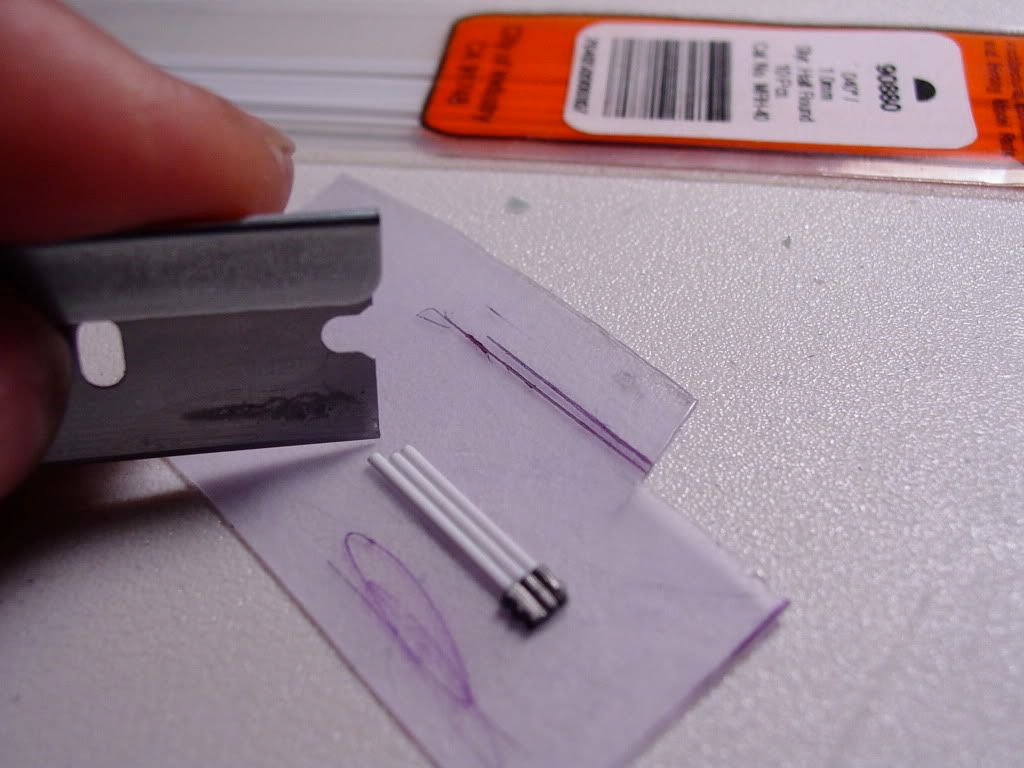
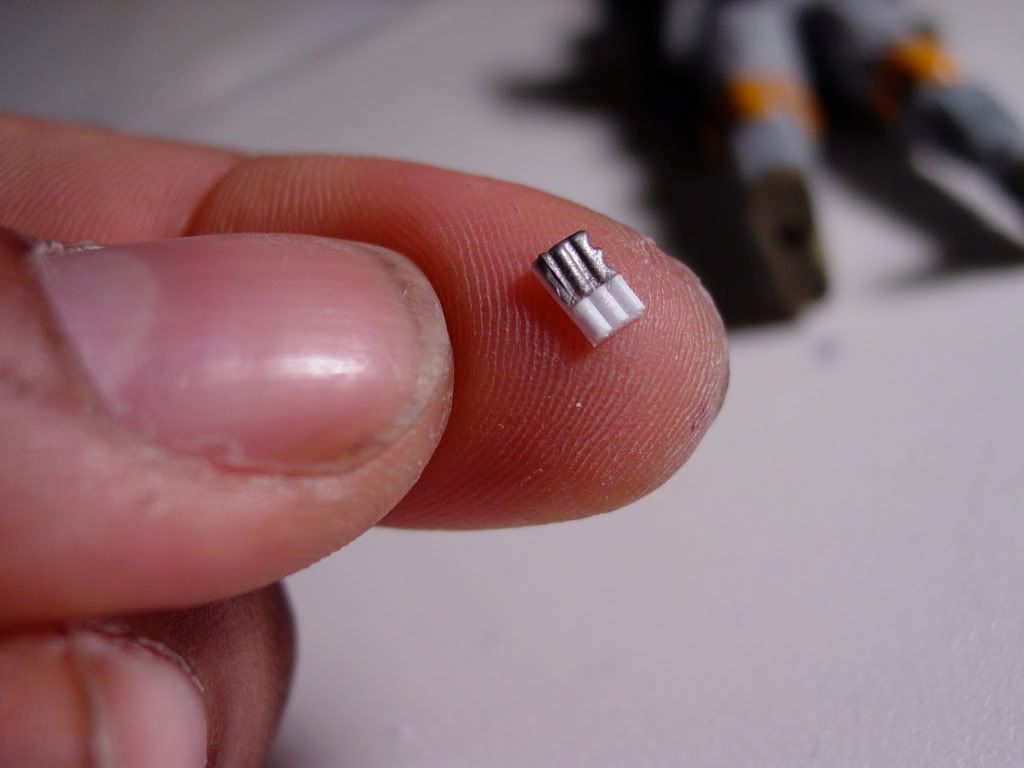
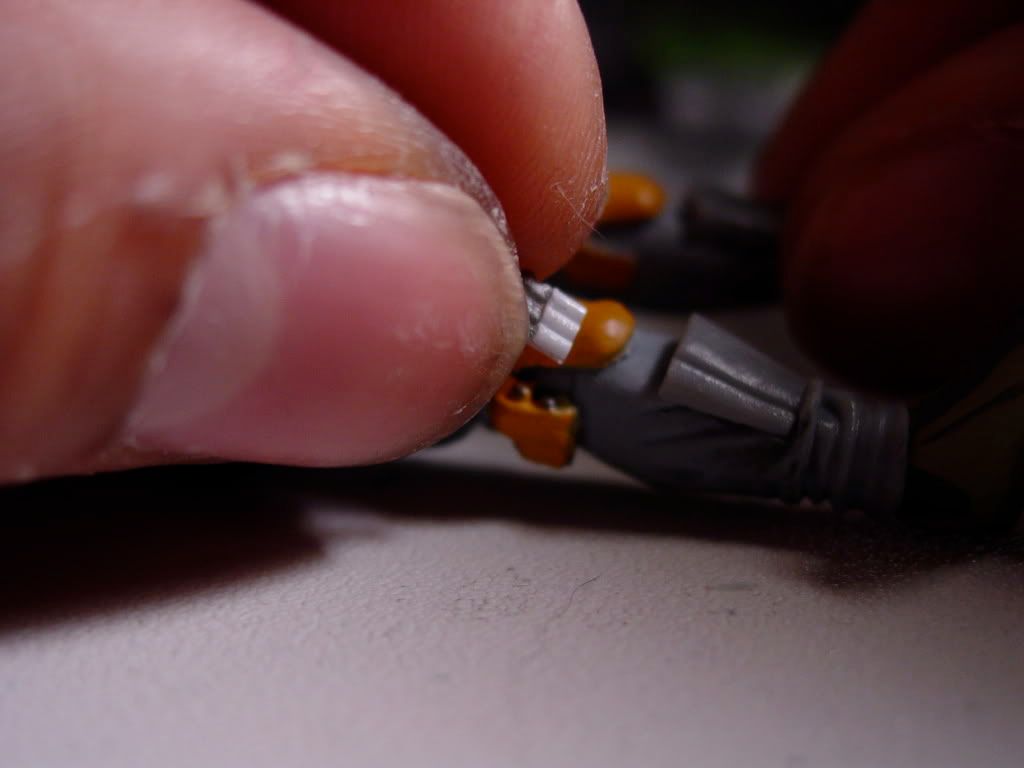
As I set my sights on creating the shin tools, I attempted to utilize the sculpts that I found to be most accurate and detailed: Vintage Kenner Boba Fett.  I sliced out the portions of the tools that were sculpted to be visible on the figure’s legs, and I actually attempted to complete the un-seen portion of the tools either by scratch building, and or scratch sculpting them .  However, at this small a scale, that proved to be far more trouble than it was worth, especially since the preliminary full length tools I fashioned were far too long and would not fit into the pockets I had created.


My compromise ended up being to utilize the half shin tools sculpt from POTJ 300th Boba and SAGA I  Pit of Carkoon Fett, and scratch building just enough of the un-seen portion of the tools so that they could slip into the shin pockets.  I didn’t achieve the tiny separate tools accessories I hoped for,  BUT  at least I was able to do away with the solid molded shin pockets look which I disliked so much...  a compromise that I was reasonably satisfied with.

January 9, 2011 9:39 pm #

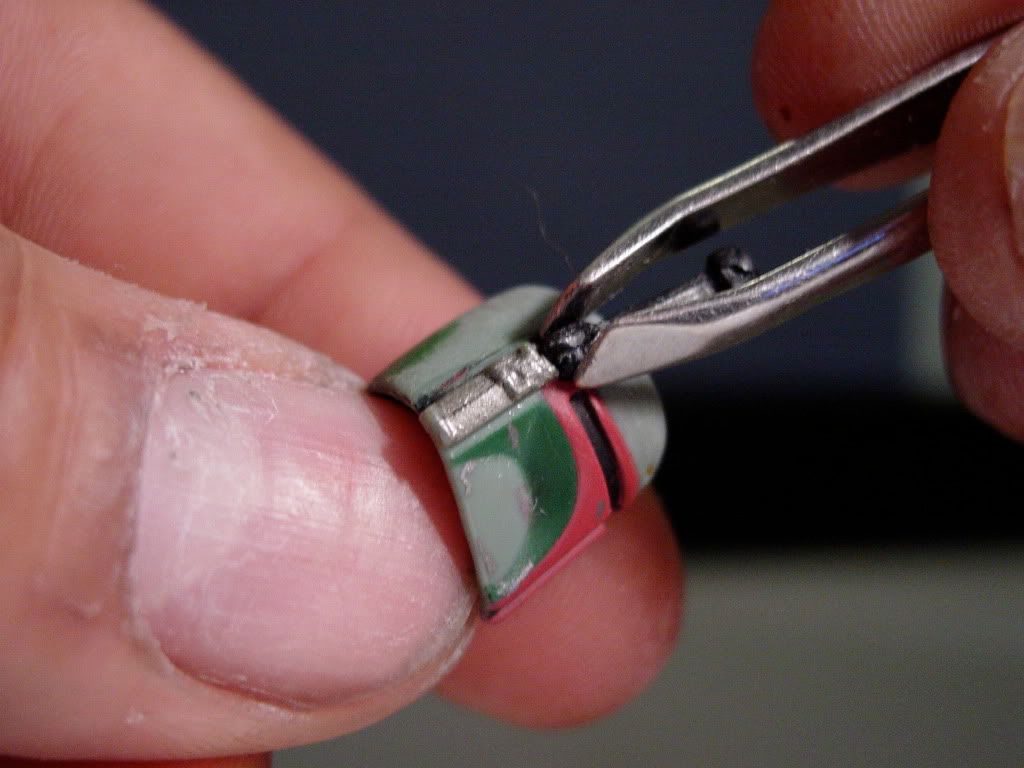
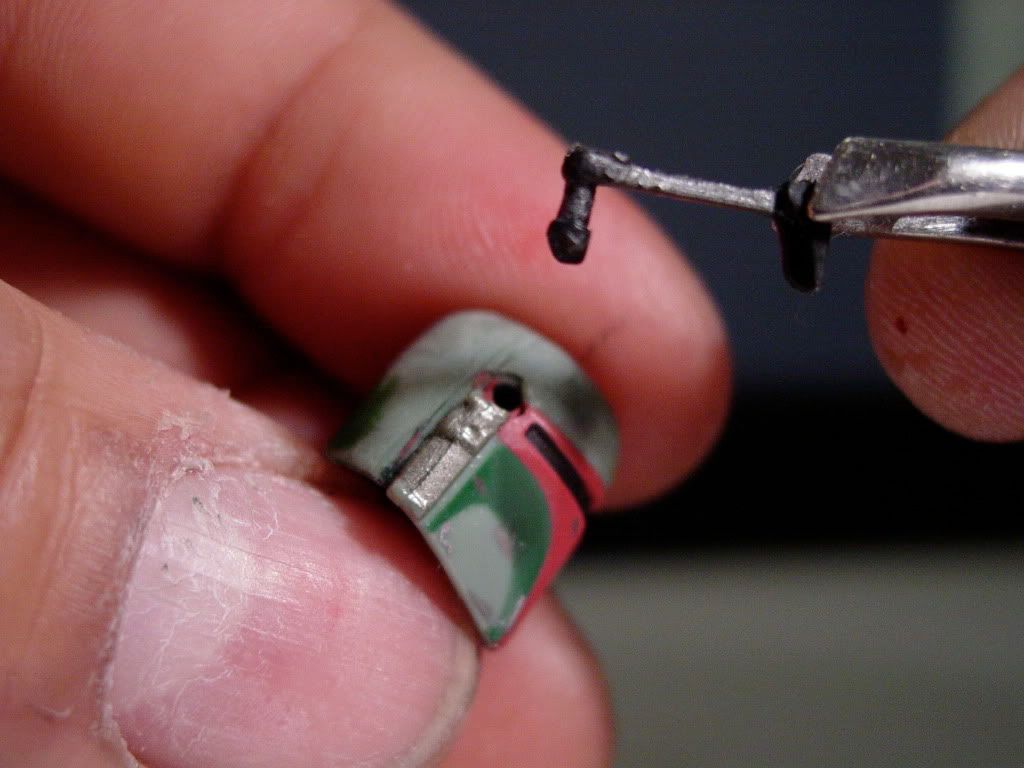
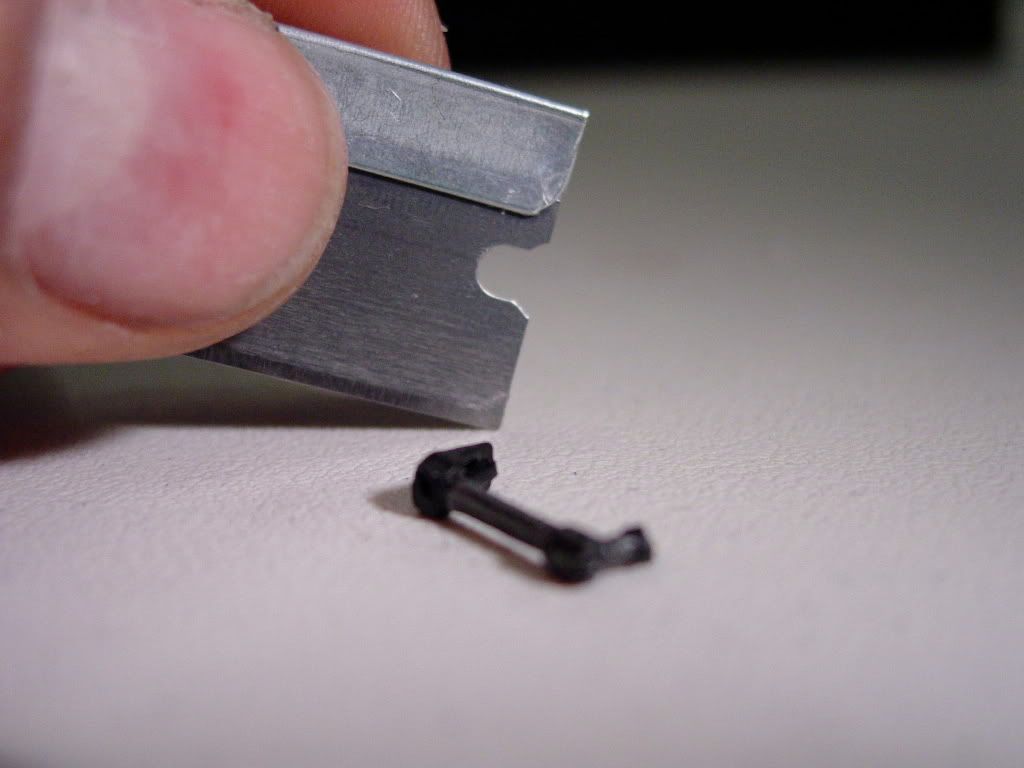
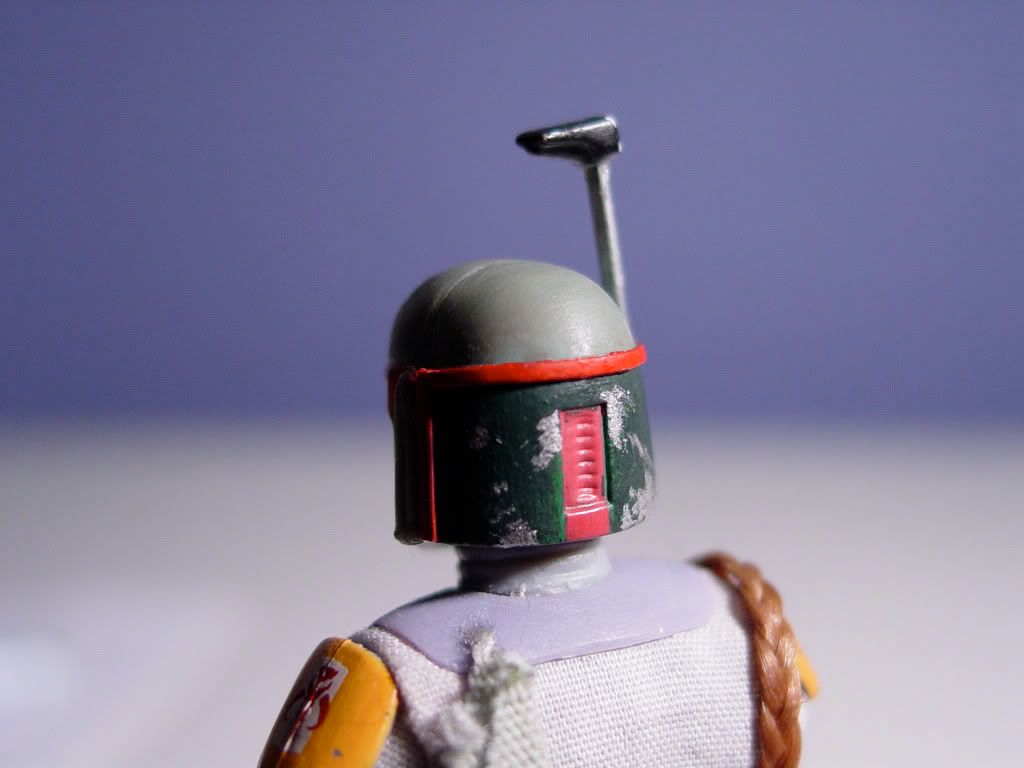
I next turned my attention to the helmet’s rangefinder.

I really felt like I needed to correct the rubbery, overly thick rod of the rangefinder into something that was thinner and cleaner.

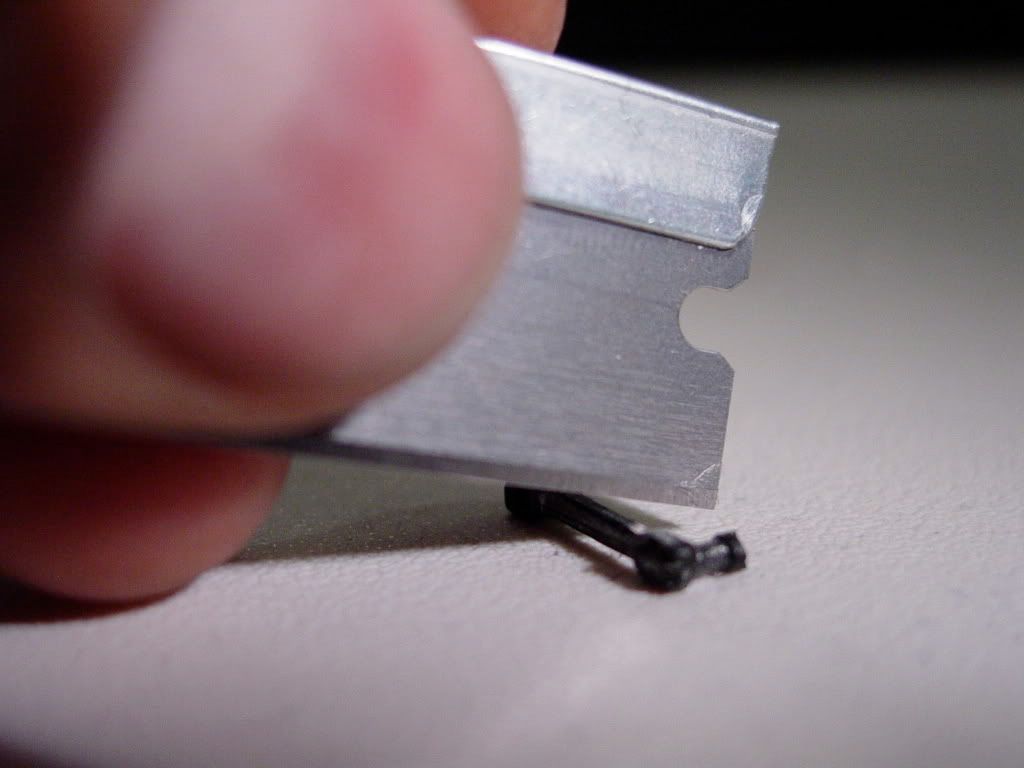
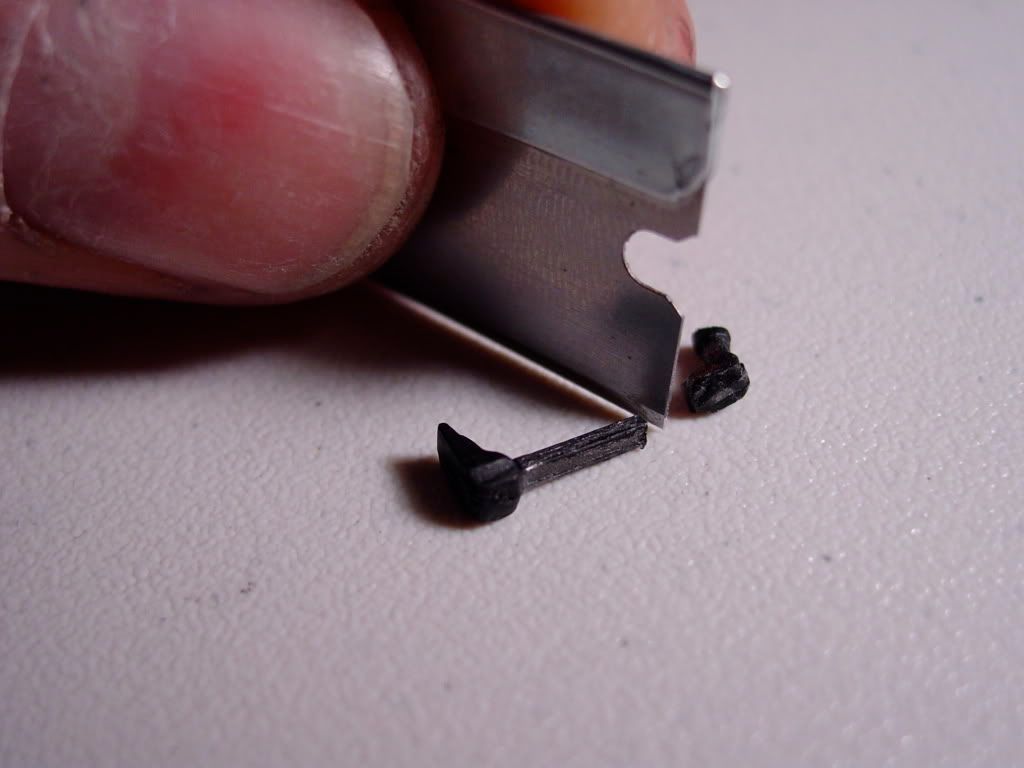
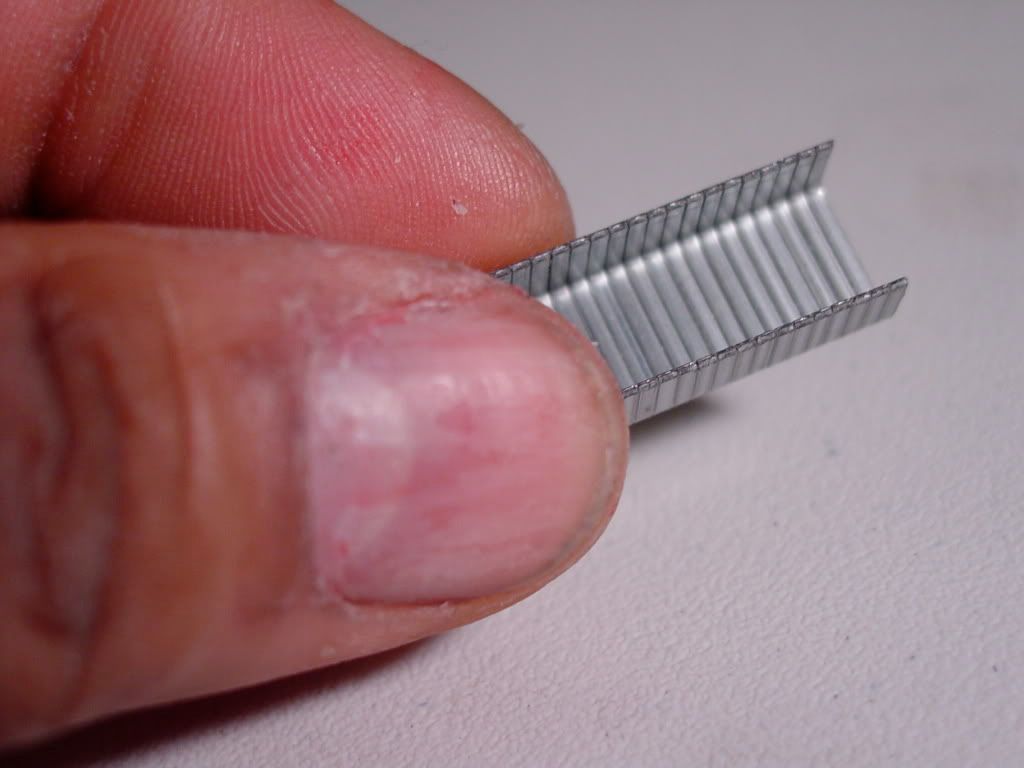
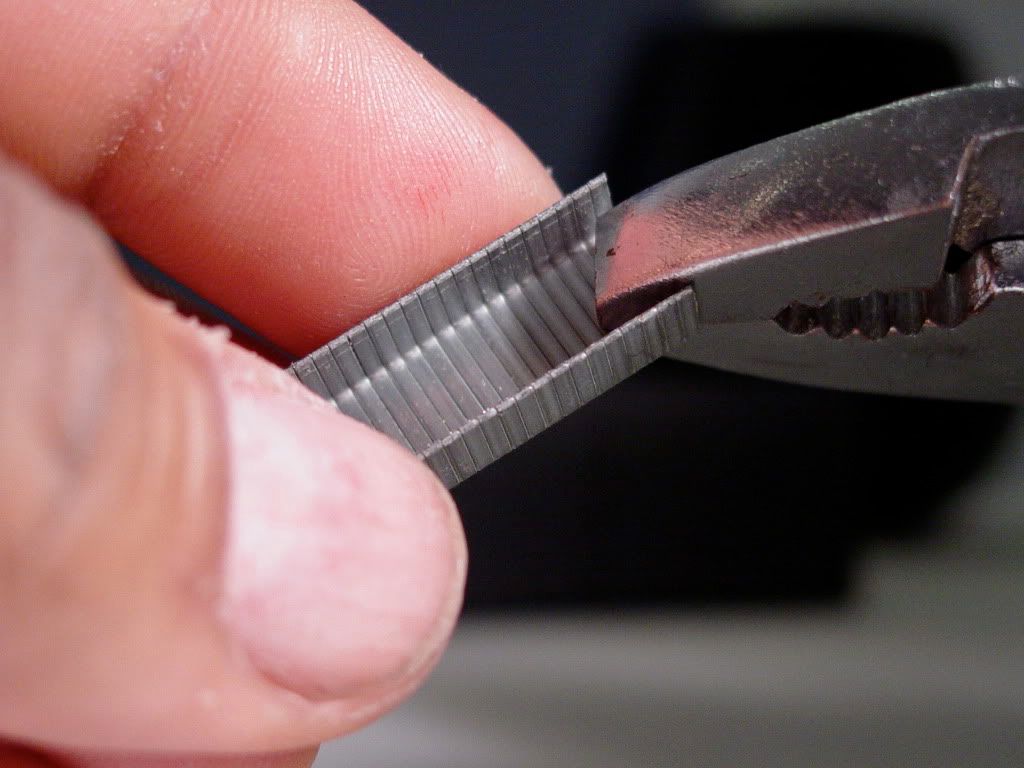
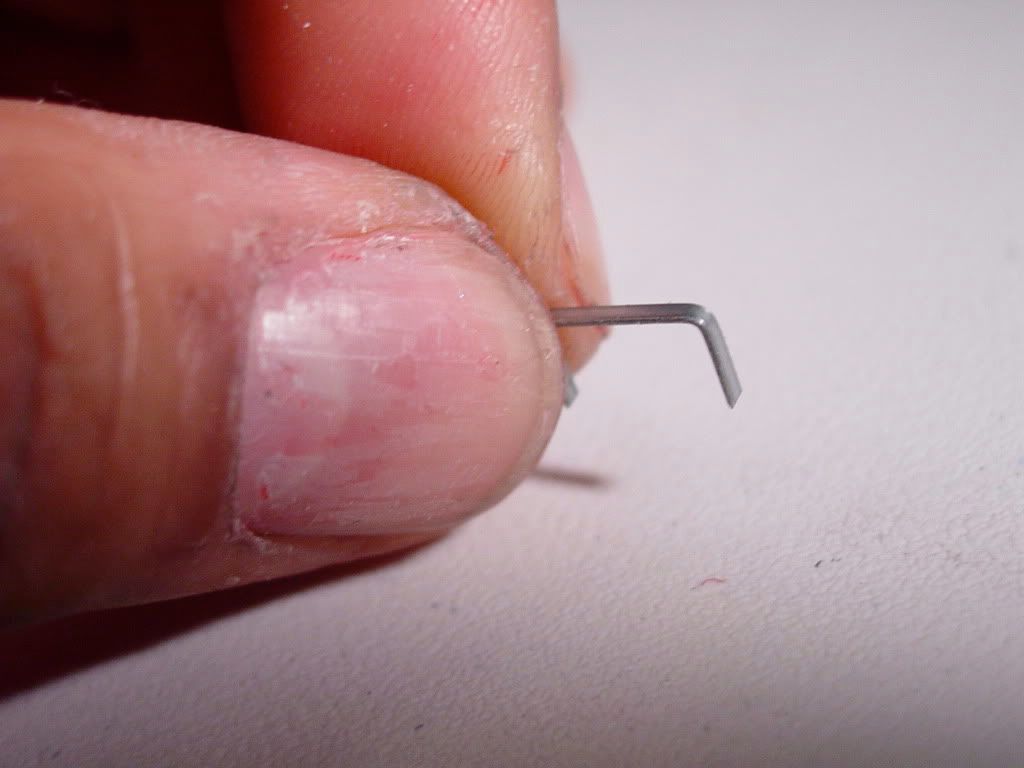
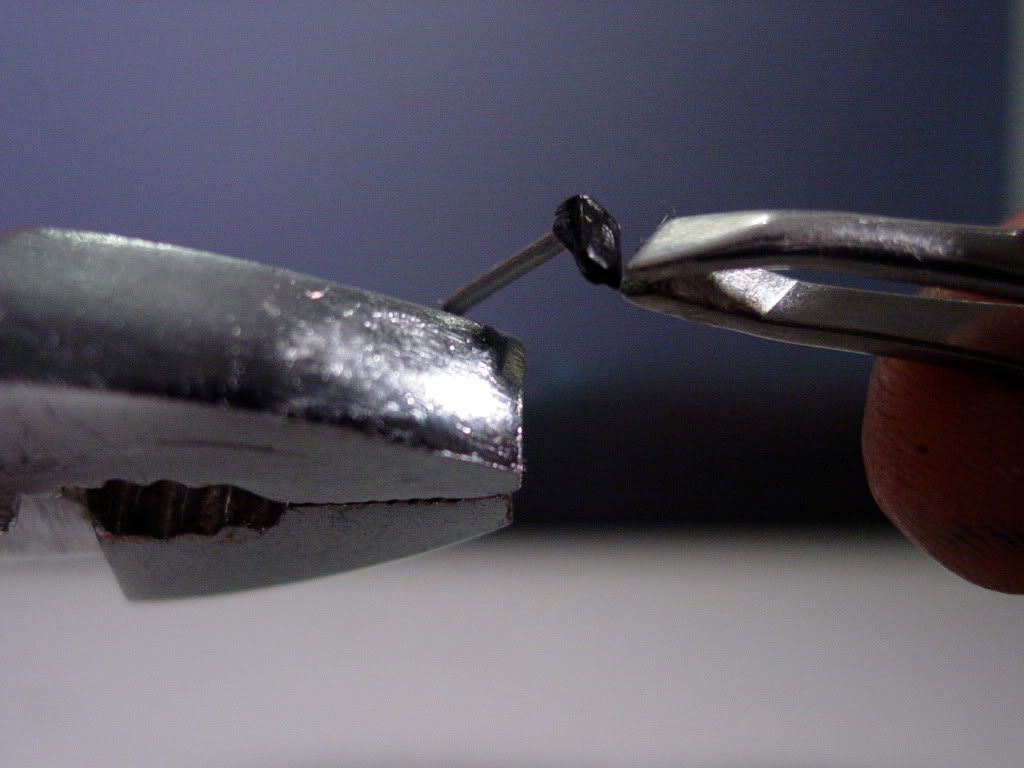
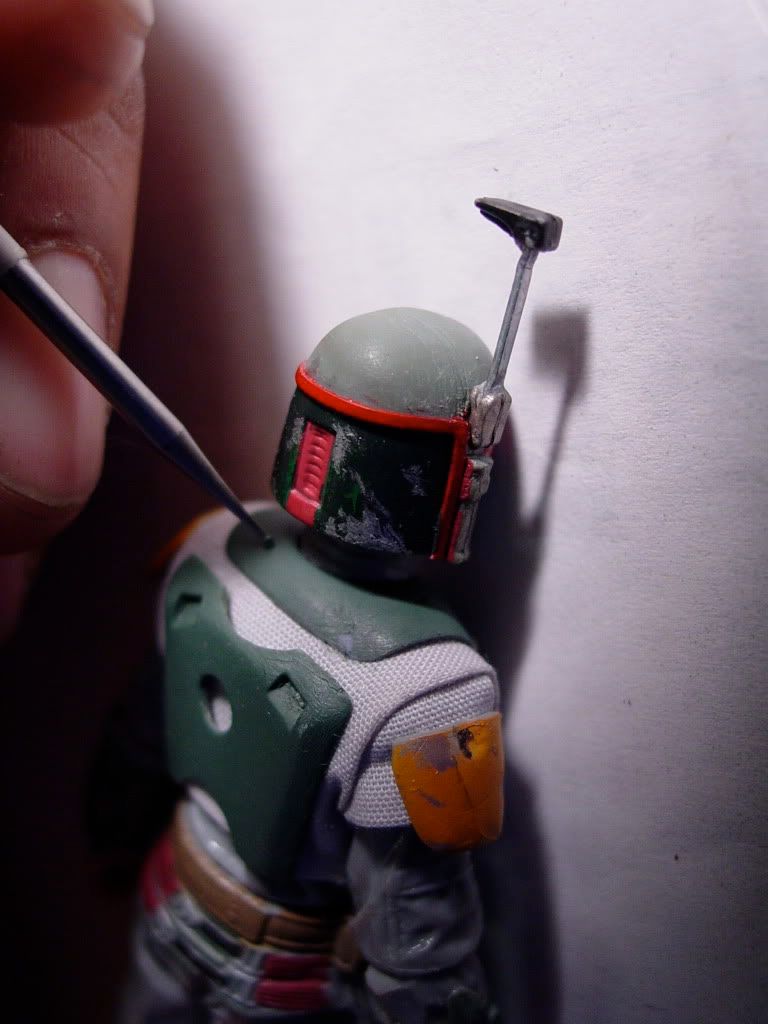
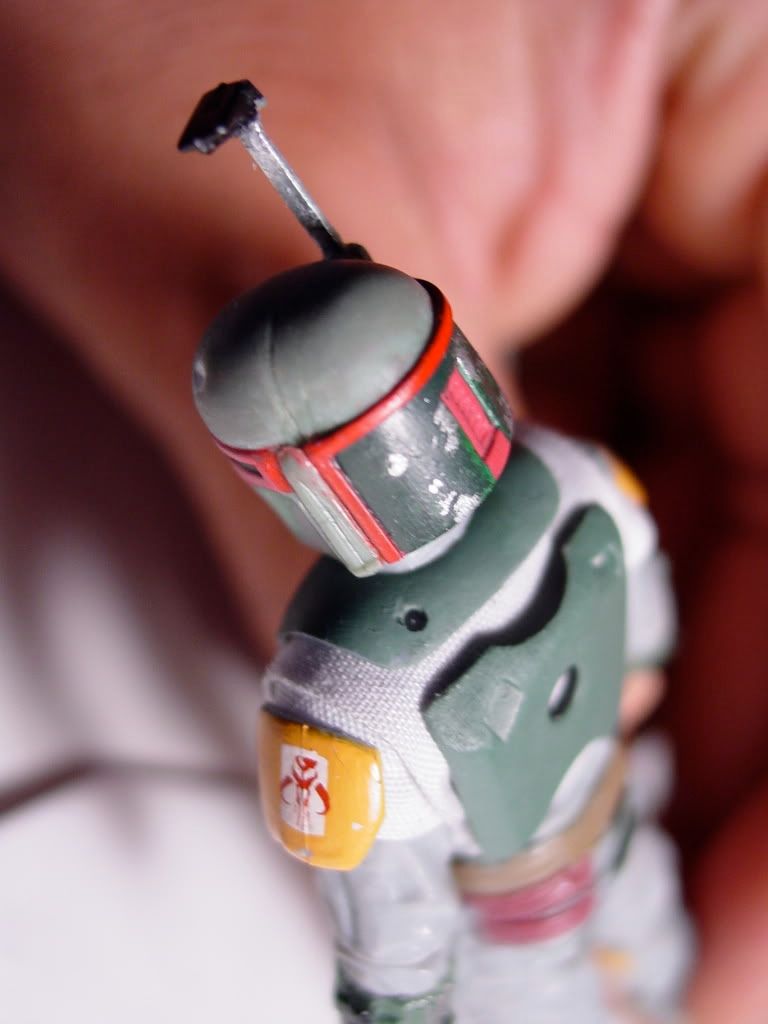
I actually used a single staple from a grapple gun, straightened it, and attached the rangefinder tip.  I was very pleased with its overall  slender metallic look once it was attached to the helmet.


January 9, 2011 9:40 pm (Edited January 10, 2011 04:33 am) #

FINALIZING THE ARMOR

I needed to make all of Fett’s un-painted armor its final color. As usual, what I estimated to be a quick operation took me all night:

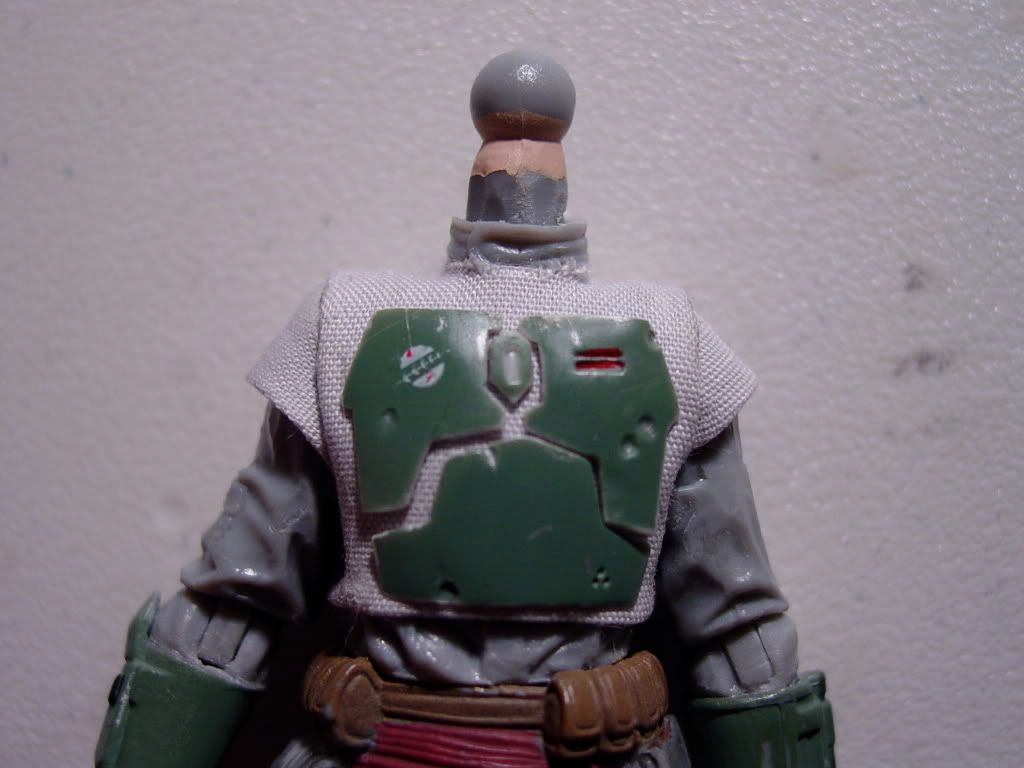
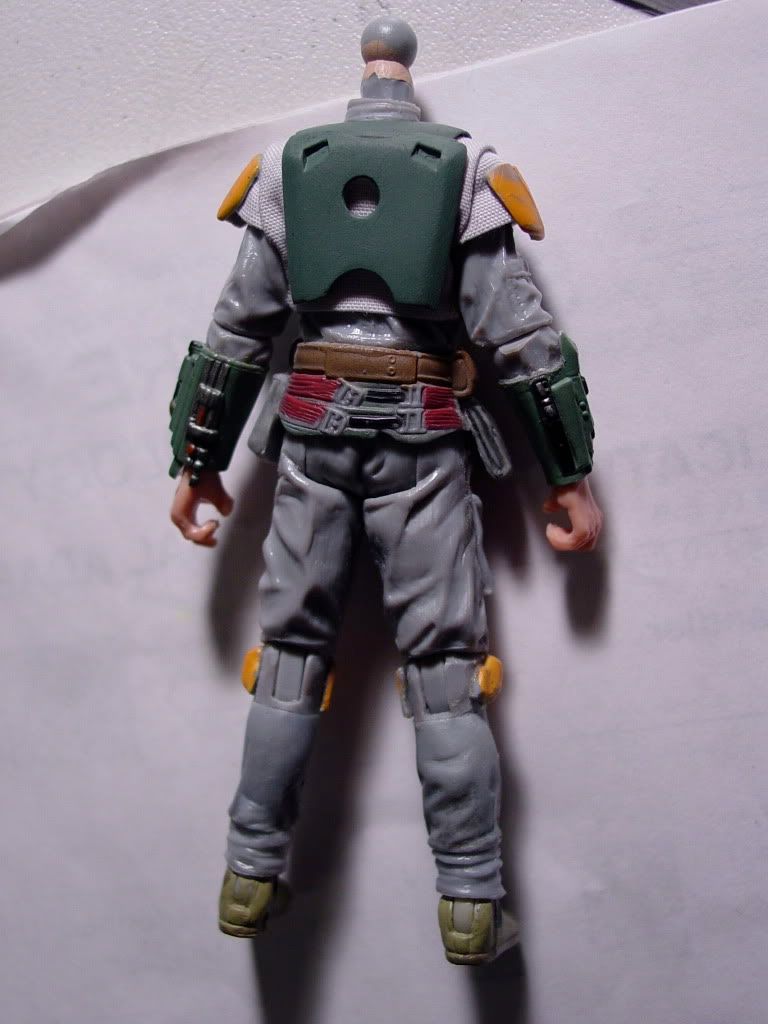
The collar armor, back armor plate (backpack mount), and crotch armor all needed their final paint job to match the torso armor plates (factory-painted at Hasbro).

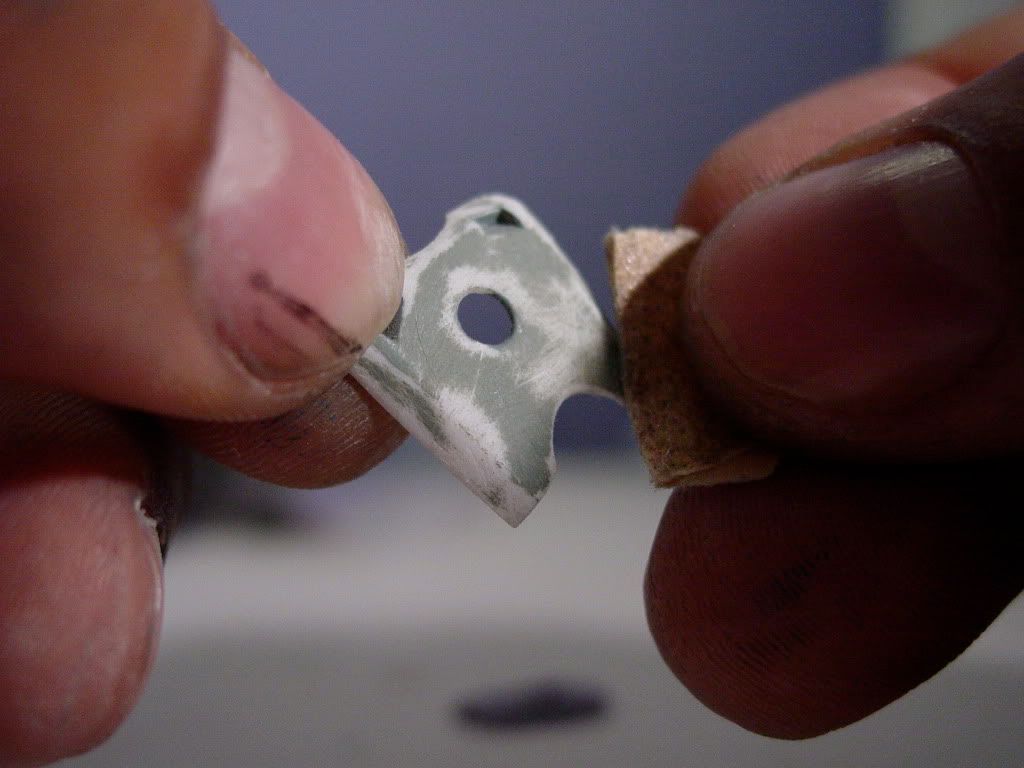
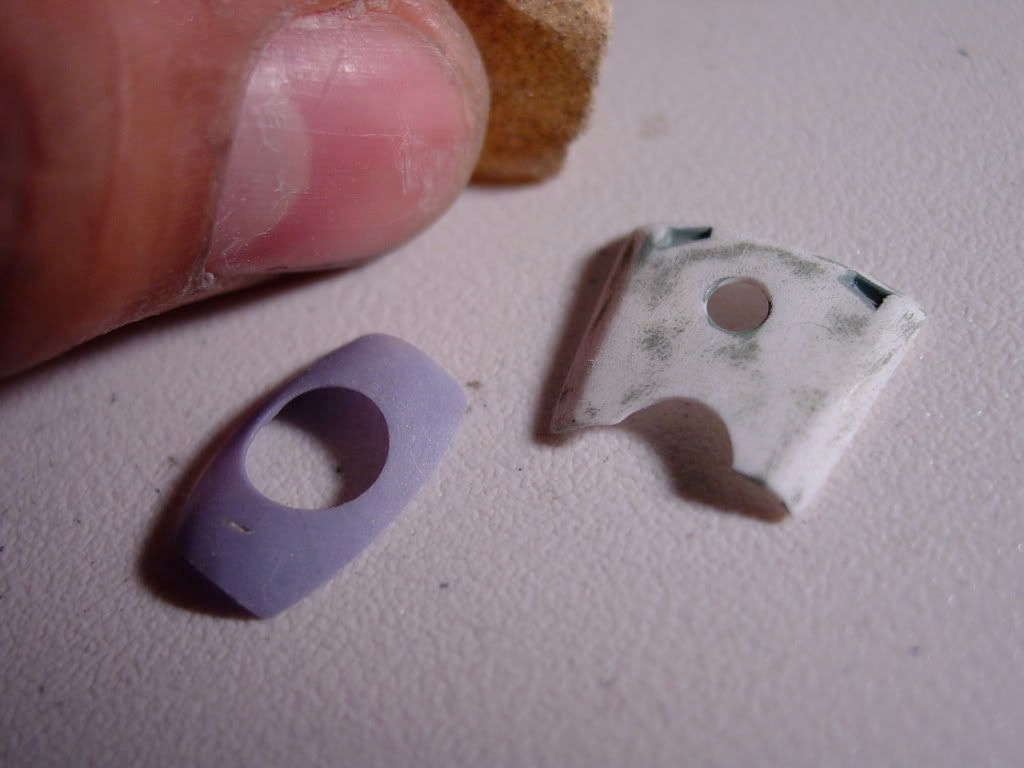
The collar and back armor pieces needed prep by having the original factory paint carefully sanded off by hand. 


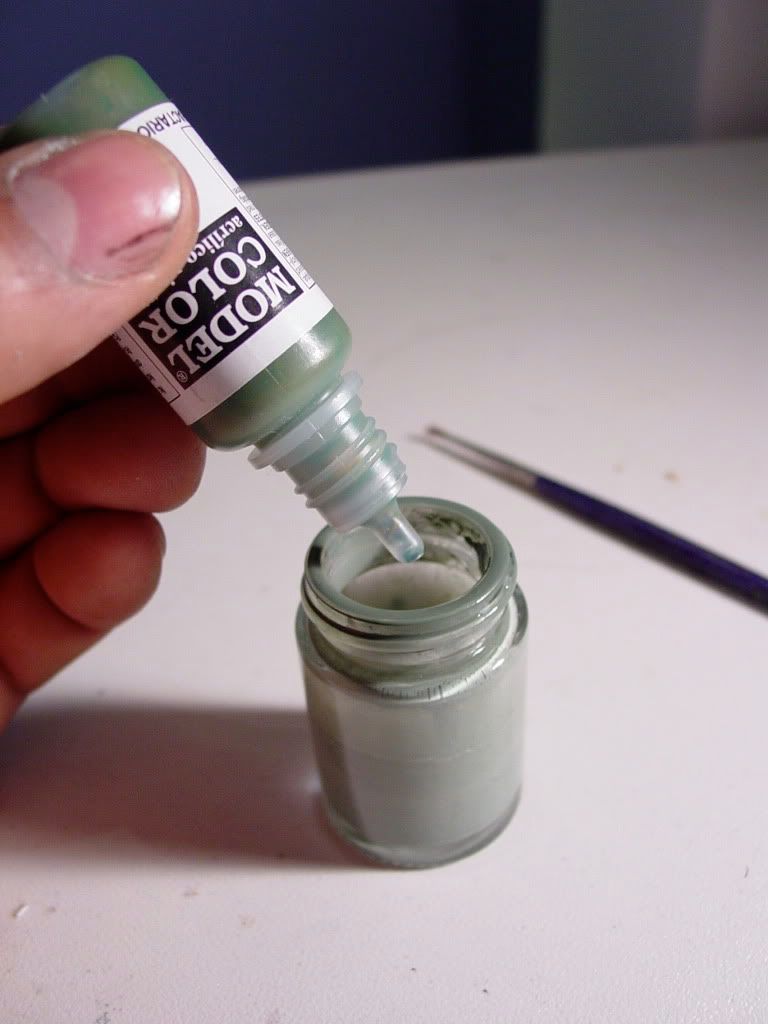
Next, I used the Hasbro painted torso armor pieces as color reference to mix the paint for the collar, back, and crotch armor.

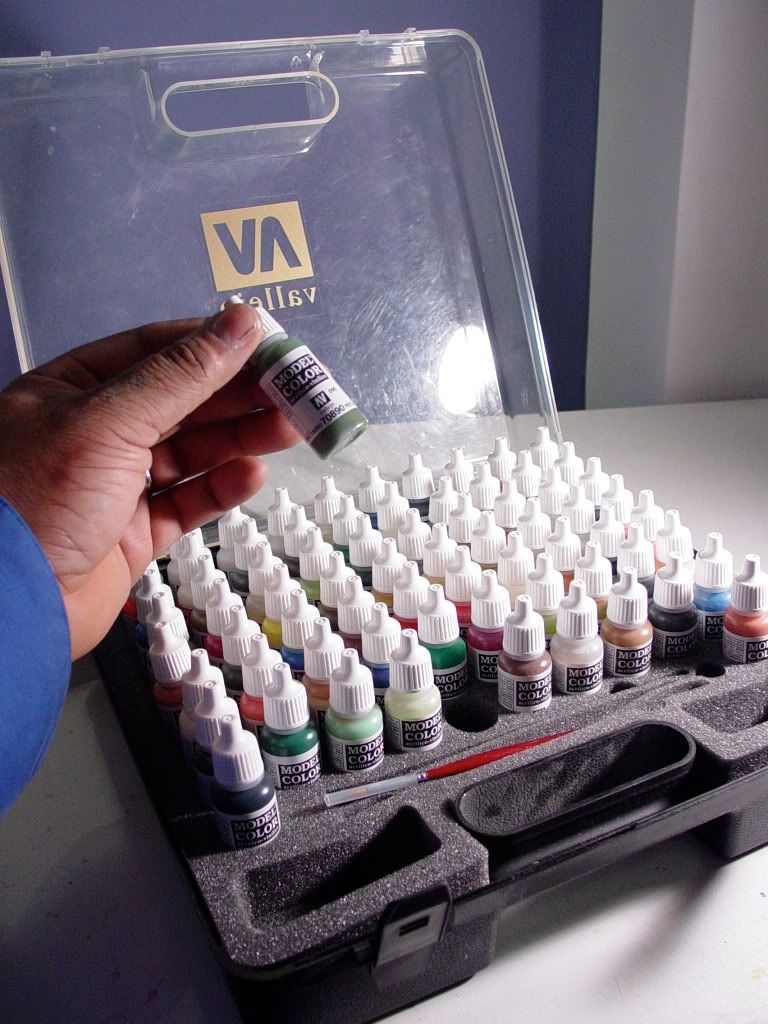
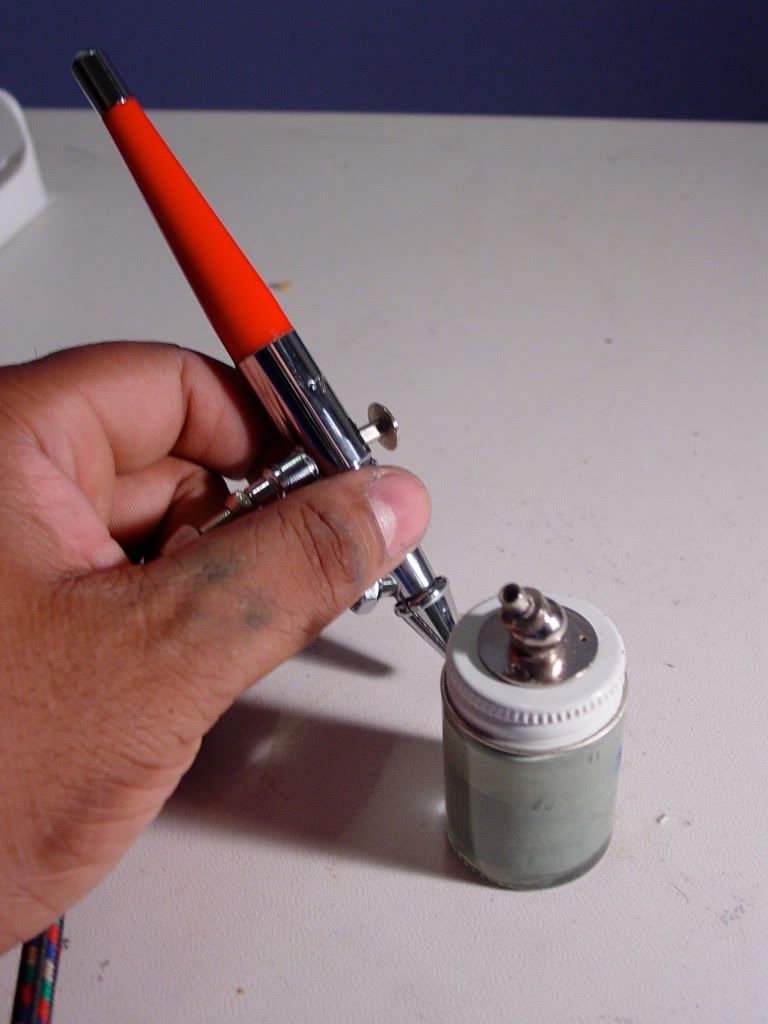
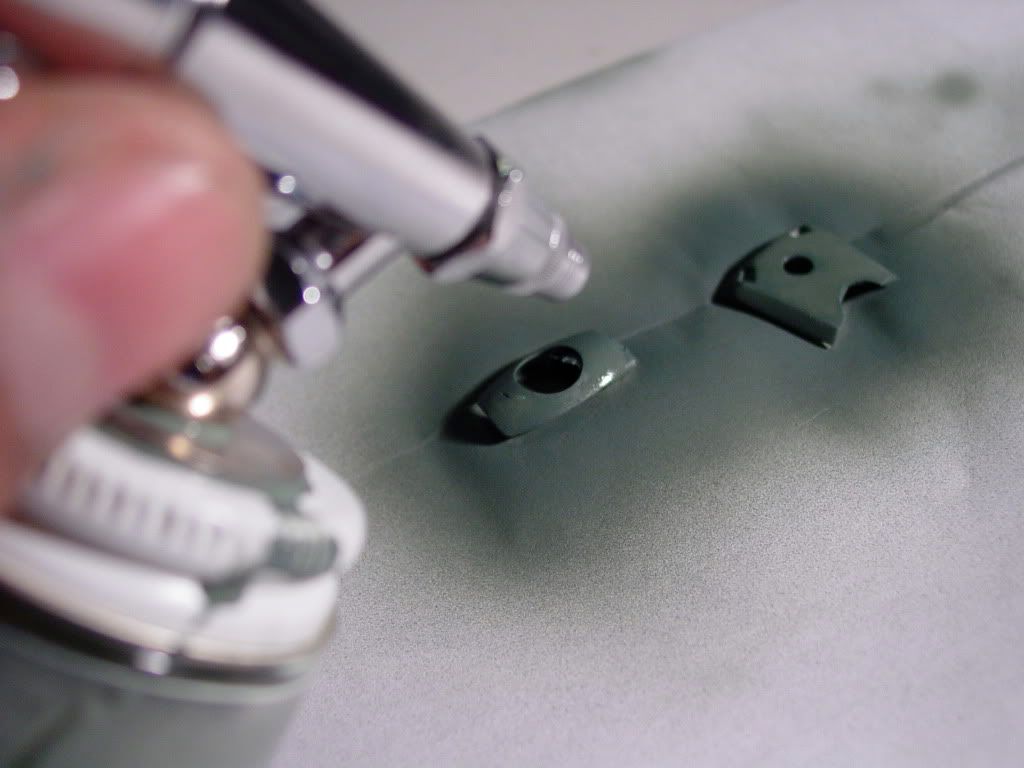
Using my Valejo hobby paint set, I was able to mix up a VERY, VERY close duplication of the flat green for Boba’s armor.   


I loaded up my airbrush and went to work.


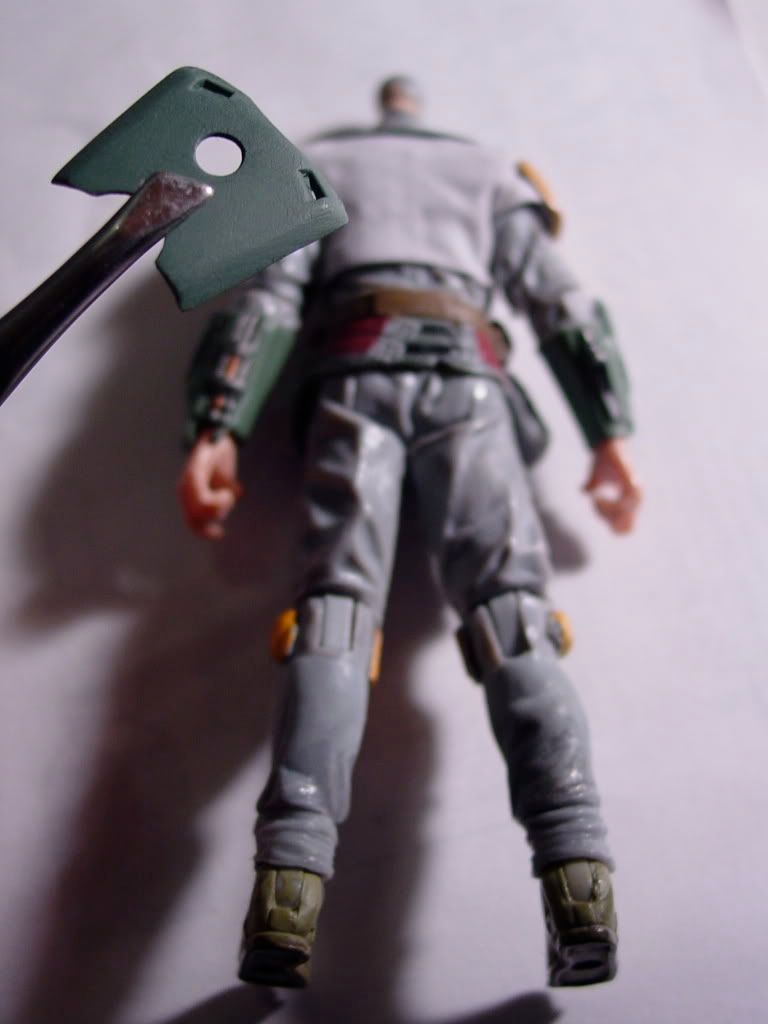
Once the newly painted armor pieces were dry, I placed them back onto the figure and checked their final color accuracy under a white light against the Hasbro factory painted torso armor pieces.


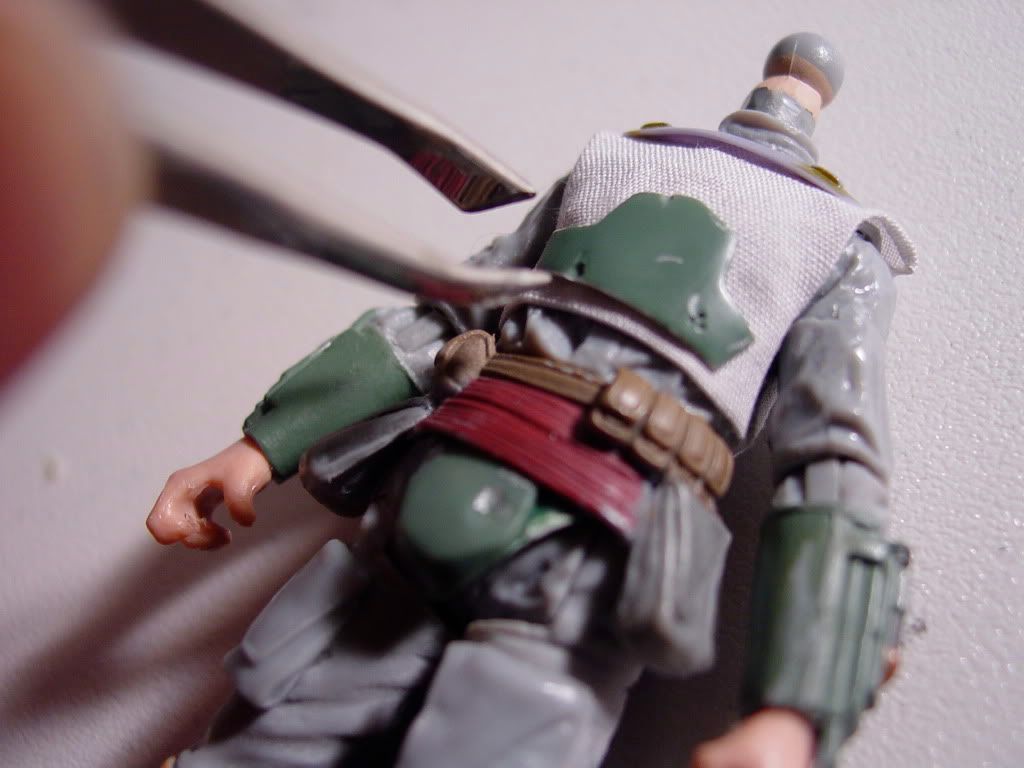
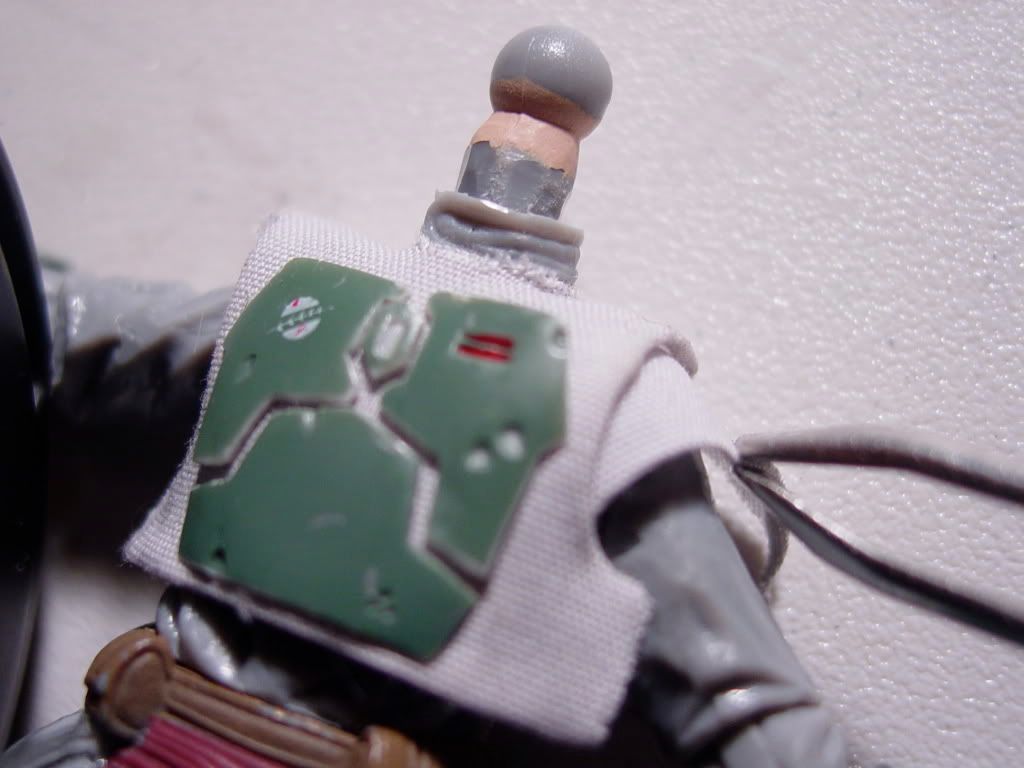
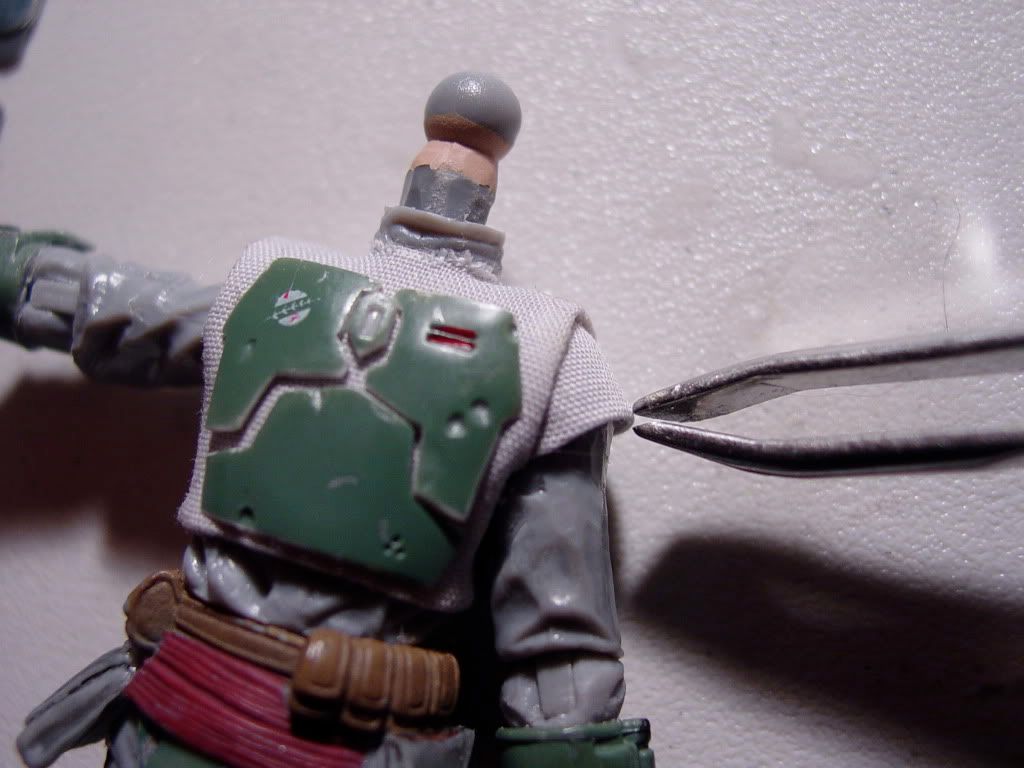
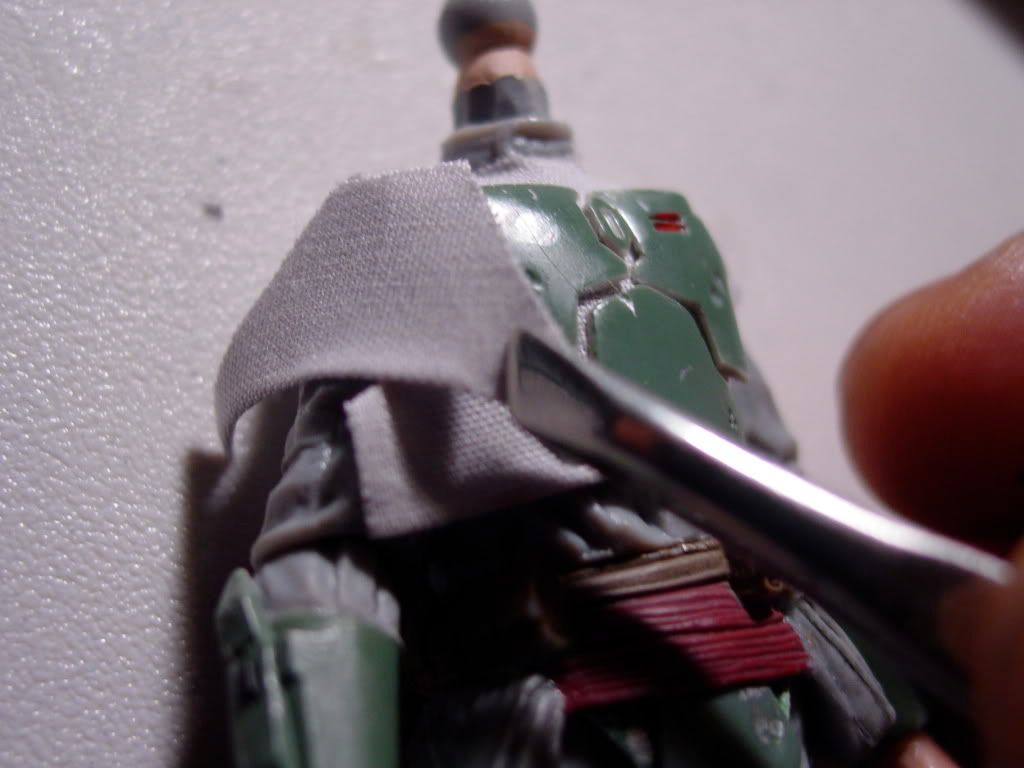
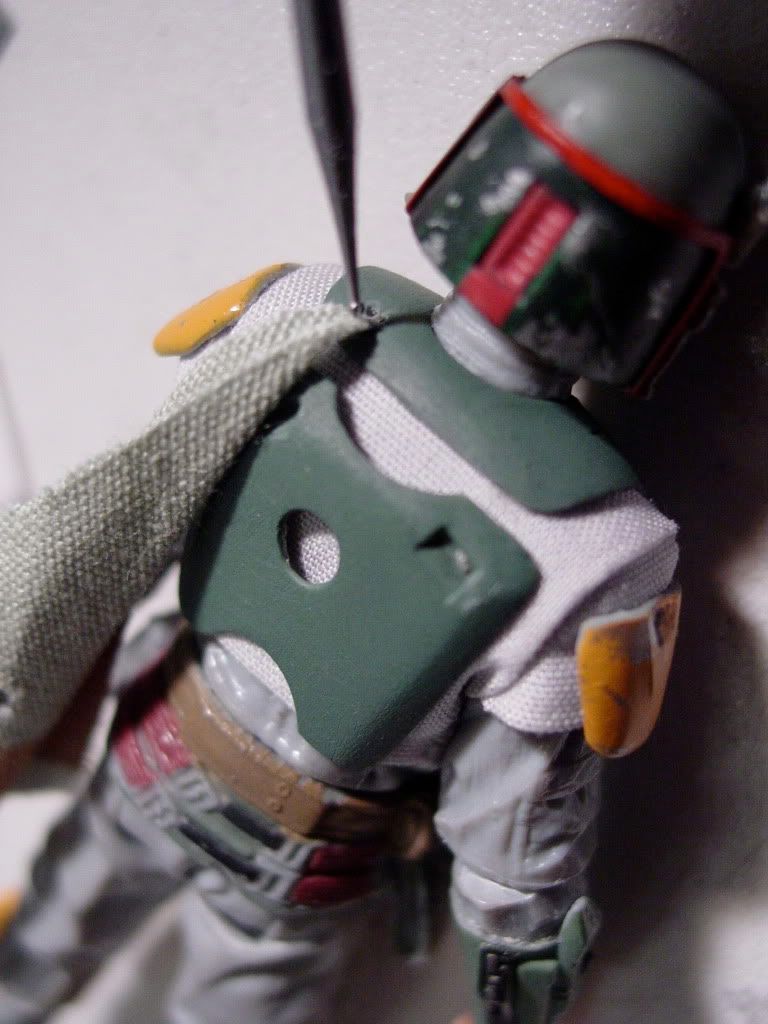
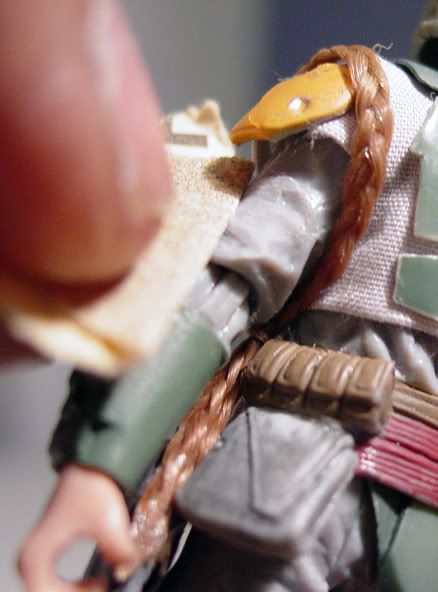
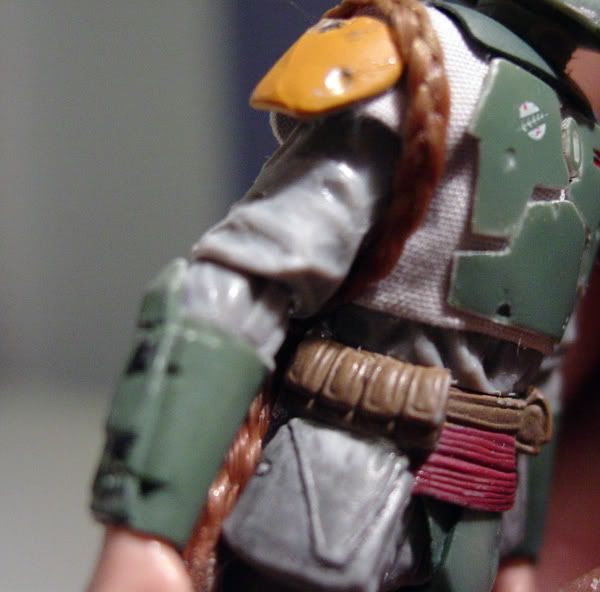
I drilled a tiny hole into the back of the collar armor  to accommodate Boba’s side cape, and cut the fastening lead of the cape into a very fine point. I applied some glue, and then inserted the cape into the hole in the armor.


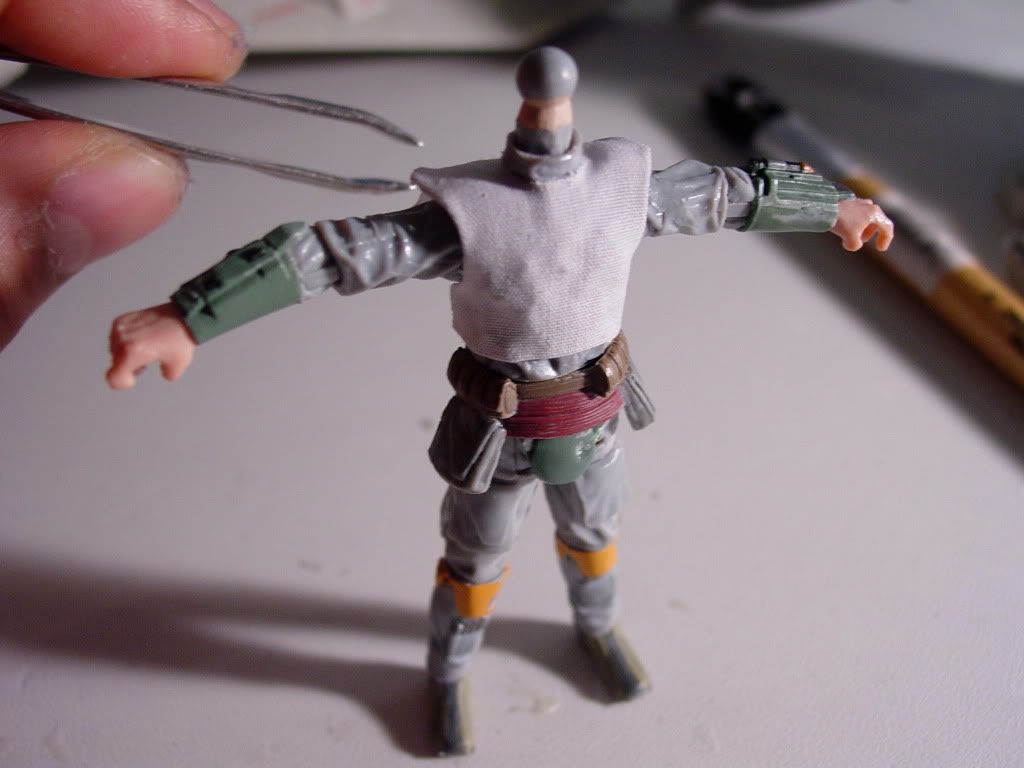
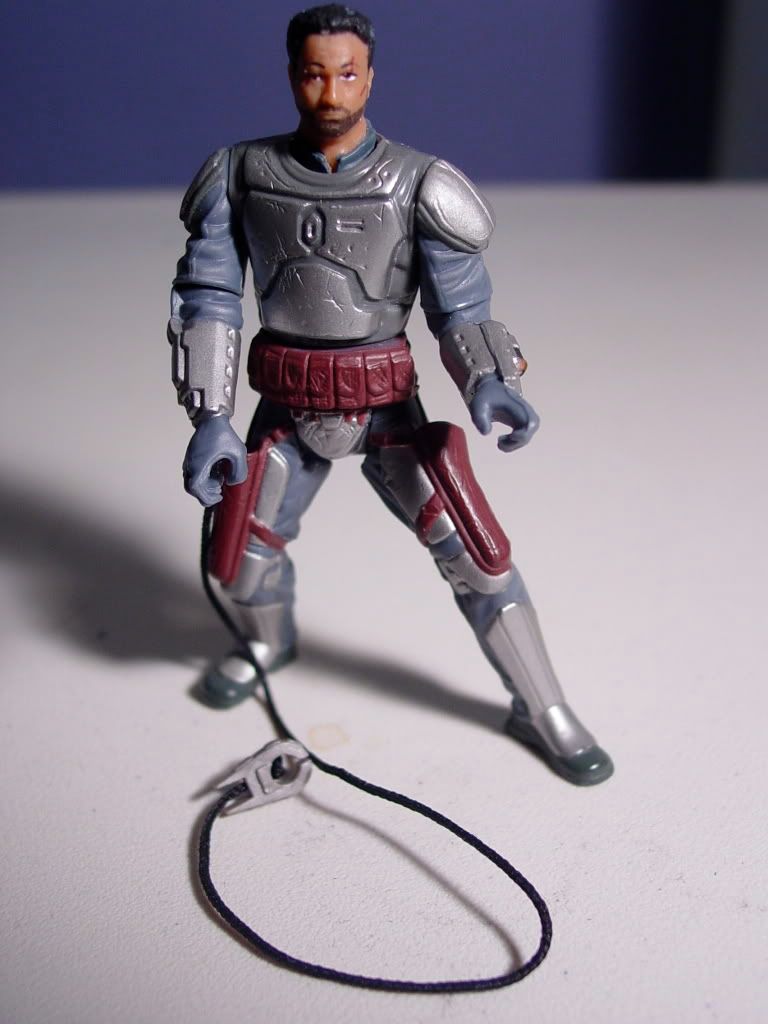
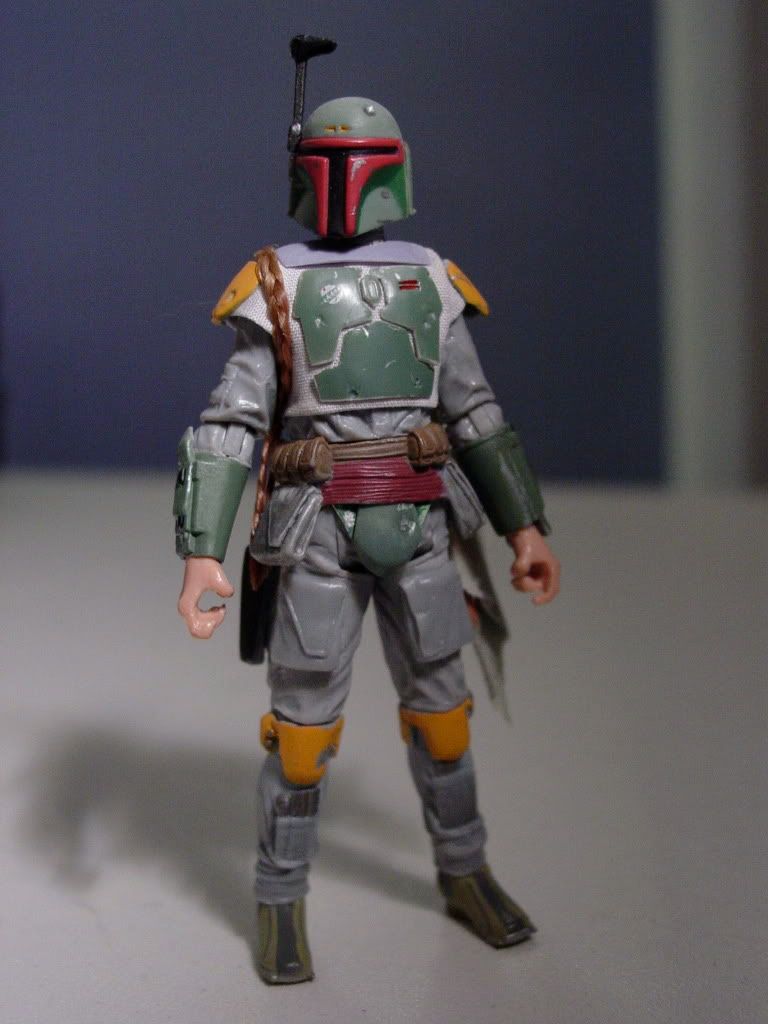
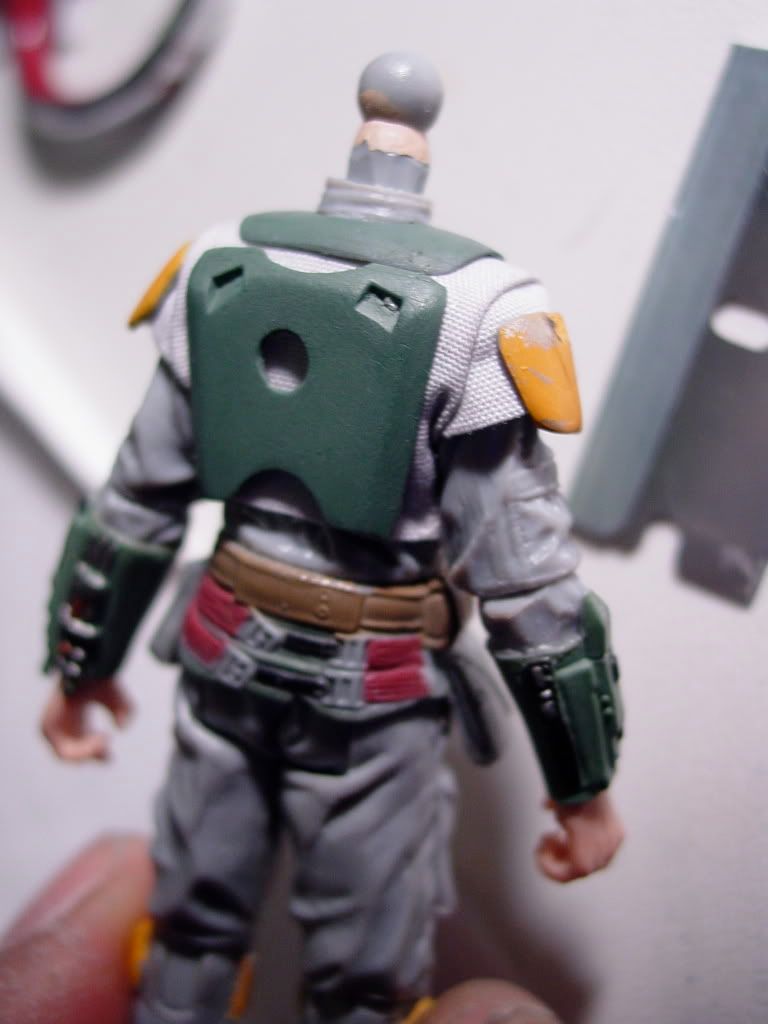
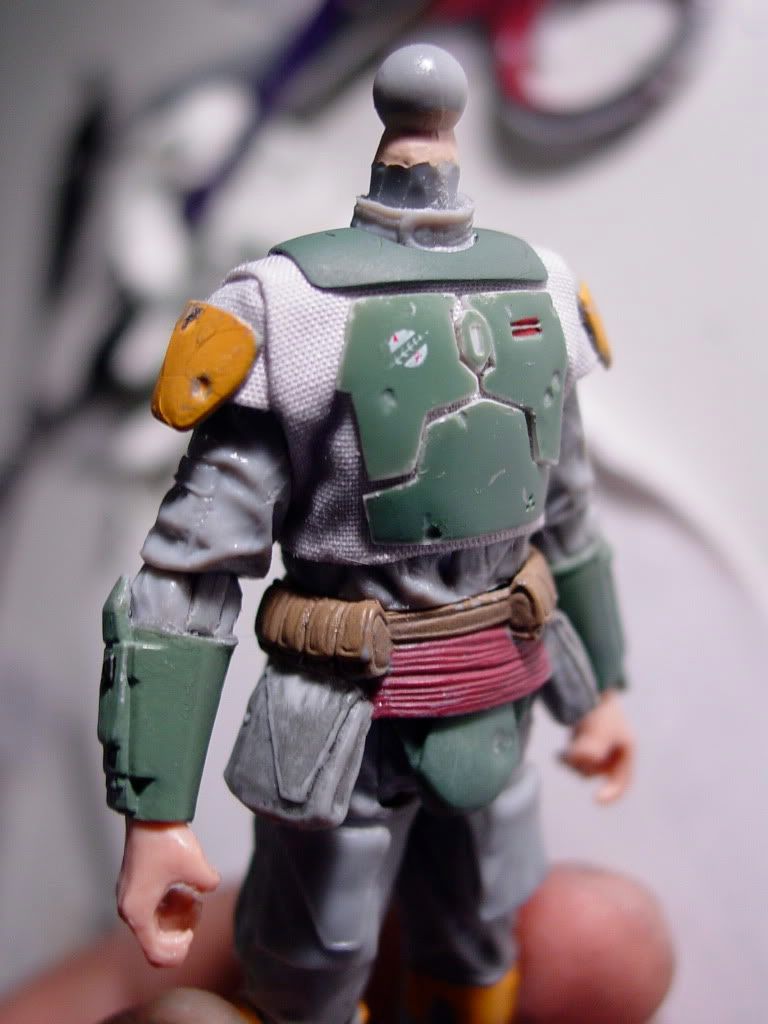
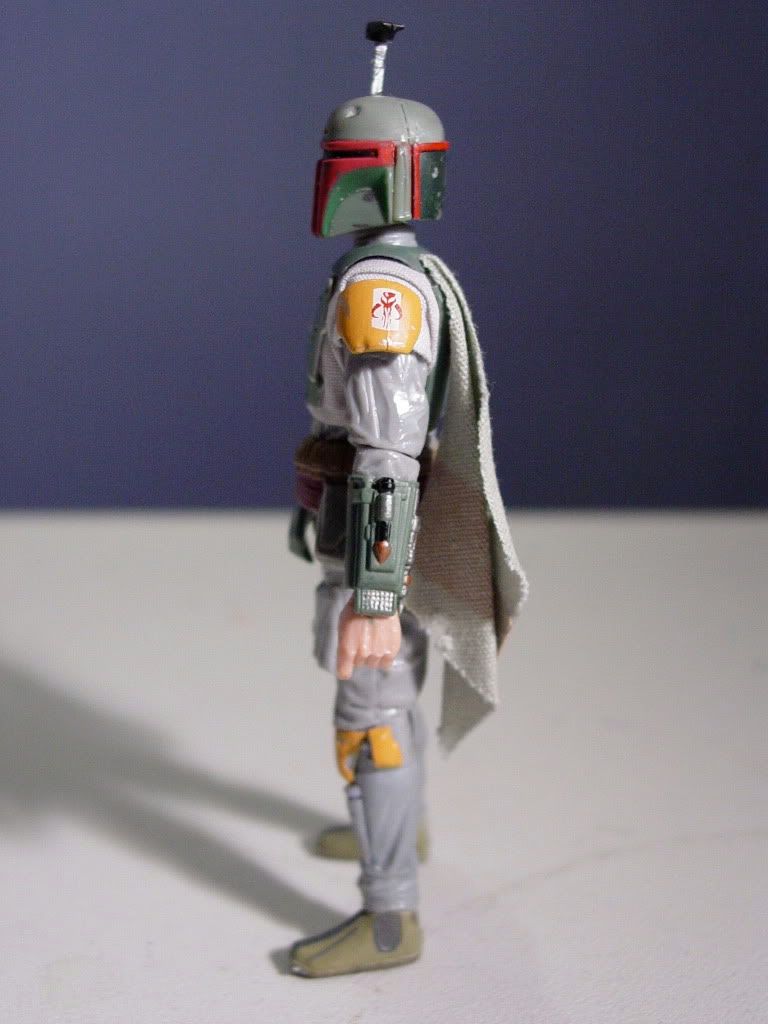
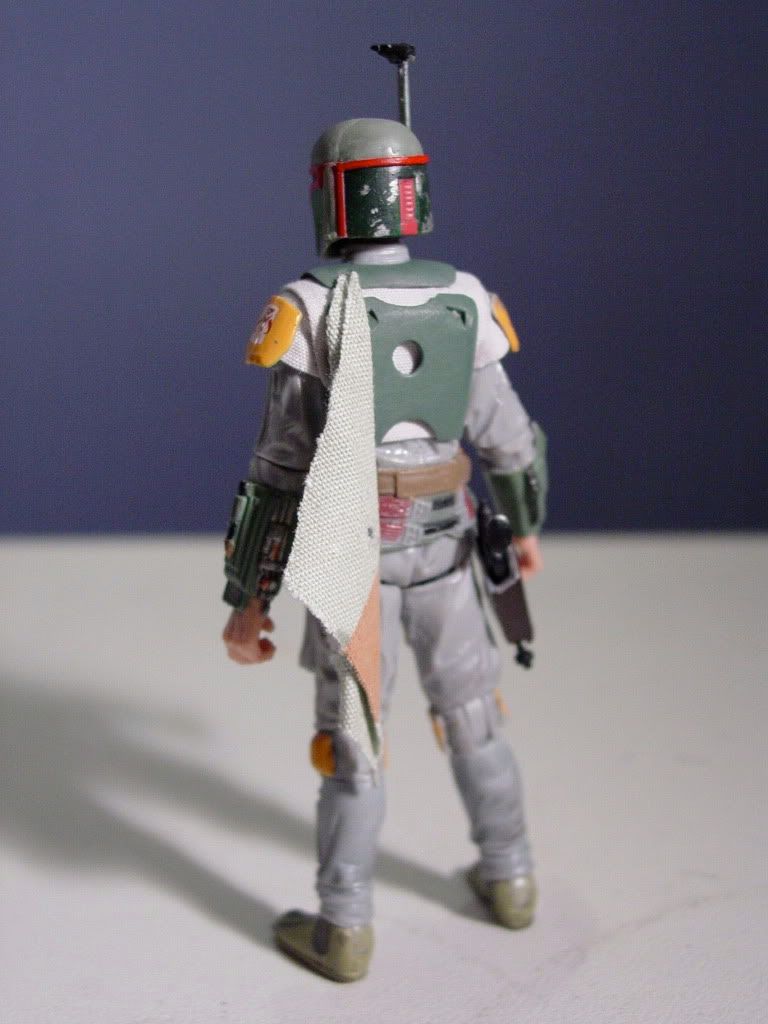
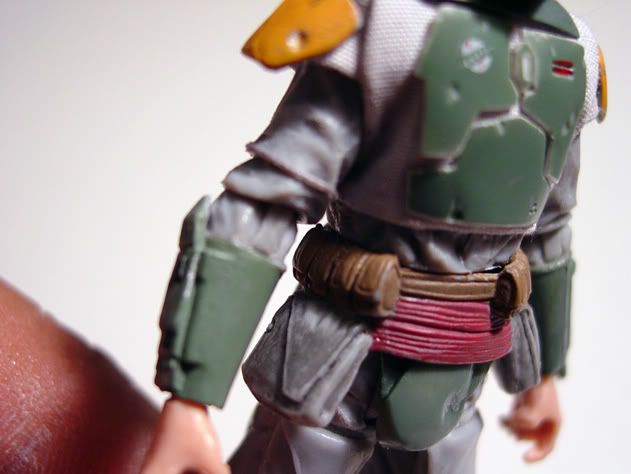
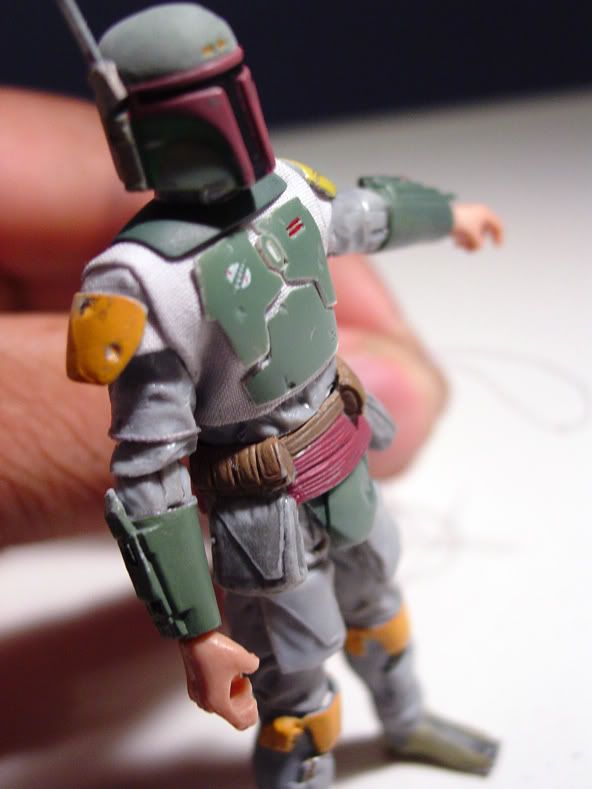
A quick series of photos to check the color accuracy and quality of Boba’s new armor paint-job before the gloved hands and final detailing complete this figure.  I love how this photo demonstrates the preservation of this figure’s slender build despite the addition of the soft-goods flak vest and the torso armor pieces.

January 9, 2011 9:41 pm #

As most of you know,  my camera was down for about a month, preventing me from documenting some of  my work on this figure.

I was therefore unable to document some progress steps that occurred during the camera’s repair time.

Since those updates on the figure will be evident in the photos that I’m about to post anyway, I will list what those updates were.

1)  The rangefinder on Boba’s helmet was shortened by about 2½  scale inches.
2)  The cheek stripes on the helmet were re-painted in the correct flat black.
3)  The T-visor on the helmet was re-painted in a darker shade of red.  (Note: this T-visor re-paint was something  that I was originally NOT planning to do .  But admittedly I did change my mind about the desirability of the “toyetic” bright red after I saw it contrasted against the new flat black cheek stripes.
4  The minor paint rubs on the utility belt have all been touched up.
5  The armored shoulder bell for Boba’s left shoulder has been re-painted in the correct canary yellow.  Knee pads and right armored shoulder bell have been left orange yellow.


Alright… onto to yesterday’s work…

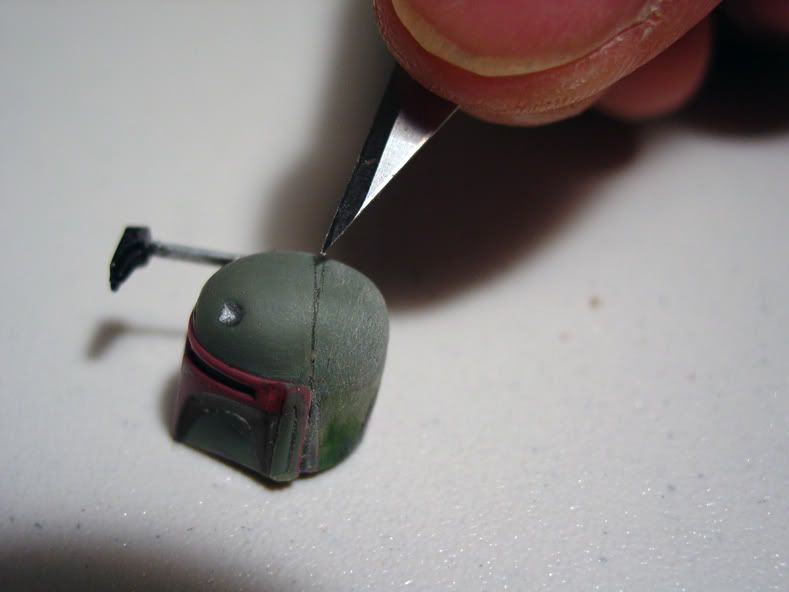
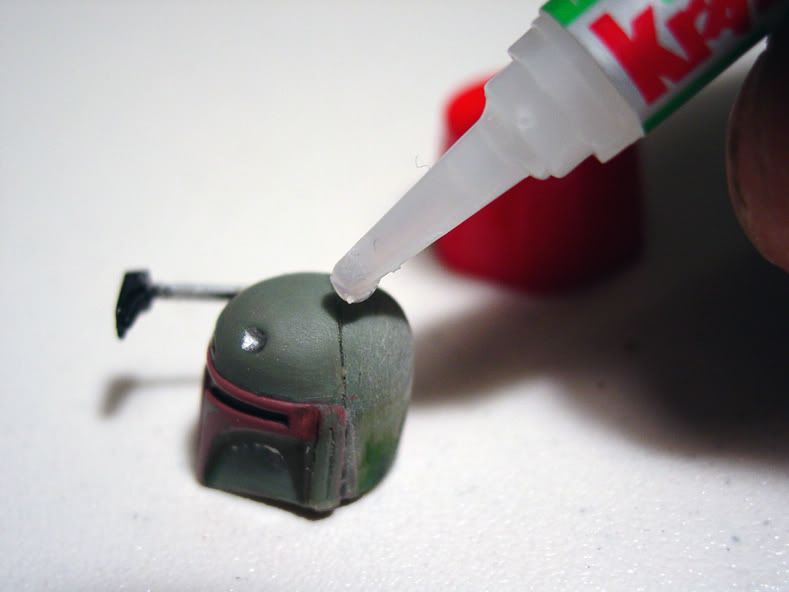
A couple of months back when I performed the operation to change the profile of the figure’s helmet, I did a lot of filling work with plastic shavings to fill the gaps between the two helmet halves.

There was still a seam visible from the operation that I wanted to make disappear.


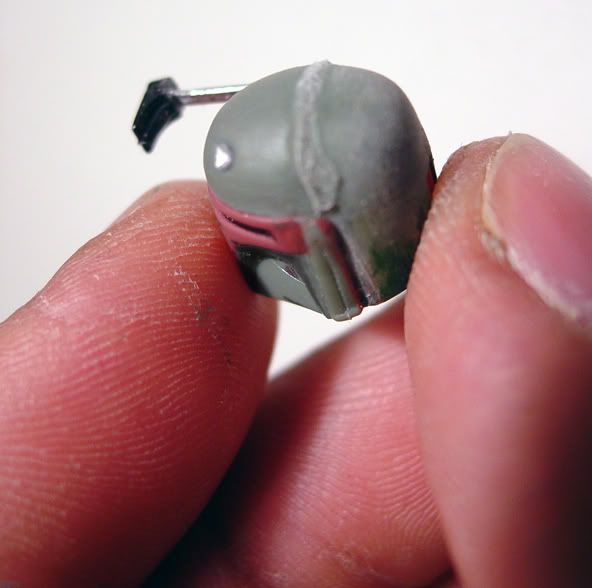
I began by using a line of Krazy Glue. I laid down a sealant directly on the seam, and waited for the glue to dry and set. 


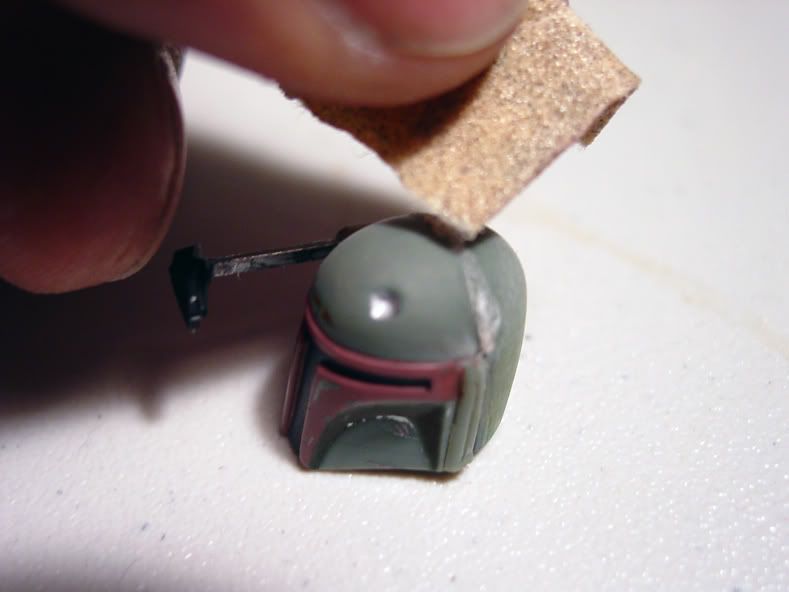
Once the glue dried and hardened,  I sanded the seam smooth with 500 grit sandpaper, and then I did a fine wet-sanding with 1000 grit sandpaper to make the dome as smooth as possible. 

I will air-brush the dome tomorrow, once and for all, effectively making the seam vanish.


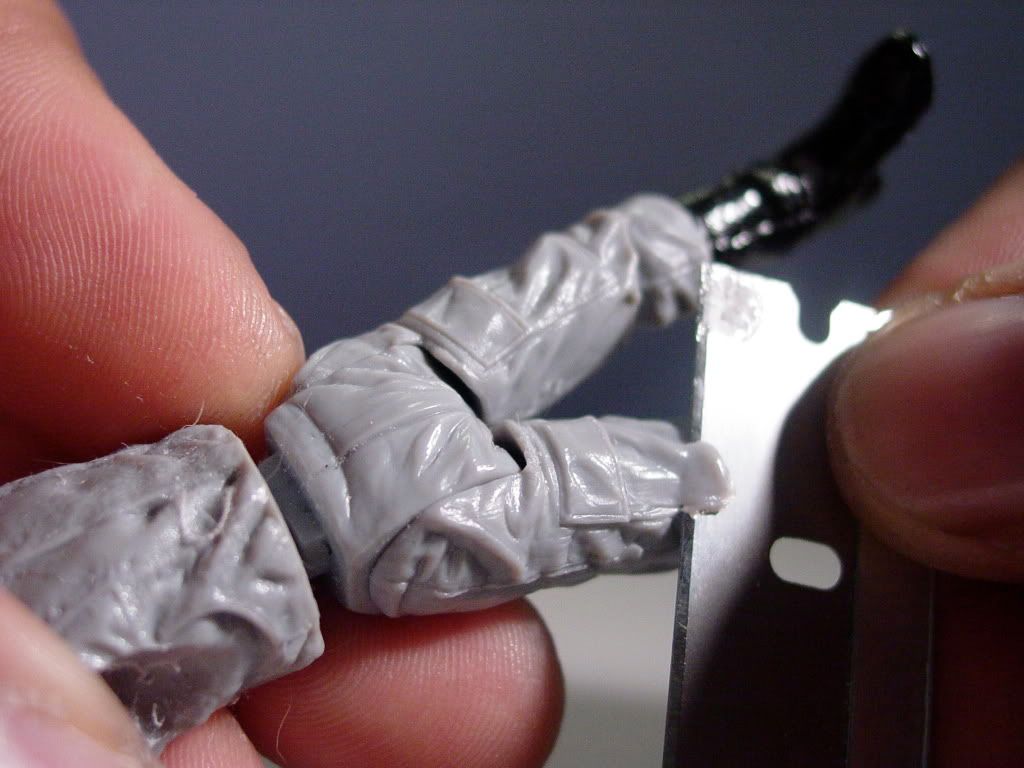
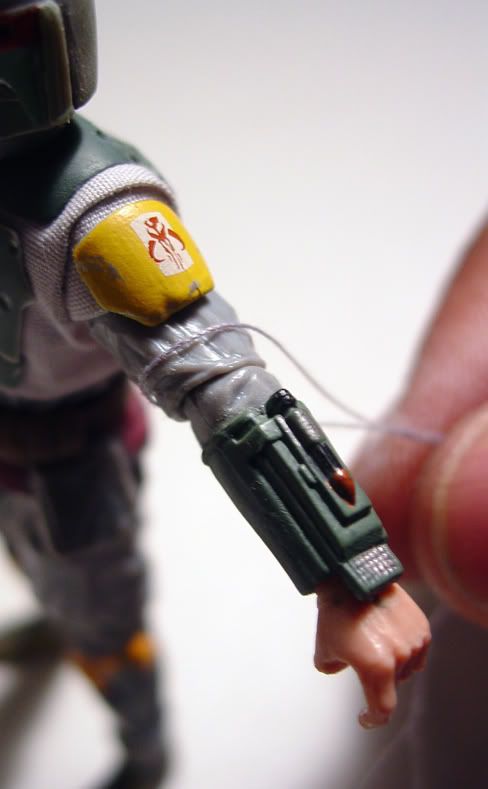
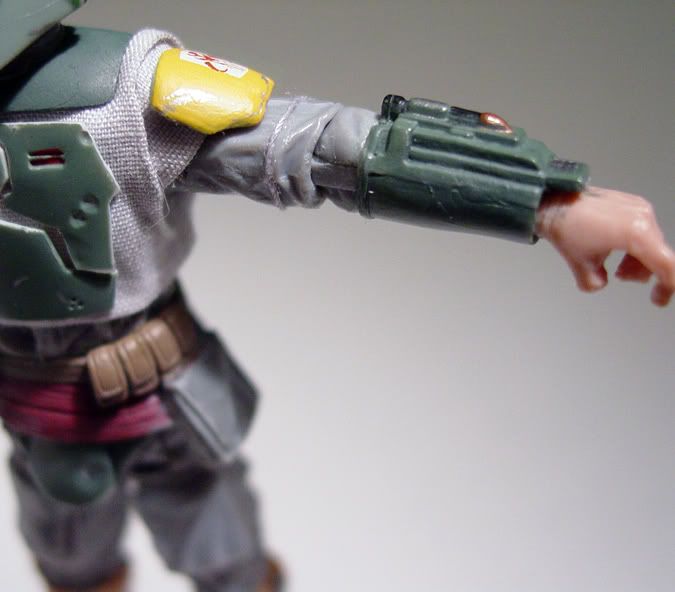
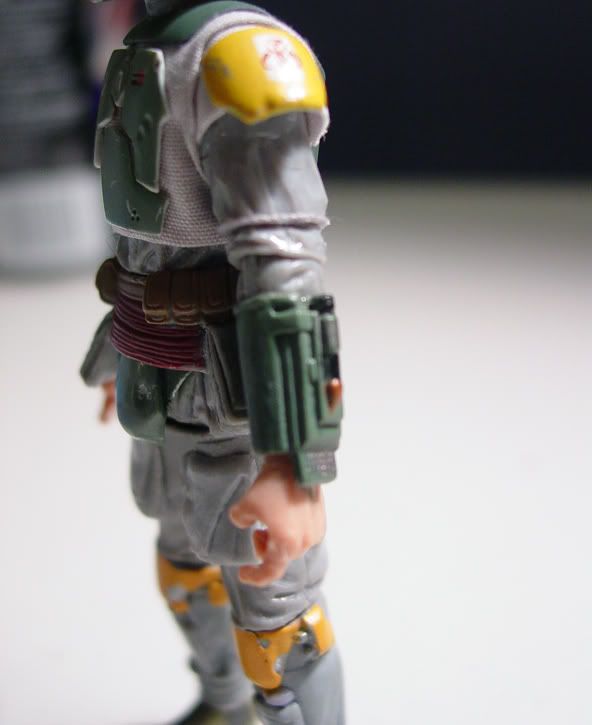
Undoutedly, the most time-consuming operation I performed yesterday was converting the Imperial Scanning Trooper’s arm sleeves into Boba Fett’s correct double sleeve (sans arm mini pocket).

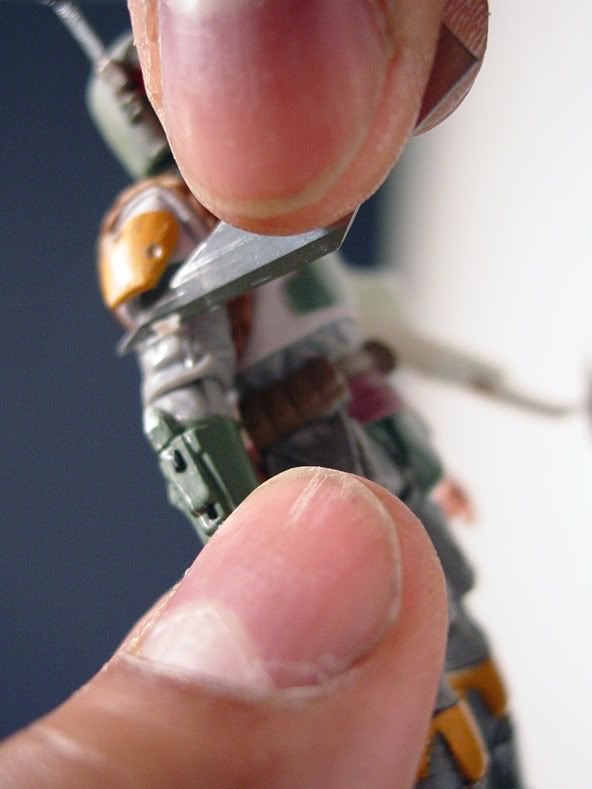
The first thing I did was to use an X-acto blade to carefully shave away the mini-pocket molded to the right arm.  I gave the area a fine sanding to smooth it off, and then I got to work  making the upper arm double sleeve.


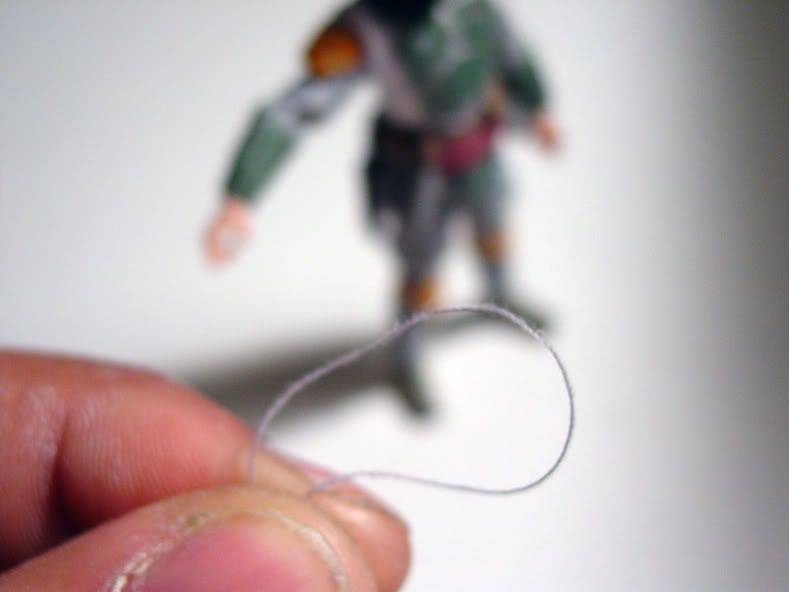
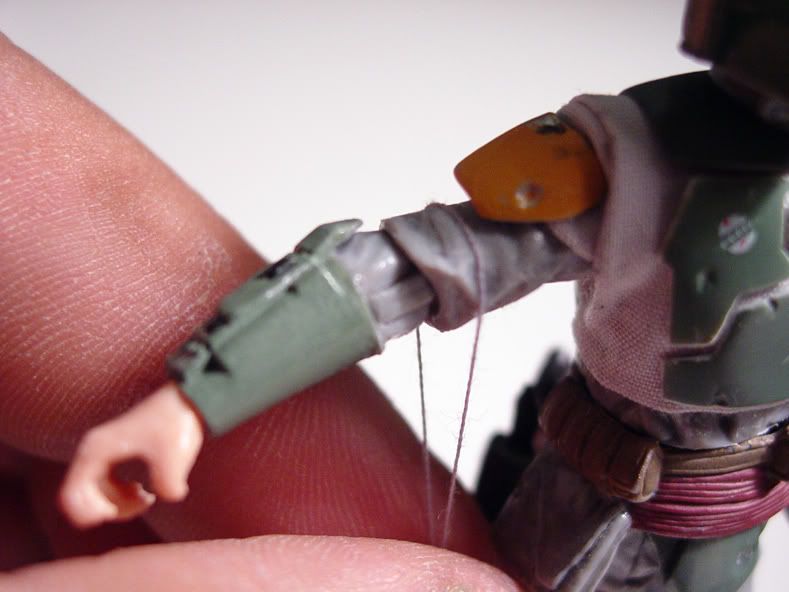
I used some sewing thread to layout the edge of the upper sleeves by carefully gluing it down around the circumfrence of both arms.   Then, with my trusty razor (God, what would I do without that thing?) I re-sculpted the lower sleeve into a narrow taper that appears to emerge from underneath the upper sleeve.


The guide thread at the edge of each new upper sleeve is only TEMPORARY.  They will be replaced by micro-thin ribbon to simulate the sleeve cuffs.


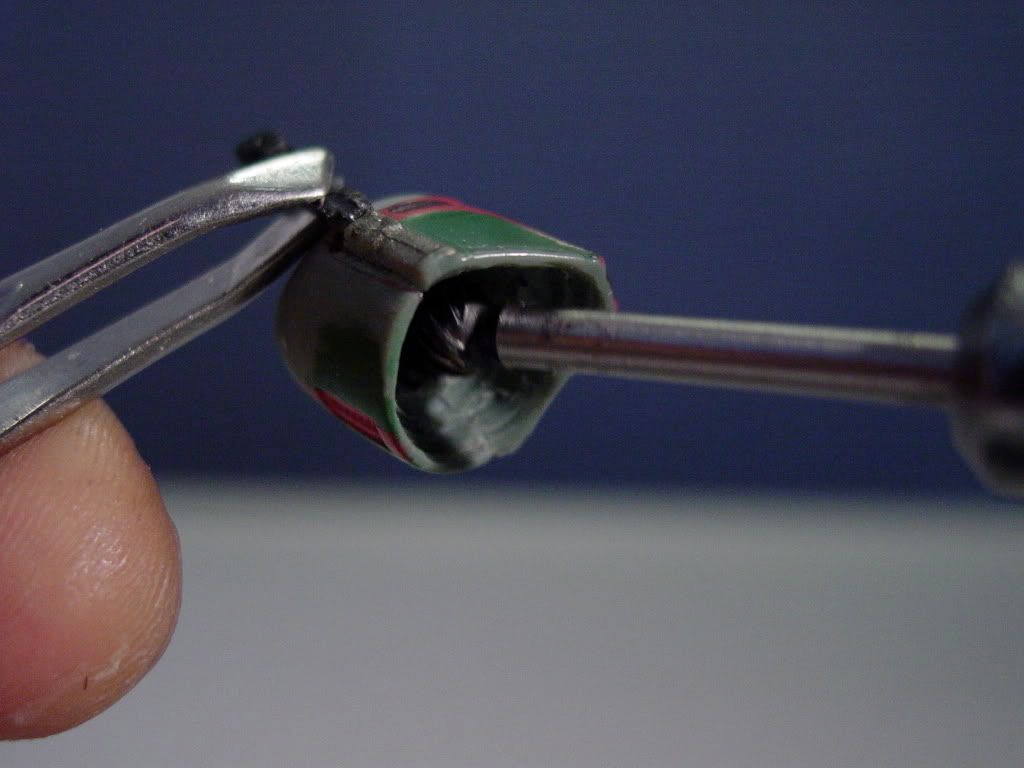
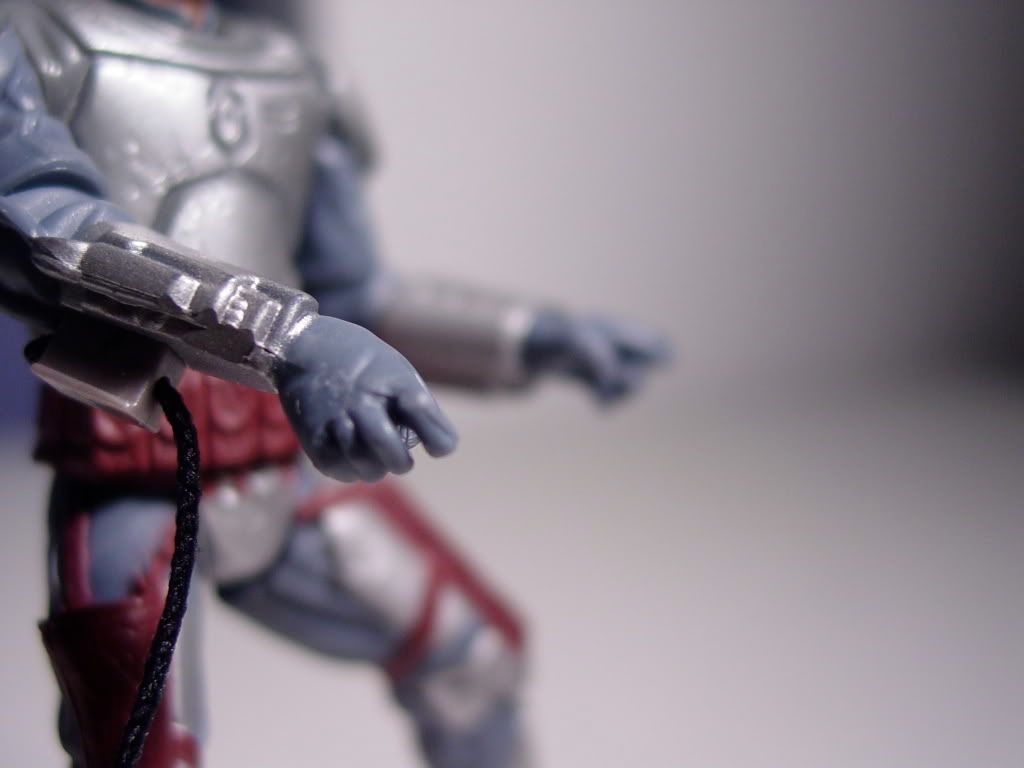
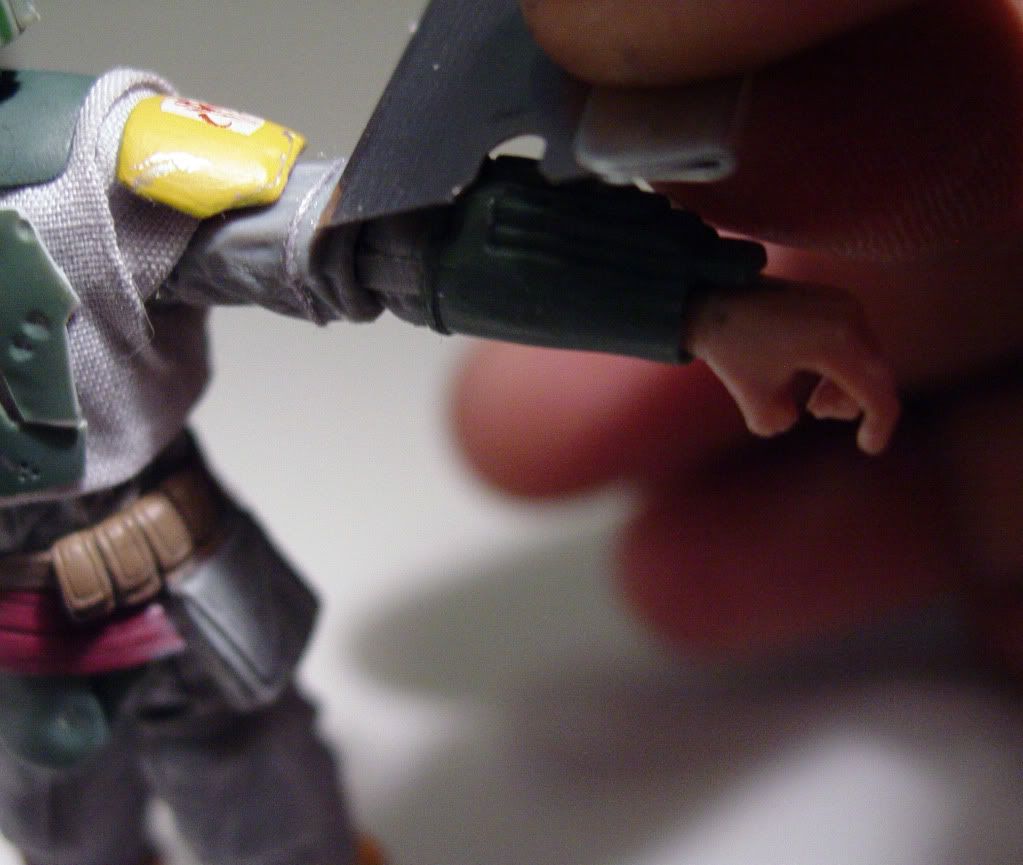
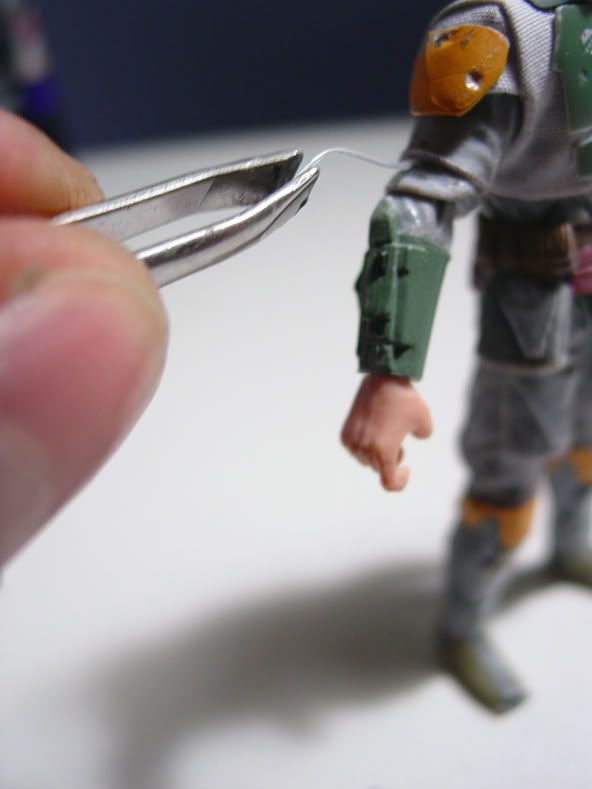
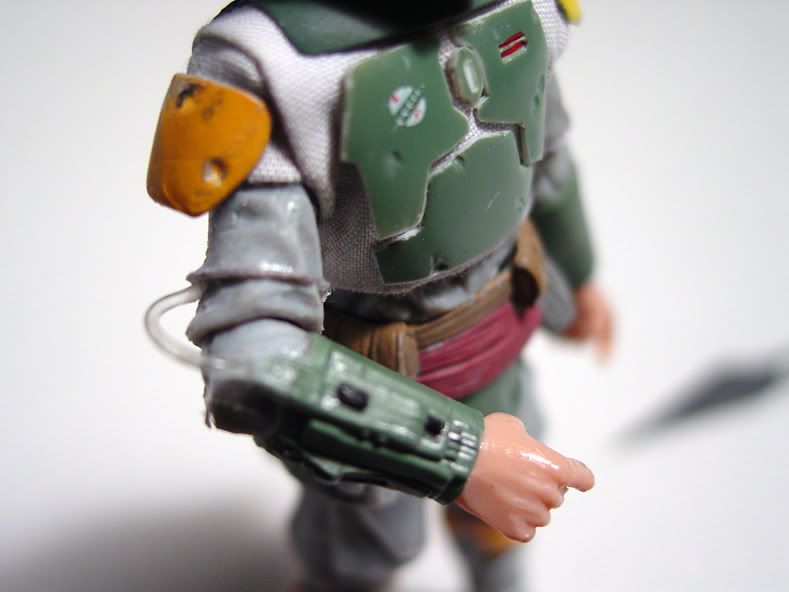
Boba’s right arm weapon gauntlet features a clear power tube that tucks underneath his right arm upper sleeve.

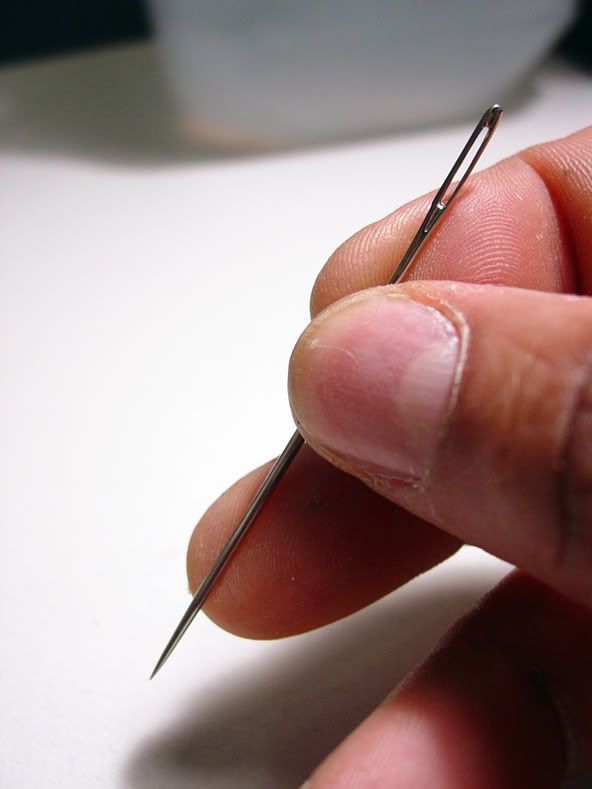
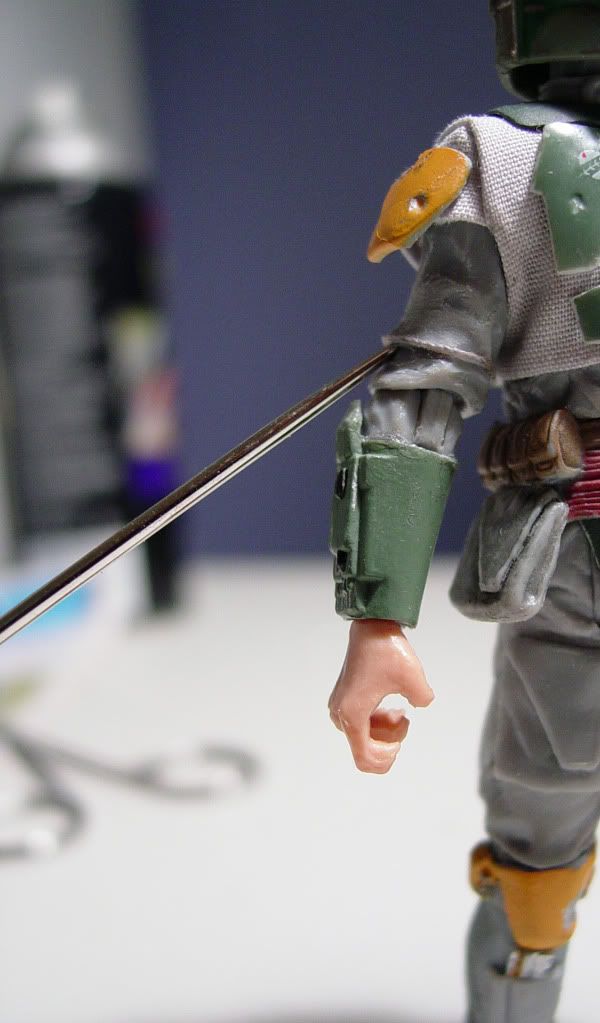
I used a big needle to make a hole underneath the upper sleeve ridge that I created.  I then made a second hole in the coupling on the wrist weapon gauntlet. These would be the two connection points for the gauntlet’s power feed tube.


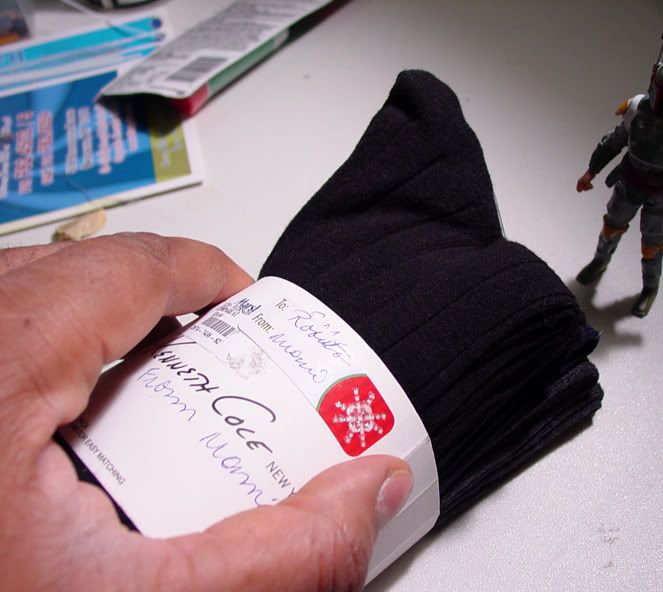
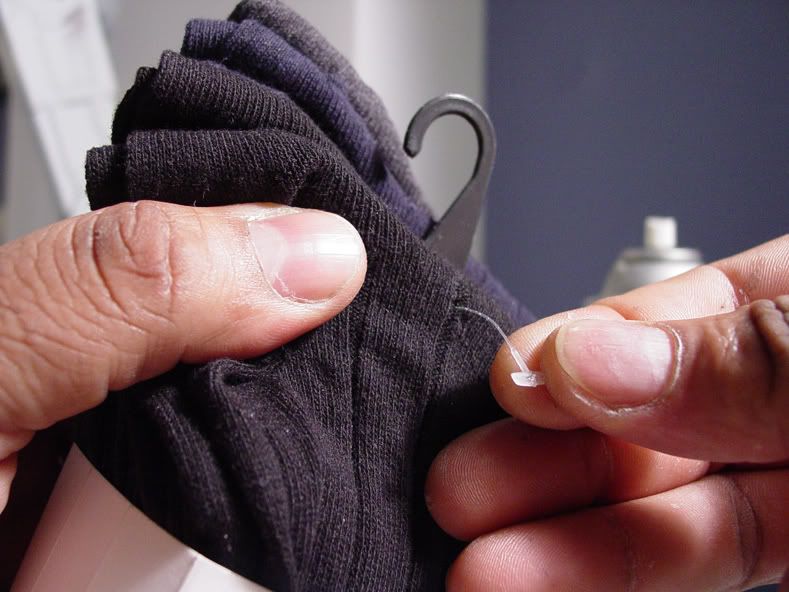
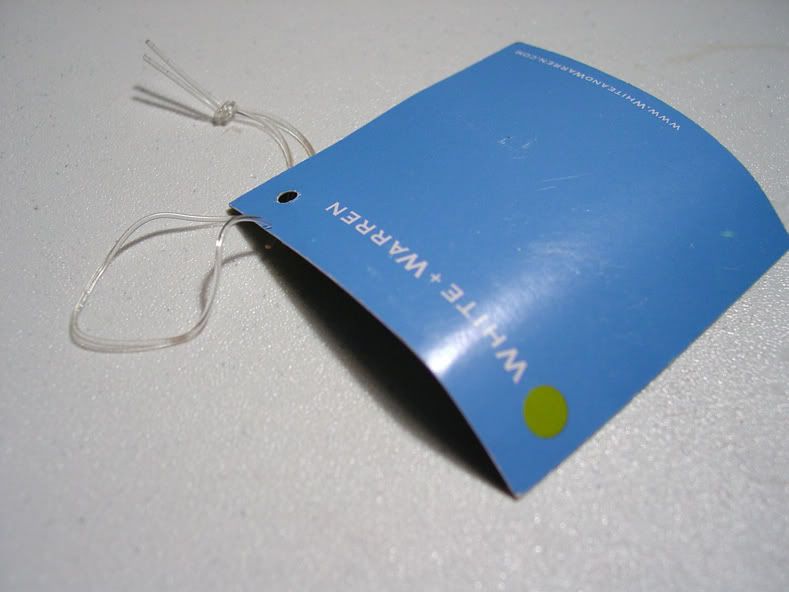
I looked around the house for a suitable item to use as the tube.  A tiny white / clear plastic binder on the bundle of new sox  that I just bought was something that I thought might do the trick.  In the end, I rejected it because it did not look like a tube to me, it seemed a bit small in its scale, and it did not have the flexibility I was hoping for.  It kept popping out of the sleeve connection point  every time I posed the figure’s elbow.


I knew I was going to need a far more flexible material to resolve that issue.

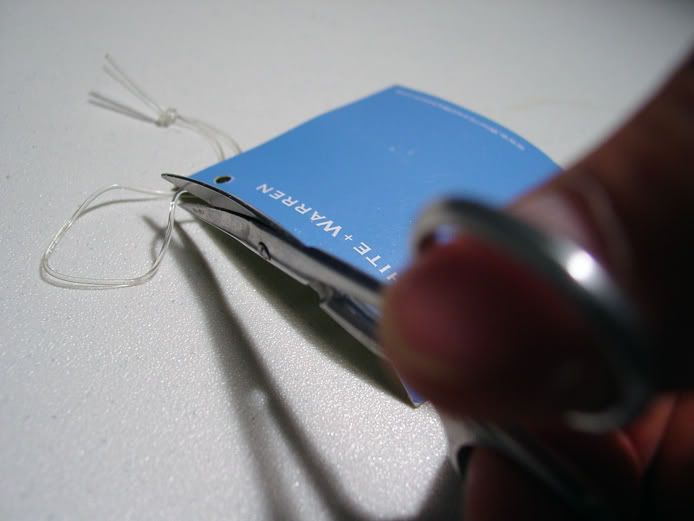
A frantic search ensued in my wife’s closet, and as luck would have it, I located a brand new cashmere sweater that my wife bought for herself.  The tag was still attached to the garment by a small clear rubber string!  Yes!! Back in business.!!!

I cut a fragment of the string and installed it on the figure.  The thicker size, the clarity, and the flexibility of the “tube” were all PERFECT!!


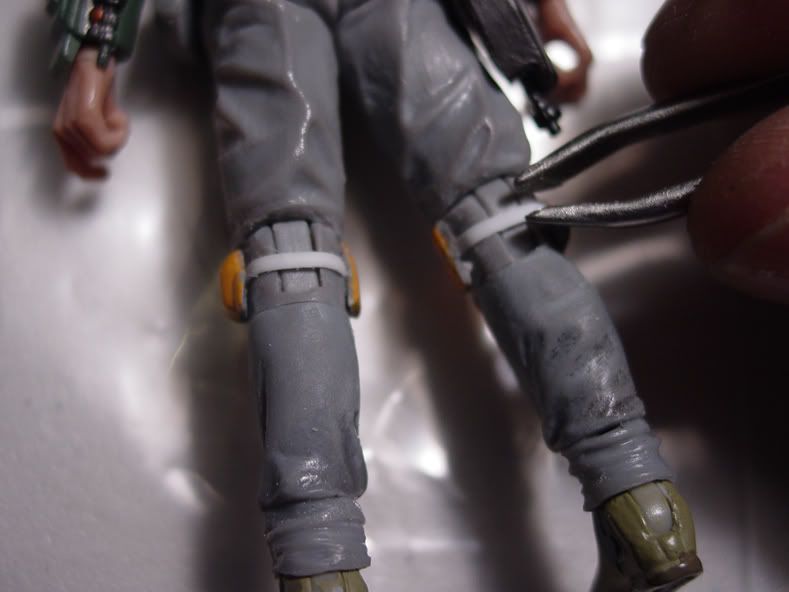
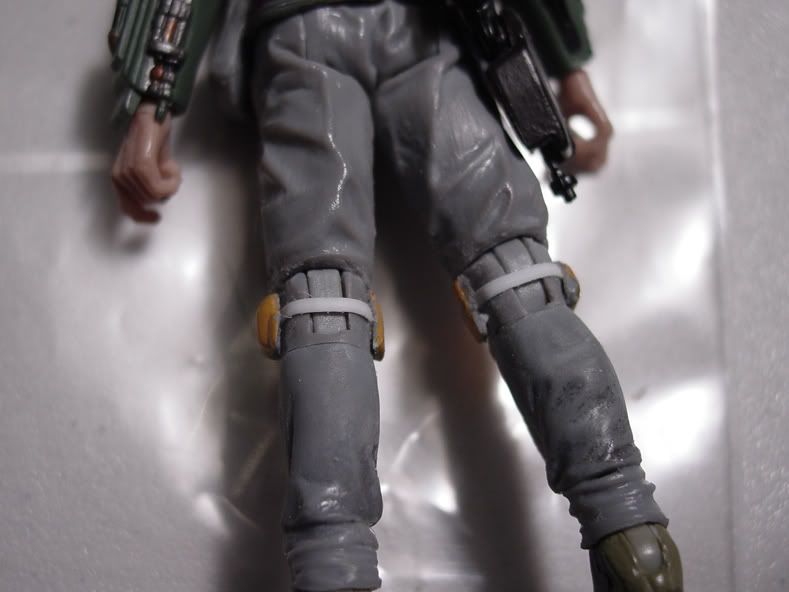
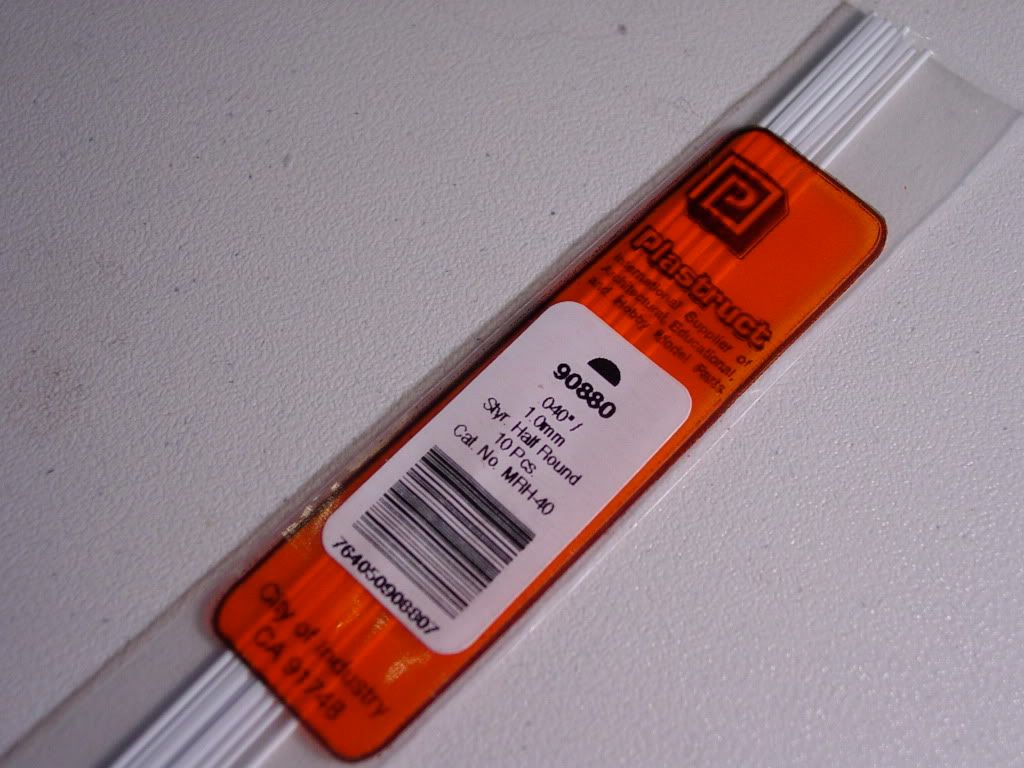
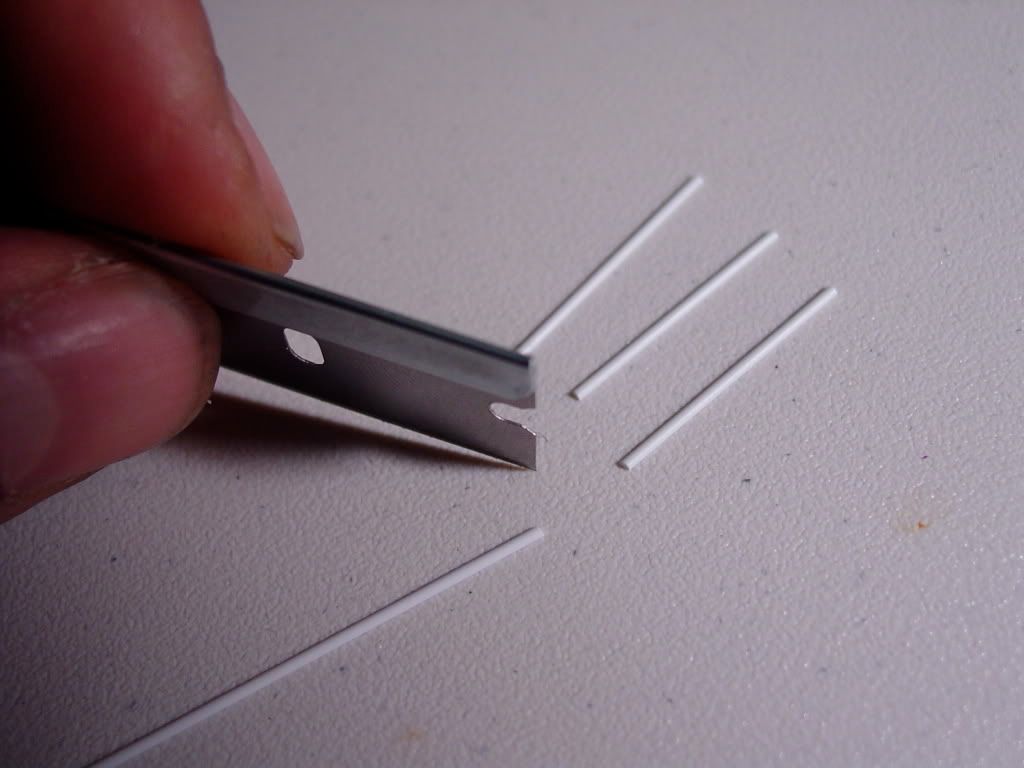
My next order of business was to add the straps for Boba’s armored knee pads.  A reasonably straight-forward operation.  I used some Plastruct strip styrene to create the straps and glued them into place behind the knees, making sure that the leg articulation was un-affected.


So… a brief re-cap…

1) Helmet’s face colors have been corrected to correct  shades
2) Helmet’s rangefinder has been shortened to correct height
3) Utility belt paint rubs have been repaired
4) Armored shoulder bell for left shoulder has been re-painted in correct yellow
5) Helmet seam has been filled and sanded  (awaits air brushing)
6)  Arm pocket has been shaved off / arm sanded smooth
7) Secondary upper sleeves have been layed-out and sculpted for both arms
8) Power tube for right weapon gauntlet has been installed
9) Rear fastening straps for armored knee pads have been installed

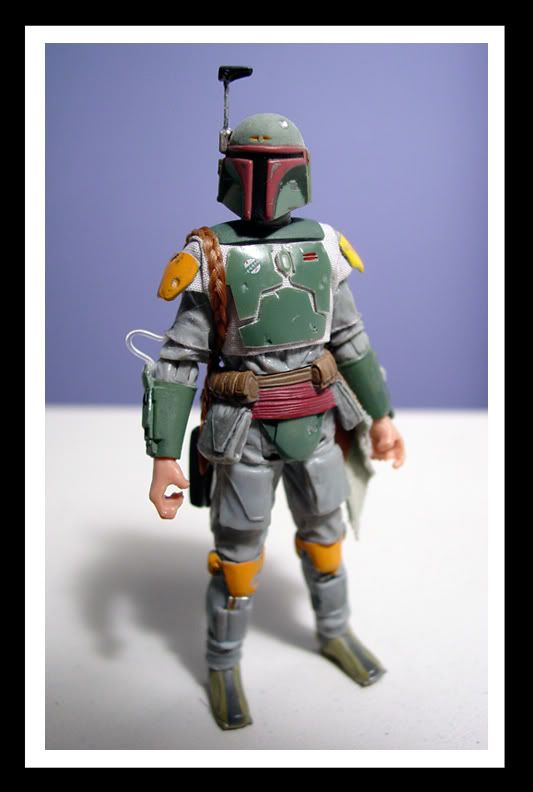
Custom Boba as of January 9th, 2011,   7:30 AM:


Coming up next:  WOOKIE SCALPS

January 9, 2011 10:51 pm #

Roberto, what an amazing series of posts! Thank you for sharing this!

I'm now featuring this thread on the cover of BobaFett.com!

Founder/Editor, BFFC
aaron@bobafettfanclub.com
January 10, 2011 2:15 am #

I'm floored. This is incredible work!  :D

"Those with the ability to lead, have the responsibility to do so."
January 10, 2011 3:13 am #

Wow!!.  Alot of work.  Very in depth.  Well done, dude.

--Sadriel Fett (BFFC Moderator)
"I'm just a simple Fan, trying to make my way in the universe."
January 10, 2011 4:00 am #

This is looking so great! I can't wait to see the end product! I'll be rooting for you!

"Next time I'll just reach over and pull somebody's head off."
January 10, 2011 4:30 am #

Thanks a million for the warm welcome, guys!  And thanks a million for the cover feature!  I'm really honored!

January 11, 2011 8:31 am (Edited January 11, 2011 08:32 am) #

I have done some custom work but nothing like this. You have inspired me to do more.

January 14, 2011 4:45 pm #

Wow... absolutely inspiring work, man. Looking forward to seeing the finished product.

"Kom'rk tsad droten troch nyn ures adenn, Dha Werda Verda a'den tratu."
[url]http://mercs.firespray.net/forum/index.php?topic=39267.0[/url]
January 15, 2011 1:07 am (Edited January 15, 2011 01:12 am) #

I don't even know what to say, that is the 3 3/4 equivalent of the Medicom RAH figure.

Just...wow...skillful work, looks perfect. :D

"This IS my signature."
February 24, 2013 6:47 am #

Wow that's amazing!! keep up the good work, it's unbelievable

September 4, 2013 10:08 am #

This is just incredible. I salute you good sir. Have you ever thought of making these commercially. Not to diminish the glory of this at all. I muddy would pay well for a new Boba figure proper.

Aliit ori'shyatal'din- "Family is more than blood"
September 4, 2013 3:45 pm #

Wow! That takes skill.

Verd ori'shya Beskar'gam.

Add New Post

See the most recent post(s) above. Reply below with your thoughts on this topic.

Note: the last post in this topic was 11 years ago.

You must be logged in and have an moderator-verified account to add a board post.

Login

No BFFC account yet? Create a free account.

Join